Toshiba e-Studio Imaging 6520c User Manual
Page 92
e-STUDIO5520C/6520C/6530C
© 2008 TOSHIBA TEC CORPORATION All rights reserved
2-58
2. Copier-specific Adjustments
(1) Perform automatic calibration for each paper type to correct variations in image density.
* A privilege to perform automatic calibration is set to Administrator by default but this can be changed to
the User. For how to change the privilege, refer to the MFP Management Guide.
• Follow steps (a) through (j) to perform the automatic calibration.
(a) Enter the setting mode [08]. Change the value of the code [9059] to "1" so that automatic calibration
for each paper type will be enabled.
Value for 08-9059
Display for user calibration
0
Not displayed (default)
1 Displayed
(b) Press the [USER FUNCTIONS] button on the Control Panel to enter the "User Functions" menu.
(c) Press the [ADMIN] tab.
(d) Enter an administrator password in 6 to 10 digits. Press the [ENTER] button.
(e) Press the [GENERAL] button.
(f) Press the [CALIBRATION] button.
(g) Press the [COPY] button.
(h) Press the [CALIBRATION] button to print a test chart.
(i) Place the printed test chart on the original glass.
(j) Press the [START] button to start the calibration. The message "WAIT" disappears when the
calibration is finished.
* The procedure above covers both the color and black copy calibration.
After the automatic calibration, copy and check the image quality.
If further image quality adjustment is necessary, go to the next step.
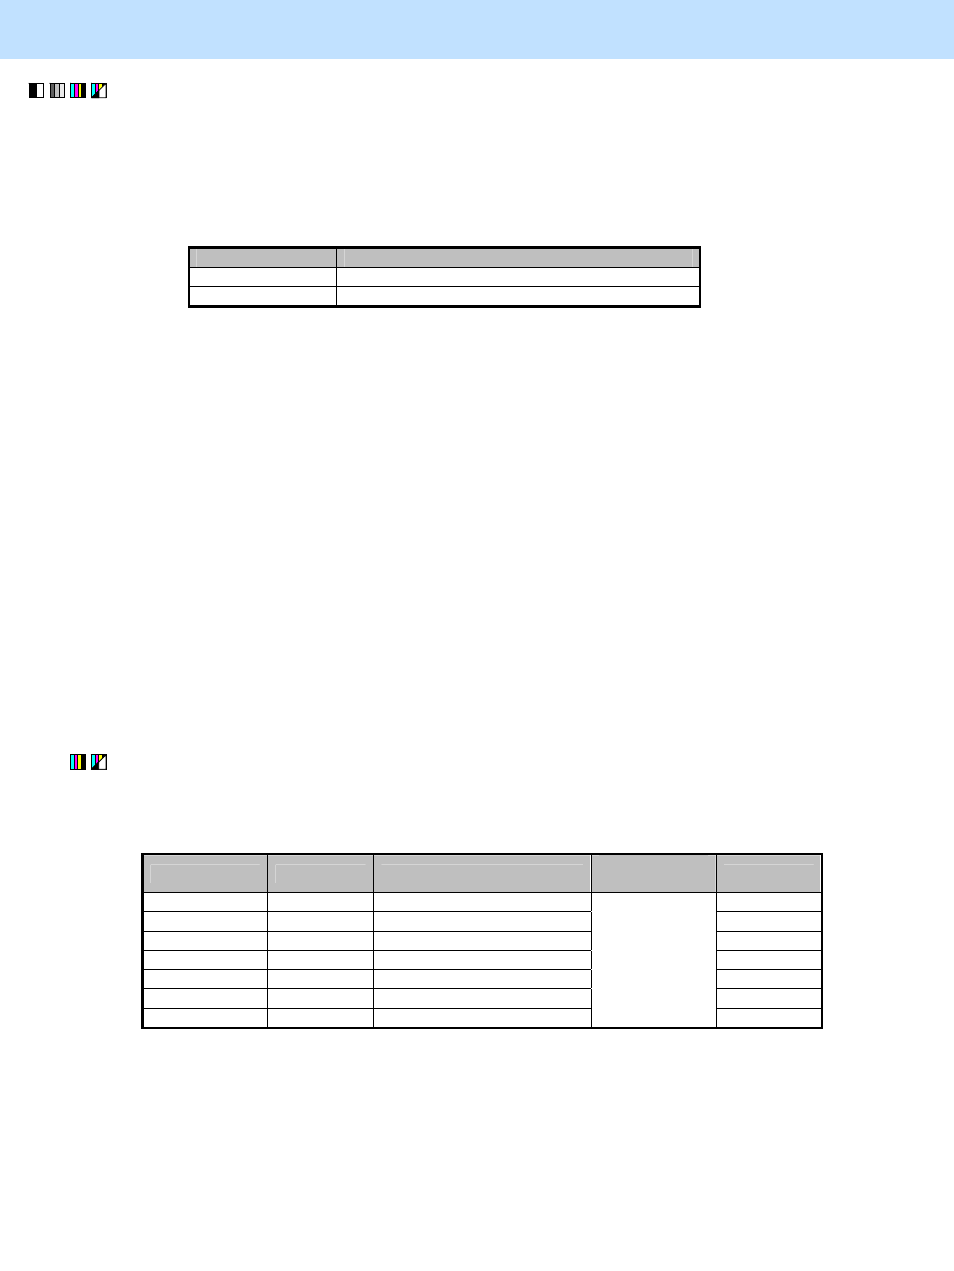
(2) Enter adjustment mode [05]. Change the values for codes [1613 to 1620] to adjust the amount of toner used.
• The code to use varies depending on the paper type. Adjust the value for [05] code corresponding to the
paper type for which you would like to improve the image quality and increase the value to obtain the copy
density that the user desires.
Paper type
[05] code
Recommended value
Acceptable
value range
Default
Thick 1
05-1613
255
Thick 2
05-1614
255
Thick 3
05-1615
255
OHP
05-1616
Set a value larger than 240.
240
SPECIAL 1
05-1617
255
SPECIAL 2
05-1618
255
Thick 4
05-1620
0 to 255
255
* Set the value in increments of approximately 4, while checking the copy image until the optimum value is
obtained.