Toshiba e-Studio Imaging 6520c User Manual
Page 38
e-STUDIO5520C/6520C/6530C
© 2008 TOSHIBA TEC CORPORATION All rights reserved
2-4
2. Copier-specific Adjustments
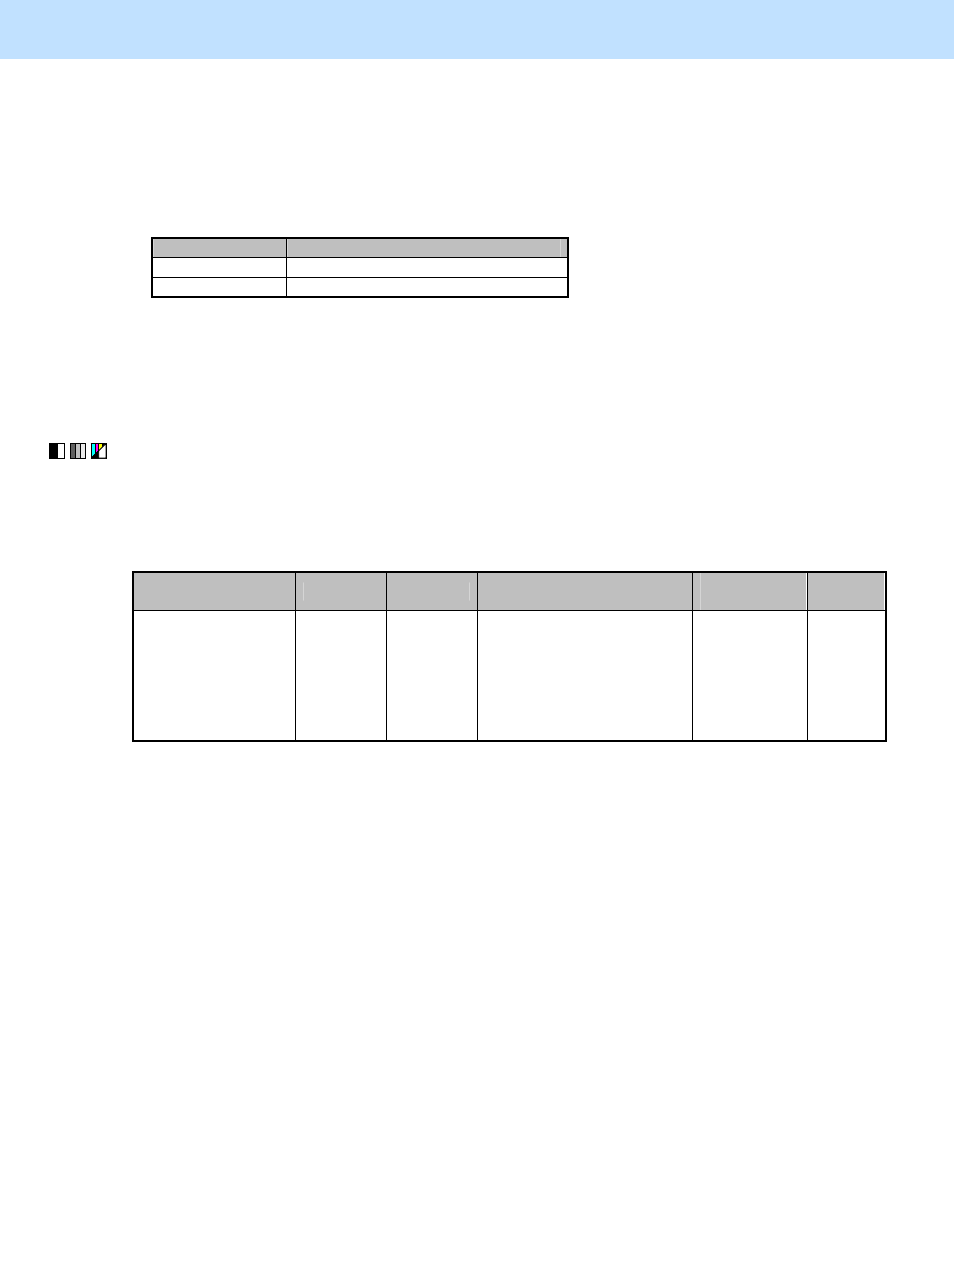
* The subcode varies according to the area where the density is adjusted. Refer to the table below and set
the subcode for the area to be adjusted. The density of light text or a graphic image will vary, if the
medium- or high-density area is mainly adjusted. Setting "0" for the subcode allows you to adjust the low-
density area. But it will not affect the light text or graphic images. Therefore, never change the value for
the low-density area.
Subcode
Area where the density is adjusted
1 Medium-density
area
2 High-density
area
After changing the value, make a copy and check the image quality.
If further image quality adjustments are necessary, reset all the values changed in steps (1) to (6) above to
the default ones and then follow the next step.
(7) Enter setting mode [08]. Change the value for subcode "3" of code [2548] to make the outline of the copied
text thicker and clearer, or thinner and finer.
* This adjustment can be made applicable to all colors by selecting the corresponding subcode. In this step,
however, change the setting value only for subcode "3" to adjust the image quality for the black mode.
Setting item
[08] code Subcode
Recommended value
Acceptable
range value
Default
Potential on printing
white text / Correction
setting (K)
08-2548 3
To make the outline of text
thicker and clearer:
Set a value smaller than 5.
To make the outline of text
thinner and finer:
Set a value larger than 5.
0 to 10
5
* To check the amount changed with this setting, it is recommended to set the value at "2" or "3" first to
decrease it, and then to set the value at "7" or "8" first to increase it. Then check the copy image and
increase or decrease the value further so that the image will be adjusted finely.
• After changing the value, perform automatic calibration.
* Refer to step (1) in "1.1 To Obtain a Darker Image to perform automatic calibration".
If further adjustments are necessary after performing step (7), you can repeat steps (1) to (6). When
repeating these steps, however, adjust the value while checking the copy image carefully.