Installing the bcm1000e on a flat surface, Connecting the bcm1000e to the bcm1000, Figure 47 – Nortel Networks BCM1000 User Manual
Page 132: Ds256 connector on the bcm1000e
132
Chapter 6 Installing the BCM1000e (expansion unit)
P0607659 02
7
Align the slots on the wall mounting bracket over the screws.
8
Push the unit against the wall and slide it down so the slots rest on the screws.
9
Tighten the two screws to the wall mounting bracket.
Installing the BCM1000e on a flat surface
You can install the BCM1000e on any flat surface that can support the weight of the unit, and
which is within 5 m (16 ft.) of the BCM1000.
1
Attach the supplied rubber feet to the corners of the bottom of the BCM1000e.
2
Position the unit on the table or shelf.
3
Ensure that you leave enough space around the unit for ventilation and access to the cables and
media bay modules.
Connecting the BCM1000e to the BCM1000
After the BCM1000e has been installed in the desired location, use the supplied DS256 cable to
connect it to the BCM1000.
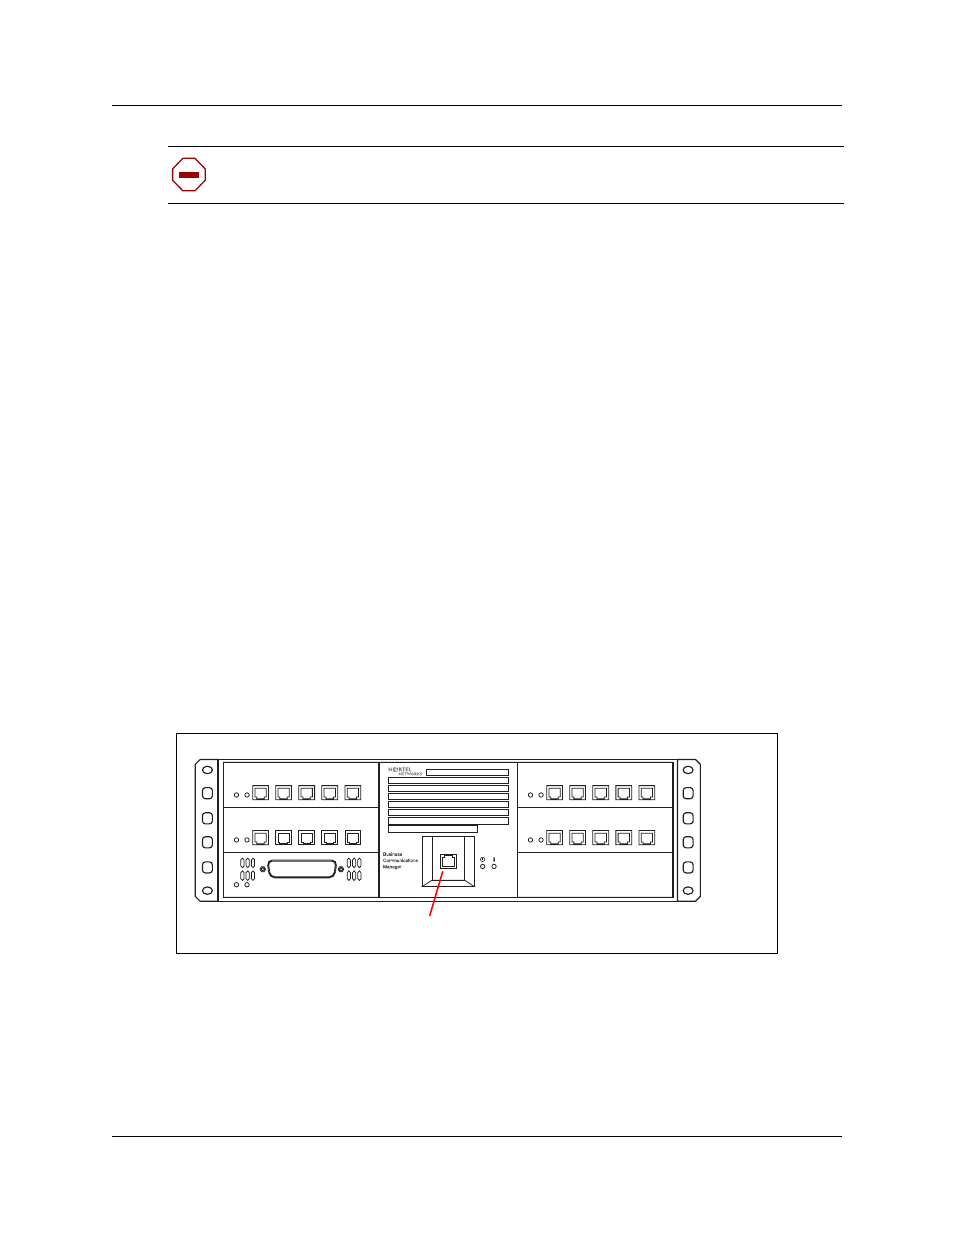
1
Plug one end of the cable into the DS256 connector on the BCM1000e. Refer to
.
Figure 47
DS256 connector on the BCM1000e
Caution:
Use only the screws supplied with the wall mounting bracket. Do not replace
screws. Other screws can damage the BCM1000e.
DS256 connector