K capture set mode, K select connection mode screen – Casio FX-CG10 User Manual
Page 433
13-2
3. Turn off the receiver.
4. Connect the receiver to the sender.
5. Starting a send operation on the sender causes the receiver to turn on automatically and
performs the data transfer operation.
k Capture Set Mode
You can specify either g3p format or bmp format for screen images saved by the operation
!h(CAPTURE).
The data communication menu provides the following operations.
6(CAPTURE) 1(Memory) ... Saves screen capture images in g3p format.
6(CAPTURE) 2(BMP) ... Saves screen capture images in bmp format.
For details about the screen capture operation, see “Using Screen Capture” (page 1-36).
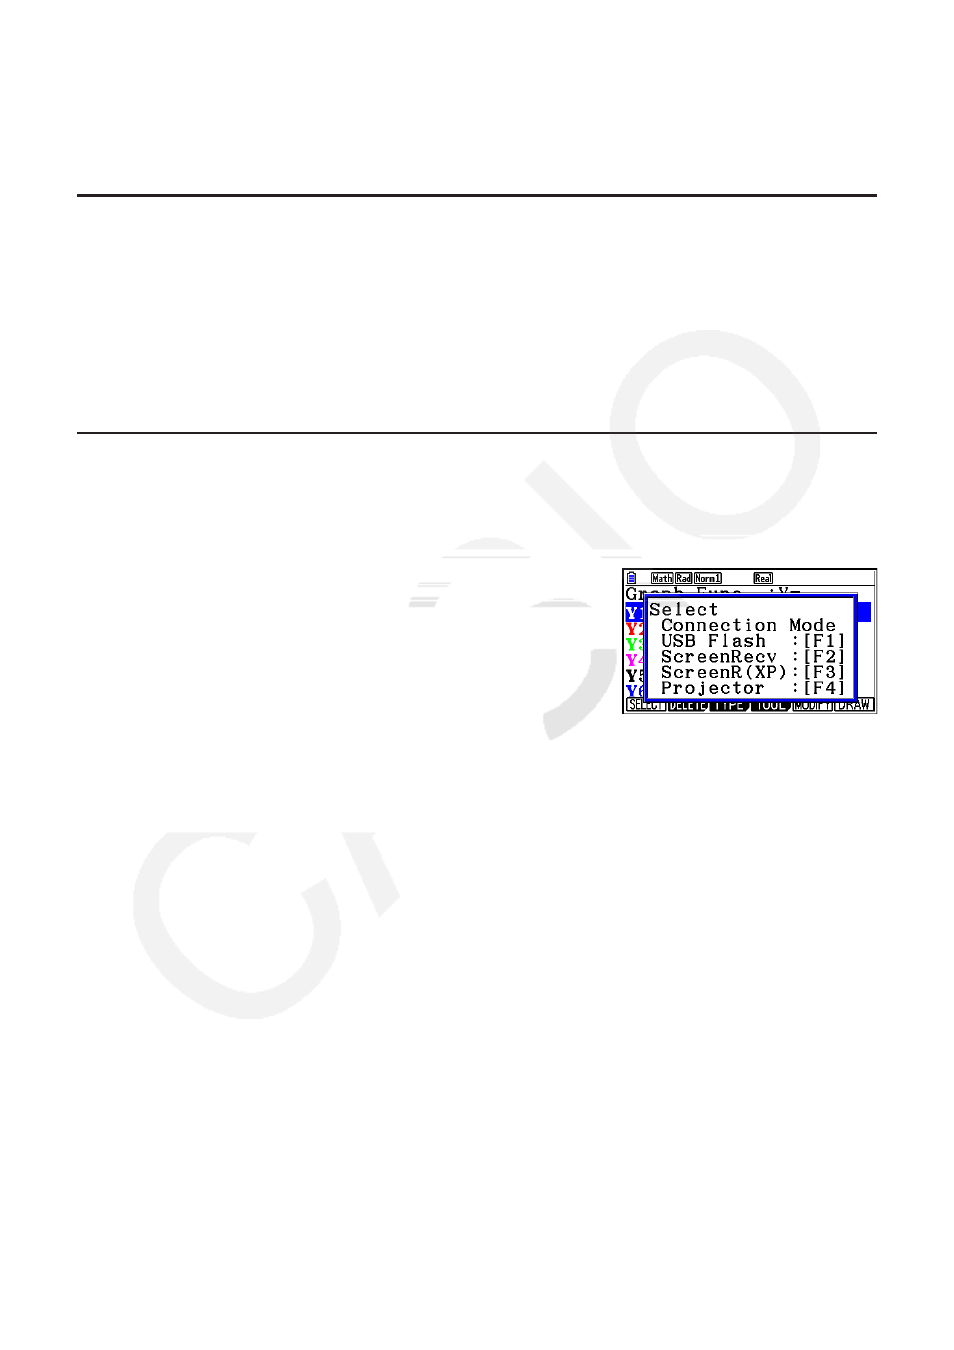
k Select Connection Mode Screen
Connecting the USB cable to the calculator will cause the “Select Connection Mode” dialog
box to appear. The key operation you should perform on this screen depends on the device
currently connected to the calculator.
•
1(USB Flash) ... Mode for connecting the calculator to
a computer for data transfer. See
“To establish a connection between the
calculator and a computer” (page 13-3).
•
2(ScreenRecv) ... Mode for using the Screen Receiver
software on a Windows Vista
®
or
Windows
®
7 computer to display the
calculator screen on the computer. For details, see the separate “Screen
Receiver User’s Guide”.
Wait until the calculator screen appears on the Screen Receiver window
before performing any calculator operation.
•
3(ScreenR(XP)) ... Mode for using the Screen Receiver software on a Windows
®
XP
computer to display the calculator screen on the computer.
•
4(Projector) ... Mode for connecting the calculator to a projector and projecting the
calculator screen. See “Connecting the Calculator to a Projector” (page
13-16).
Important!
The “Select Connection Mode” dialog box will not appear if you connect the USB cable to the
calculator while the busy indicator is on the display or while a graph, Geometry mode figure,
or other figure is flashing on the display. Wait until the busy indicator disappears, or perform
the required operation to stop the flashing of the graph or figure, and then try connecting the
USB cable again.