1 measur ing w o rk piece misalignment – HEIDENHAIN iTNC 530 (340 49x-04) Touch Probe Cycles User Manual
Page 49

HEIDENHAIN iTNC 530
49
3.1 Measur
ing W
o
rk
piece Misalignment
Characteristics common to all touch probe
cycles for measuring workpiece misalignment
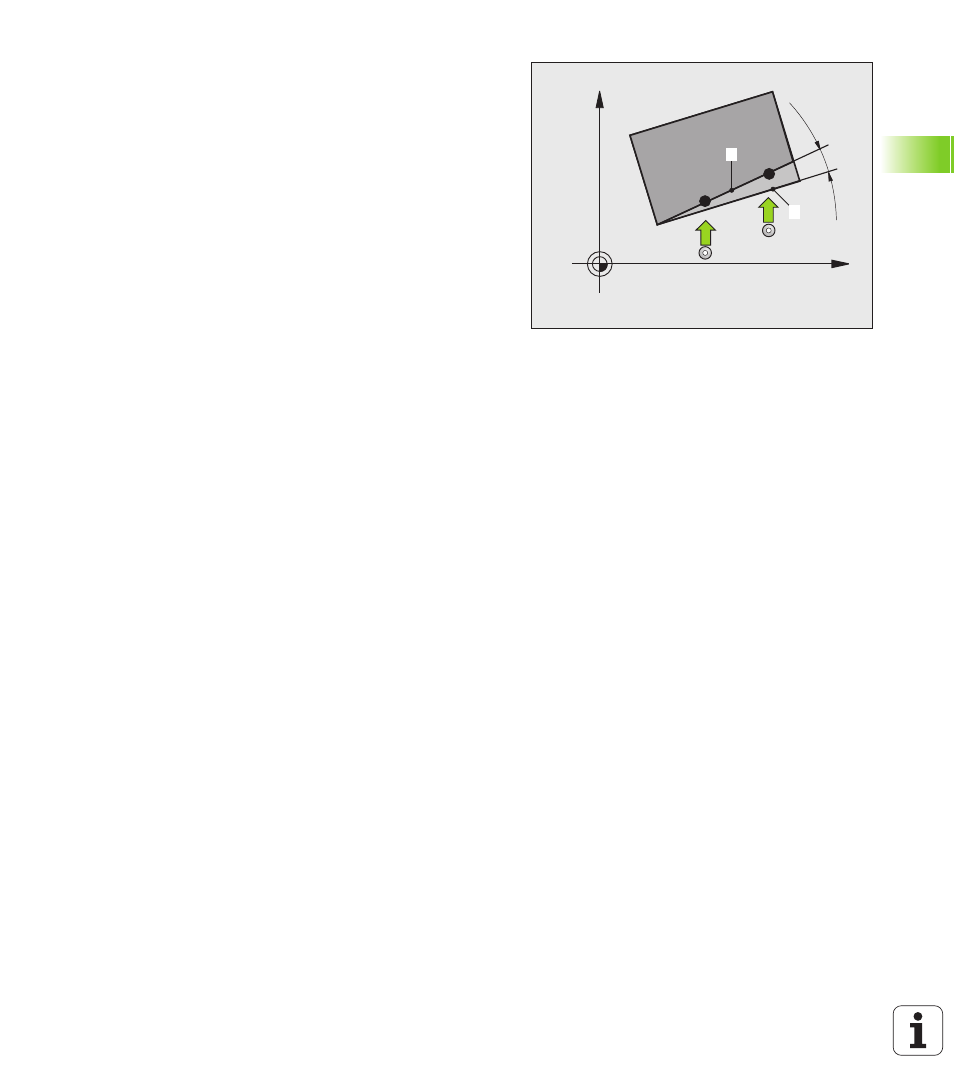
For Cycles 400, 401 and 402 you can define through parameter Q307
Default setting for basic rotation
whether the measurement
result is to be corrected by a known angle
α
(see figure at right). This
enables you to measure the basic rotation against any straight line
1
of the workpiece and to establish the reference to the actual 0°
direction
2
.
X
Y
Þ
1
2
This manual is related to the following products:
