3 a u to matic w o rk piece measur ement – HEIDENHAIN iTNC 530 (340 49x-04) Touch Probe Cycles User Manual
Page 131

HEIDENHAIN iTNC 530
131
3.3 A
u
to
matic W
o
rk
piece Measur
ement
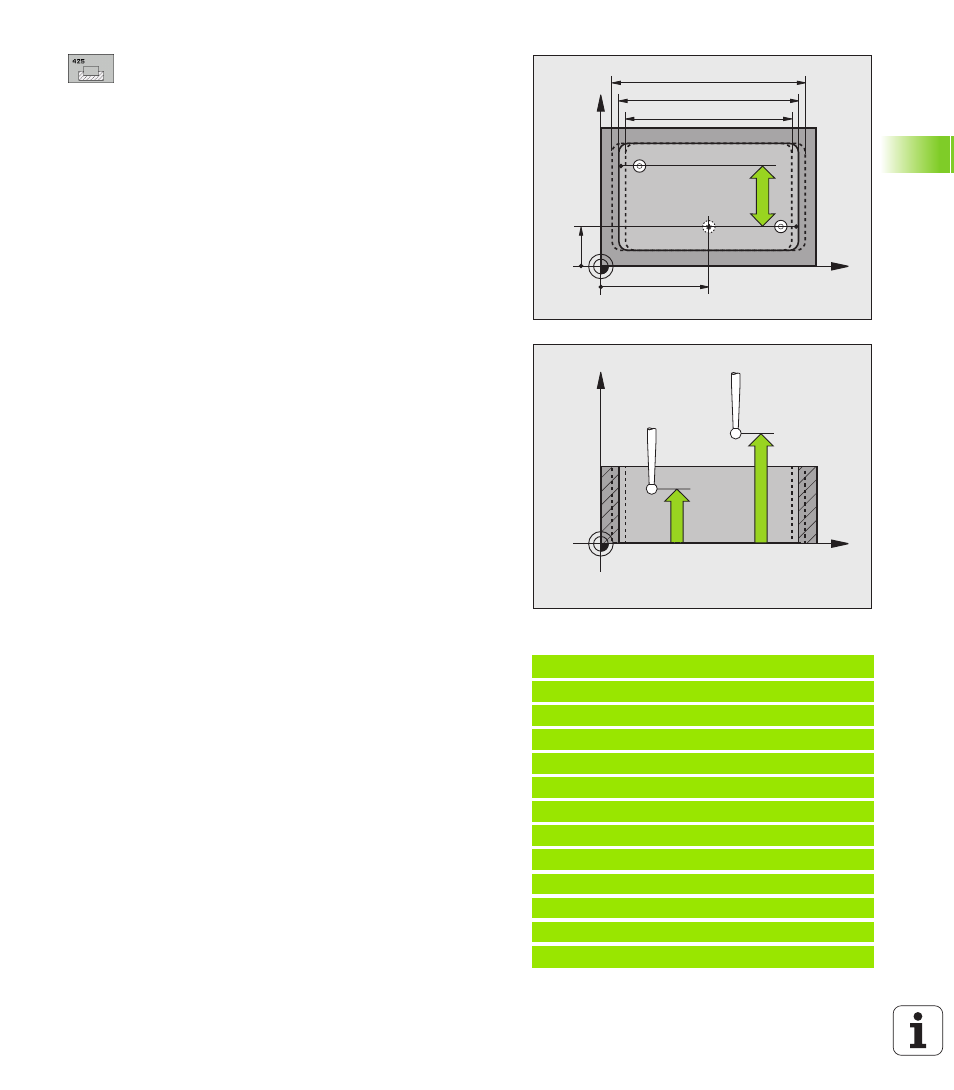
Starting point in 1st axis
Q328 (absolute): Starting
point for probing in the reference axis of the working
plane.
Starting point in 2nd axis
Q329 (absolute): Starting
point for probing in the minor axis of the working
plane.
Offset for 2nd measurement
Q310 (incremental):
Distance by which the touch probe is displaced
before the second measurement. If you enter 0, the
TNC does not displace the touch probe.
Measuring axis
Q272: Axis in the working plane in
which the measurement is to be made:
1: Reference axis = measuring axis
2: Minor axis = measuring axis
Measuring height in the touch probe axis
Q261
(absolute): Coordinate of the ball tip center (= touch
point) in the touch probe axis in which the
measurement is to be made.
Clearance height
Q260 (absolute): Coordinate in the
touch probe axis at which no collision between tool
and workpiece (fixtures) can occur.
Nominal length
Q311: Nominal value of the length to
be measured.
Maximum dimension
Q288: Maximum permissible
length.
Minimum dimension
Q289: Minimum permissible
length.
Measuring log
Q281: Definition of whether the TNC is
to create a measuring log:
0: No measuring log
1: Generate measuring log: with the standard setting
the TNC saves the log file TCHPR425.TXT in the
directory in which your measuring program is also
stored.
2: Interrupt the program run and display the
measuring log on the screen. Resume program run
with NC Start.
PGM stop if tolerance error
Q309: Definition of
whether in the event of a violation of tolerance limits
the TNC is to interrupt the program run and output an
error message:
0: Do not interrupt program run, no error message
1: Interrupt program run, output an error message
Tool number for monitoring
Q330: Definition of
whether the TNC is to monitor the tool (see “Tool
monitoring” on page 112):
0: Monitoring not active
>0: Tool number in the tool table TOOL.T
Example: NC blocks
5 TCH PROBE 425 MEASURE INSIDE WIDTH
Q328=+75
;STARTNG PNT 1ST AXIS
Q329=-12.5
;STARTNG PNT 2ND AXIS
Q310=+0
;OFFS. 2ND MEASUREMNT
Q272=1
;MEASURING AXIS
Q261=-5
;MEASURING HEIGHT
Q260=+10
;CLEARANCE HEIGHT
Q311=25
;NOMINAL LENGTH
Q288=25.05
;MAX. LIMIT
Q289=25
;MIN. LIMIT
Q281=1
;MEASURING LOG
Q309=0
;PGM STOP IF ERROR
Q330=0
;TOOL NUMBER
Q329
Q328
X
Y
Q289
Q311
Q288
Q272=1
Q272=2
Q310
X
Z
Q261
Q260
