Introduction – HEIDENHAIN iTNC 530 (340 49x-04) Touch Probe Cycles User Manual
Page 45
HEIDENHAIN iTNC 530
45
2.6 Using the T
o
uc
h Pr
obe F
unctions with
Mec
h
anical Pr
obes or Dial Gaug
es
2.6 Using the Touch Probe
Functions with Mechanical
Probes or Dial Gauges
Introduction
If you do not have an electronic 3-D touch probe on your machine, you
can also use all the previously described manual touch probe functions
(exception: calibration function) with mechanical probes or by simply
touching the workpiece with the tool.
In place of the electronic signal generated automatically by a 3-D touch
probe during probing, you can manually initiate the trigger signal for
capturing the probing position by pressing a key. Proceed as follows:
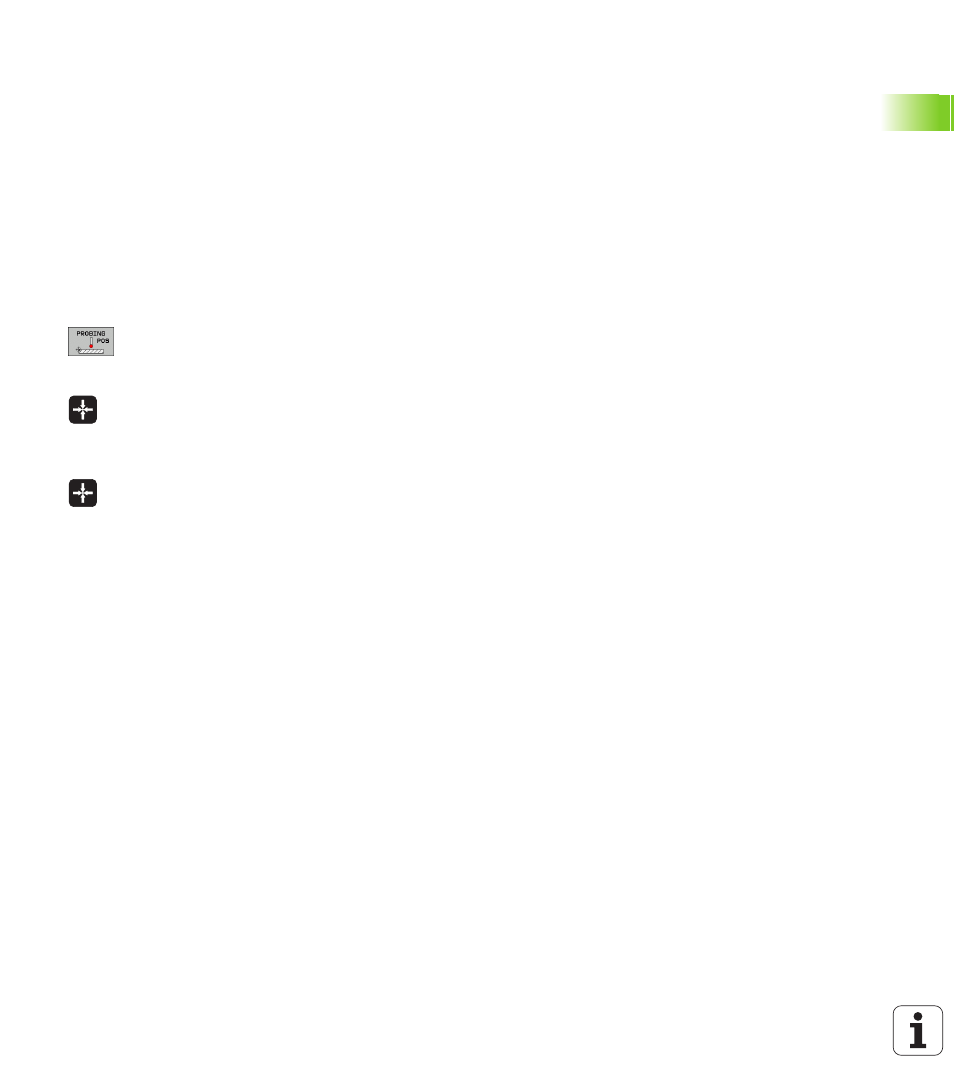
Select any touch probe function by soft key.
Move the mechanical probe to the first position to be
captured by the TNC.
Confirm the position: Press the actual-position-
capture key for the TNC to save the current position.
Move the mechanical probe to the next position to be
captured by the TNC.
Confirm the position: Press the actual-position-
capture key for the TNC to save the current position.
If required, move to additional positions and capture
as described previously.
Datum:
In the menu window, enter the coordinates of
the new datum, confirm with the SET DATUM soft
key, or write the values to a table (see “Writing the
measured values from touch probe cycles in datum
tables,” page 30, or see “Writing the measured
values from touch probe cycles in the preset table,”
page 31).
To terminate the probe function, press the END key.