4 setting the datum with a 3-d touch probe, Introduction, Datum setting in any axis – HEIDENHAIN iTNC 530 (340 49x-04) Touch Probe Cycles User Manual
Page 37
HEIDENHAIN iTNC 530
37
2.4 Set
ting the D
a
tu
m with a 3-D T
o
uc
h Pr
obe
2.4 Setting the Datum with a 3-D
Touch Probe
Introduction
The following functions are available for setting the datum on an
aligned workpiece:
Datum setting in any axis with PROBING POS
Defining a corner as datum with PROBING P
Setting the datum at a circle center with PROBING CC
Setting a center line as the datum with PROBING
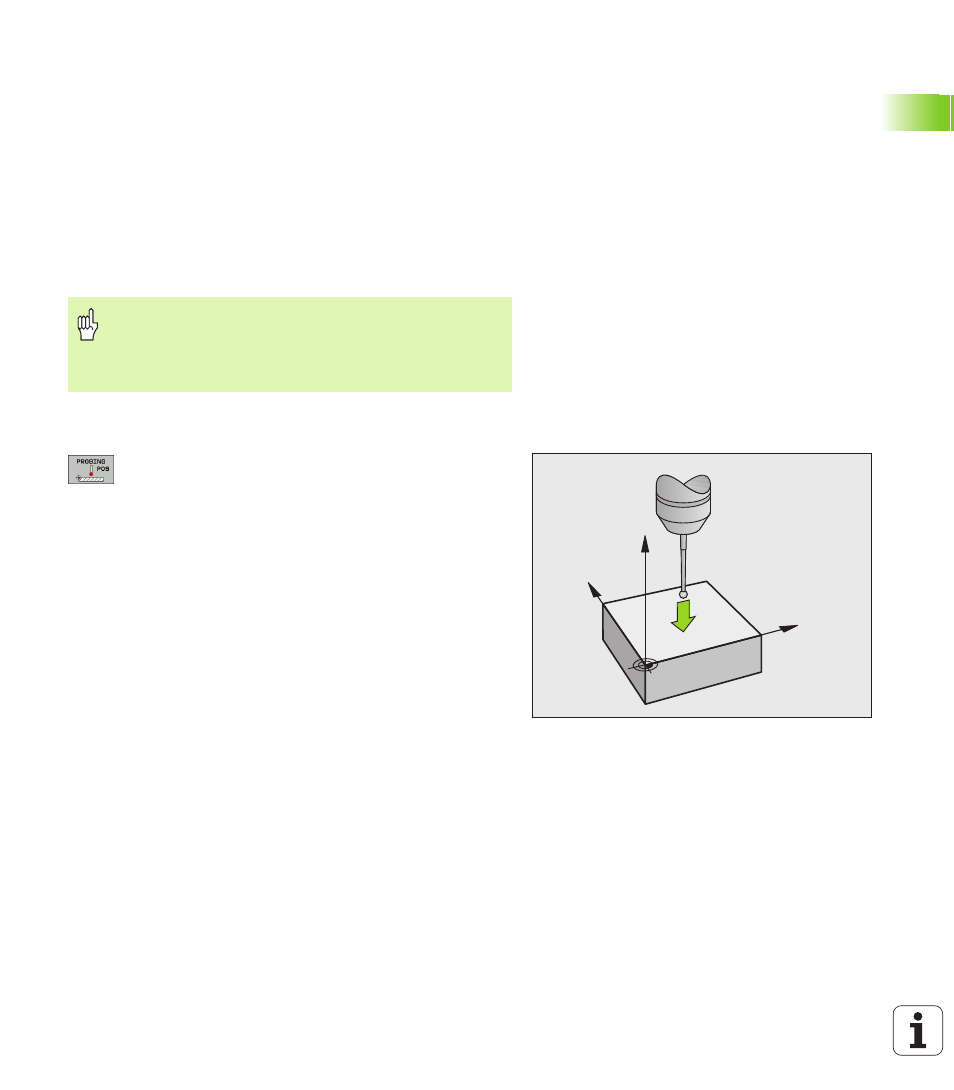
Datum setting in any axis
Select the probe function by pressing the PROBING
POS soft key.
Move the touch probe to a starting position near the
touch point.
Select the probe axis and direction in which you wish
to set the datum, such as Z in direction Z–. Selection
is made via soft keys.
To probe the workpiece, press the machine START
button.
Datum:
Enter the nominal coordinate and confirm your
entry with SET DATUM, or write the value to a table
(see “Writing the measured values from touch probe
cycles in datum tables,” page 30, or see “Writing the
measured values from touch probe cycles in the
preset table,” page 31).
To terminate the probe function, press the END key.
Note that during an active datum shift the TNC always
bases the probed value on the active preset (or on the
reference point most recently set in the Manual operating
mode), although the datum shift is included in the position
display.
Y
X
Z