Troubleshooting, Frequently asked questions, Troubleshooting -2 – KEYENCE LV-N10 Series User Manual
Page 96: Frequently asked questions -2, App endi x, Digital laser sensor lv-n10 series user's manual
6
App
endi
x
6-2
- Digital Laser Sensor LV-N10 Series User's Manual -
6-1
Troubleshooting
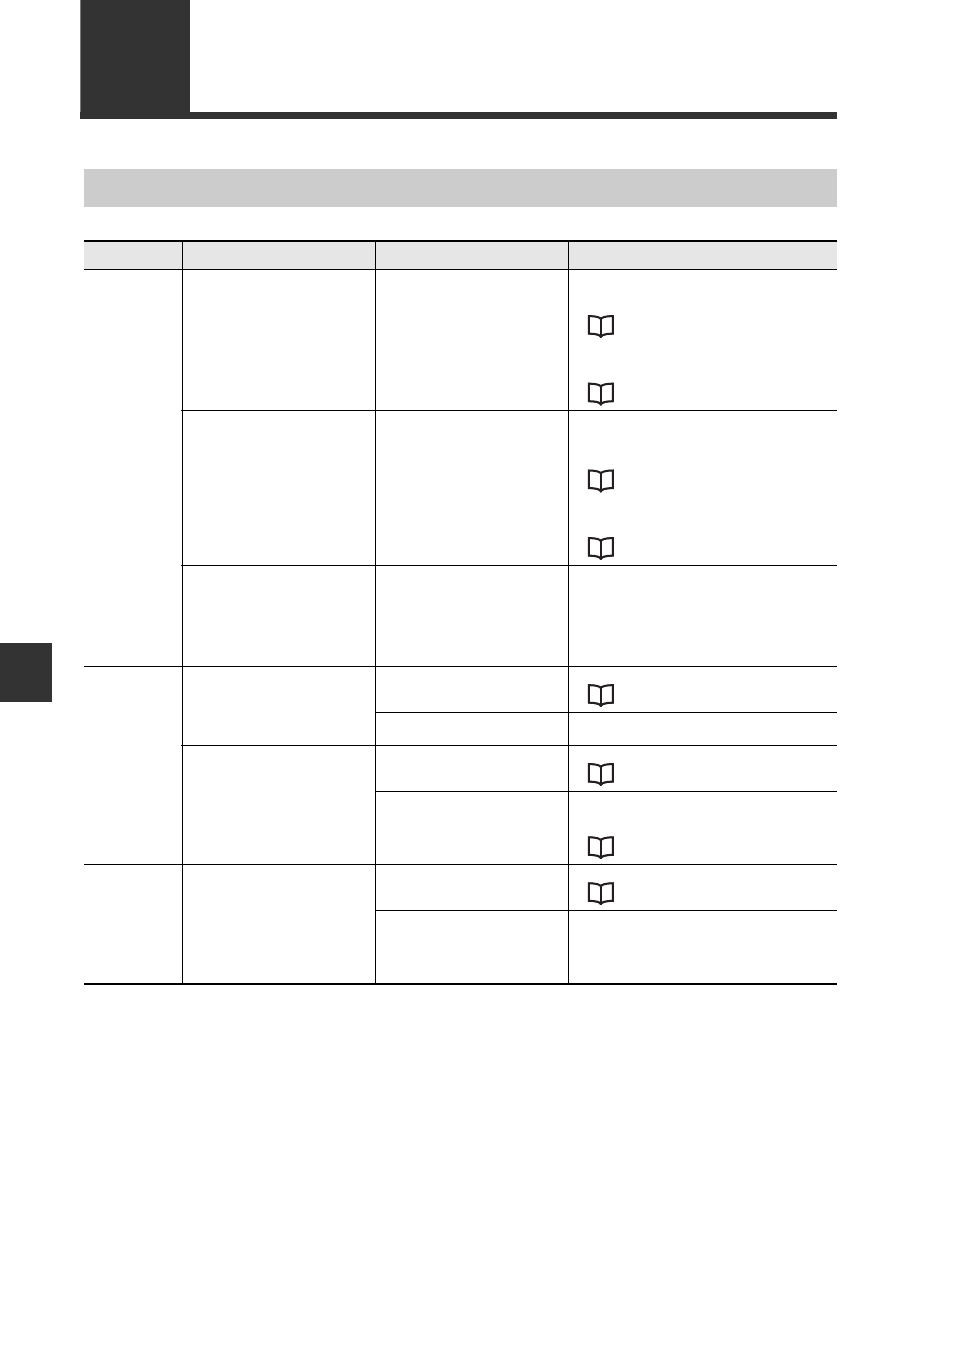
Frequently Asked Questions
Category
Trouble
Cause
Action
Received light
intensity display
The received light intensity is incon-
sistent. How can it be stabilized?
It may be affected by vibration, ther-
mal characteristics caused by ther-
mal changes, or the state of the
workpiece surface, etc.
• Review the installation environment.
• The received light intensity can be stably dis-
played at 100.0 by using the preset function.
• When using the DATUM1/2 mode, the set value
and received light intensity are both calibrated to
maintain a set ratio.
The received light intensity is too
low. How can it be increased?
This may be the result of a long
detection distance. When using the
reflective model, the intensity of the
light reflected from the workpiece
may be low, or there may be con-
tamination. When using the thru-
beam model or retro-reflective
model, the beam axis may be devi-
ated, etc.
• Review the installation environment and detec-
tion distance.
• The received light intensity value can be
increased by raising (delaying) the power mode.
• The apparent received light intensity can be
increased 4-fold by using the light intensity
expansion setting.
The received light intensity is "---",
"nEAr" or "Far" when LV-S31 is con-
nected.
The workpiece is either too close or
too far from the sensor.
• Check that the workpiece is installed within the
adjustment range (50 to 200 mm).
• Place the workpiece at the position to be set as
the detection center, and adjust it so that the
JUST indicator lights in green (or the received
light intensity value is near 5000). (Refer to page
2-7)
Screen
display
Nothing is displayed.
Eco (ALL) mode is selected.
• Disable the Eco function.
The power is cut off or the power
cable is disconnected.
• Disable the Eco function.
"-" scrolls from left to right on the
display
Eco (FuLL) mode is selected.
• Disable the Eco function.
The sleep mode is enabled by the
external input.
• Turn the external input OFF, or select a mode
other than sleep mode transition input with the
external input function.
"Sleep mode transition input" (page 4-19)
Output
operation
The received light intensity at which
the output turns ON and turns OFF
is slightly different.
The output timer is set.
• Check the output timer setting.
Hysteresis
• A slight hysteresis is set to prevent chattering in
the output. If this level of received light intensity
is notable during detection, the detection toler-
ance may be low. Please review the detection
details.