AirLive RS-2500 User Manual
Page 98
15. Virtual Server
93
AirLive RS-2500 User’s Manual
Configuration Example - Server Load Balance
Create a Web Server and three mirror sites on LAN, configure RS-2500 Virtual Server
function and assign 4 Server IP addresses to it. The Server Load Balance function works as
Round Robin type, so each server will receives the access session in turn.
STEP 1
﹒
Setting several servers that provide Web service in LAN network, which IP Address
is 192.168.1.101, 192.168.1.102, 192.168.1.103, and 192.168.1.104.
STEP 2
﹒
Enter the following data in Server 1 of Virtual Server function:
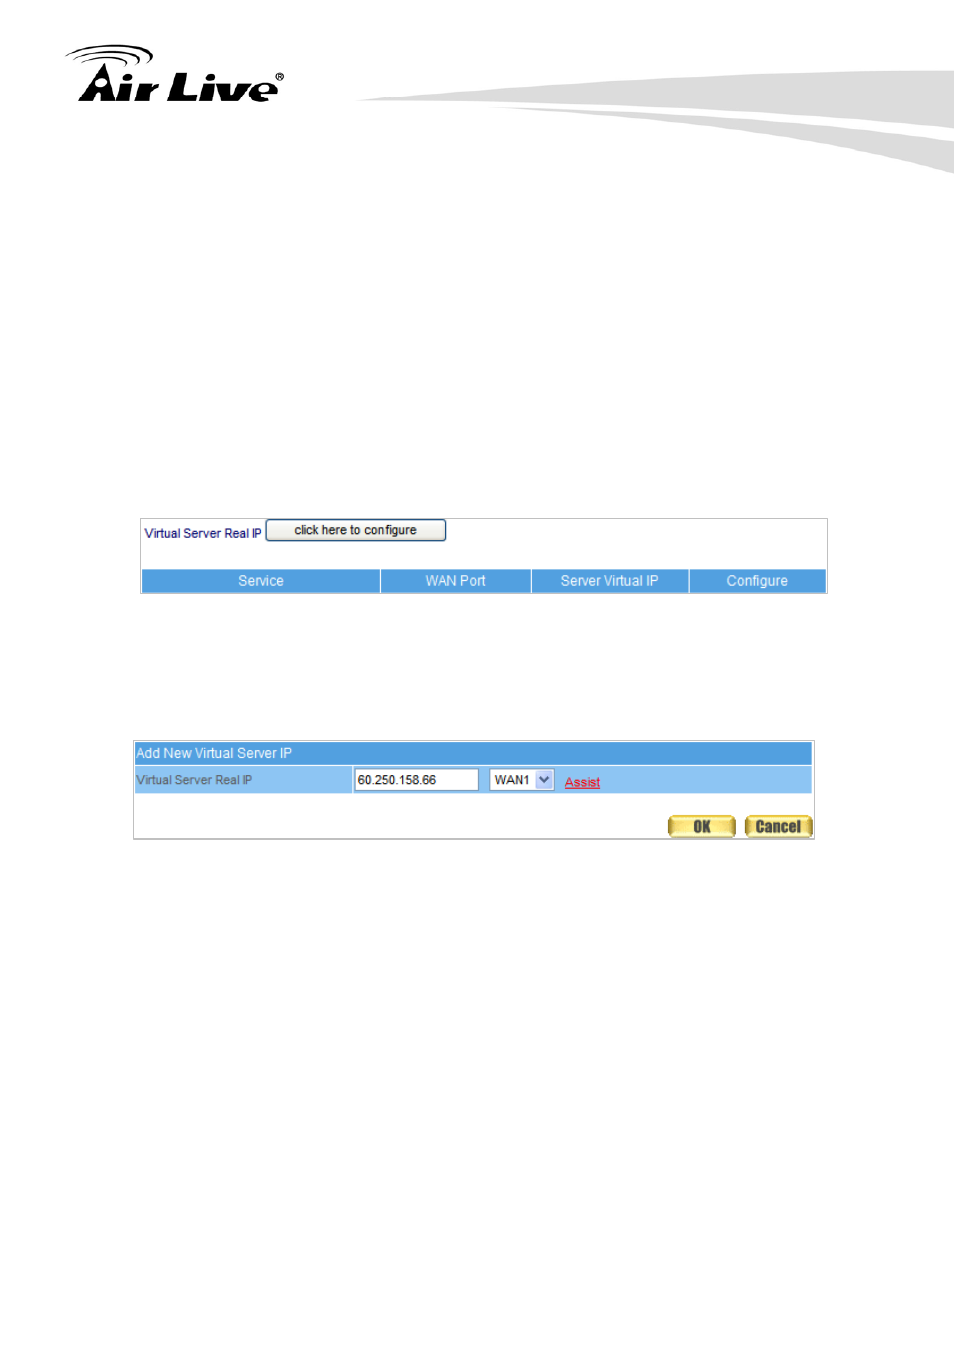
Click the button next to Virtual Server Real IP (“click here to configure”) in
Server1 (Figure 15-6)
Figure 15-6 Virtual Server Real IP Setting-1
Virtual Server Real IP: Enter 60.250.158.66 (click Assist for assistance)
Click OK (Figure 15-7)
Figure 15-7 Virtual Server Real IP Setting-2
Click New Entry
Service: Select HTTP (80)
External Service Port: Type in 80
Load Balance Server1: Enter 192.168.1.101
Load Balance Server2: Enter 192.168.1.102
Load Balance Server3: Enter 192.168.1.103
Load Balance Server4: Enter 192.168.1.104
Click OK and complete the setting of Virtual Server (Figure 15-8)