AirLive RS-2500 User Manual
Page 96
15. Virtual Server
91
AirLive RS-2500 User’s Manual
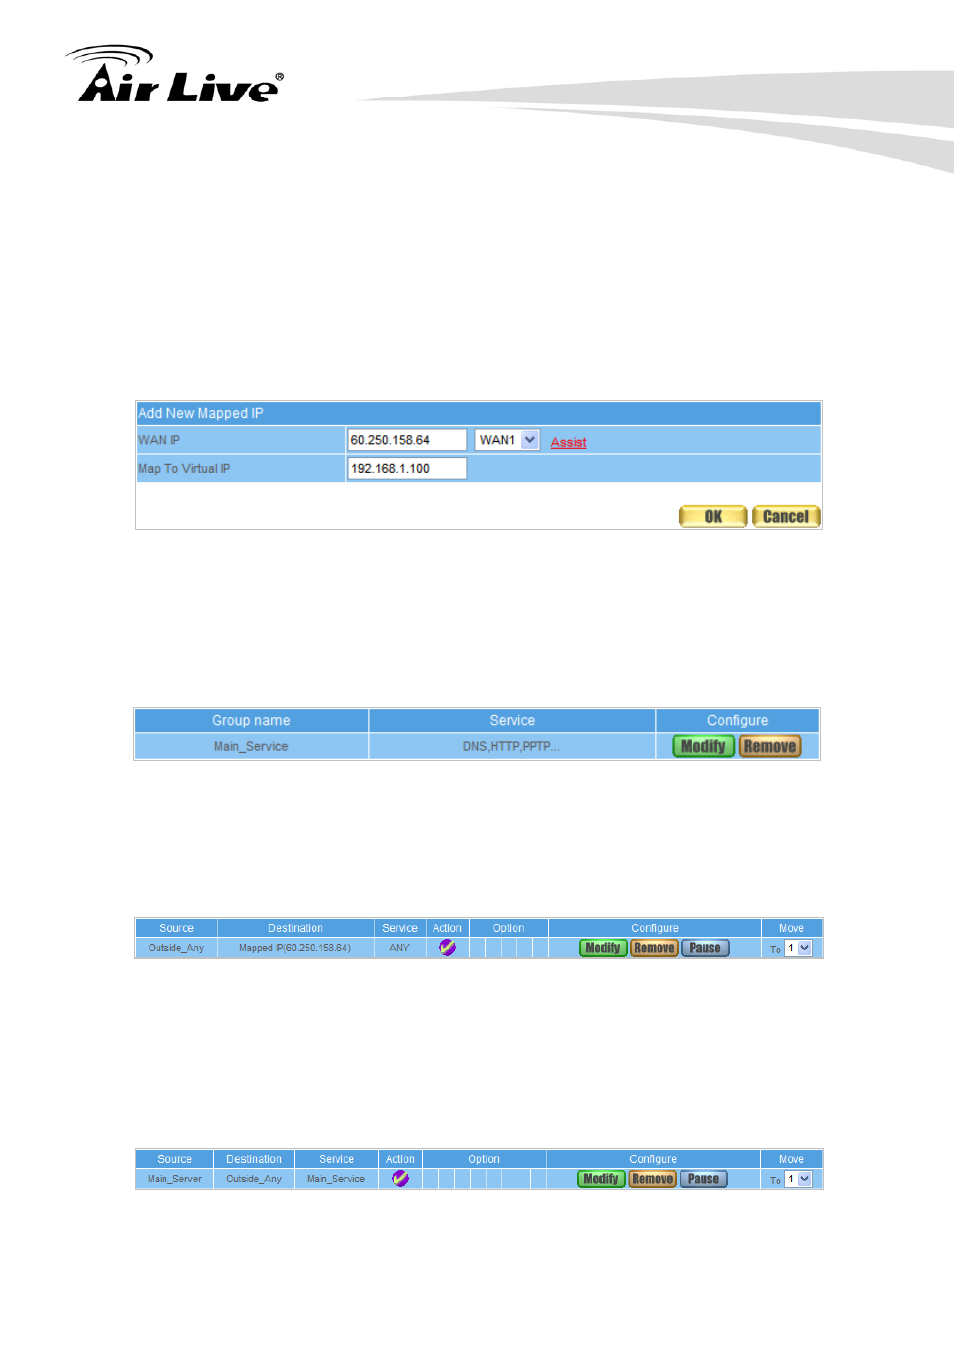
STEP 3
﹒
Policy Object
Virtual Server Mapped IP: Enter the following data in
Mapped IP of Virtual Server function
Click New Entry
WAN IP: Enter 60.250.158.64 (click Assist for assistance)
Map to Virtual IP: Enter 192.168.1.100
Click OK
Complete the setting of adding new mapped IP (Figure 15-2)
Figure 15-2 Mapped IP Setting WebUI
STEP 4
﹒
Policy Object
Service Group: Group the services (DNS, HTTP, PPTP …)
that provided and used by server in Service function. And add a new service group
for server to send mails at the same time. (Figure 15-3)
Figure 15-3 Service Setting
STEP 5
﹒
Policy
Incoming: Add a policy that includes settings of STEP3, 4 in Incoming
Policy. (Figure 15-4)
Figure 15-4 Complete the Incoming Policy
STEP 6
﹒
Policy
Outgoing: Add a policy that includes STEP2, 4 in Outgoing Policy. It
makes the server to send e-mail to external mail server by mail service.
(Figure 15-5)
Figure 15-5 Complete the Outgoing Policy