HP StoreOnce Backup User Manual
Page 54
2.
Click Create.
3.
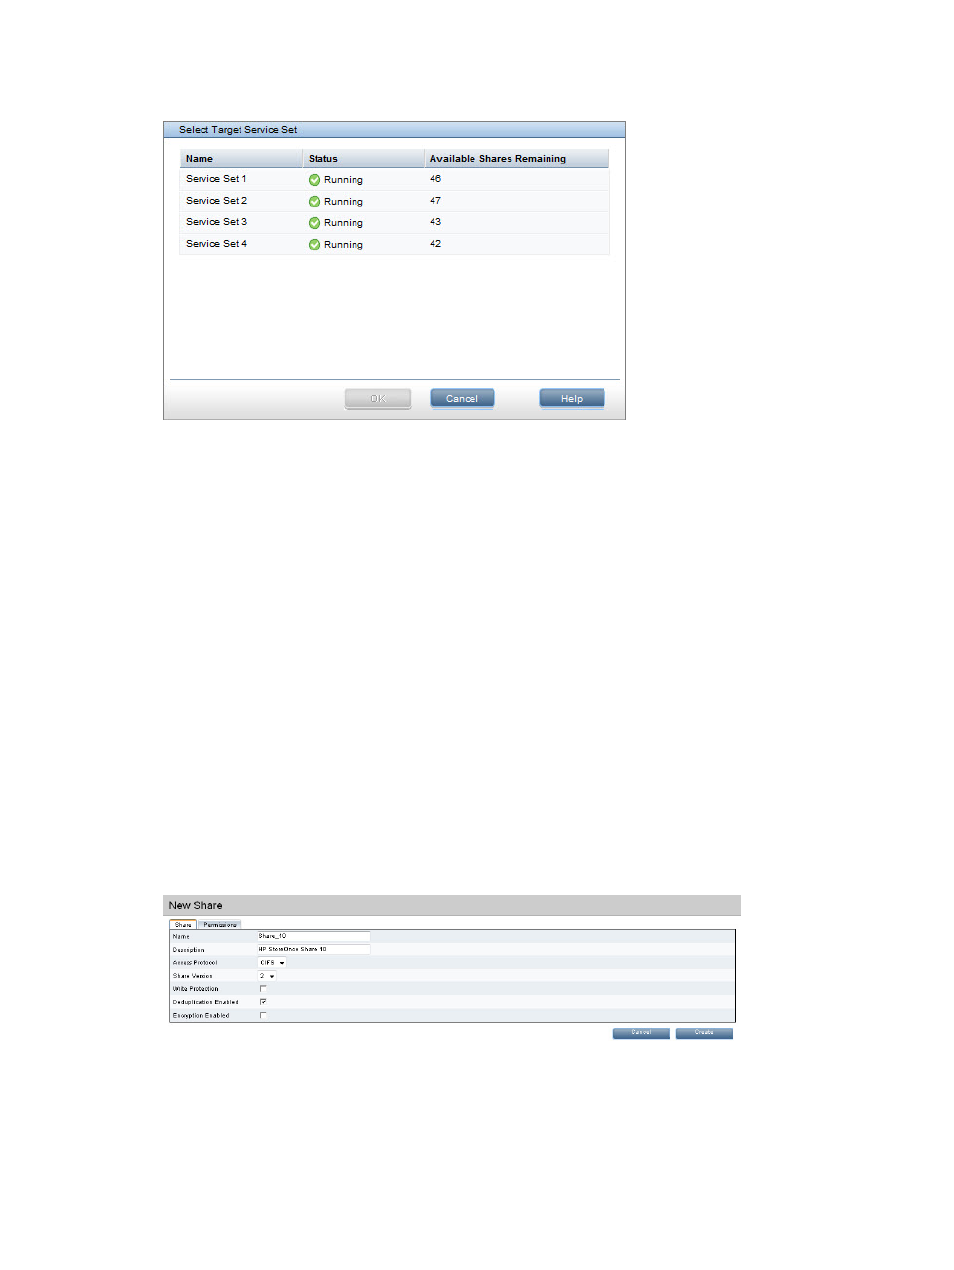
The Service Set selection box is displayed. Select the appropriate service set for the new share.
4.
Provide the following information:
•
Name: the name that will be used to identify the share in Windows. The StoreOnce GUI
generates a unique name across a couplet. Duplicate share names are not supported on
a couplet.
•
Description: a text description of the share (optional).
•
Access Protocol: select CIFS.
•
Share Version: leave as version 2, or change to version 1 if replicating to or from an
existing version 1 share. See
“Creating NAS shares” (page 52)
for a description of the
share types.
•
Write Protection: Only used to prevent further backup to the share. If enabled, any backup
jobs currently using that share will fail.
•
Deduplication Enabled: Enables deduplication if the check box is selected (default); unselect
to create a non-deduplication share. Deduplication cannot be enabled or disabled once
the share is created.
•
Encryption Enabled: To enable Data at Rest Encryption for the new share, check this box.
This feature requires a special license. If the license is not installed, an information message
is displayed next to the check boxstating Not Licensed. See
and
for more information.
5.
Click Create. It will take a few minutes for the status of the new share to go Online.
6.
After creating the share, if the correct license was applied the Secure Erase Mode drop down
box appears. Enable Secure Erase by selecting a number of Overwrite Passes. See
54
NAS functions