Caution, Bulletin f-68 – Dwyer PUX User Manual
Page 45

9 - 4
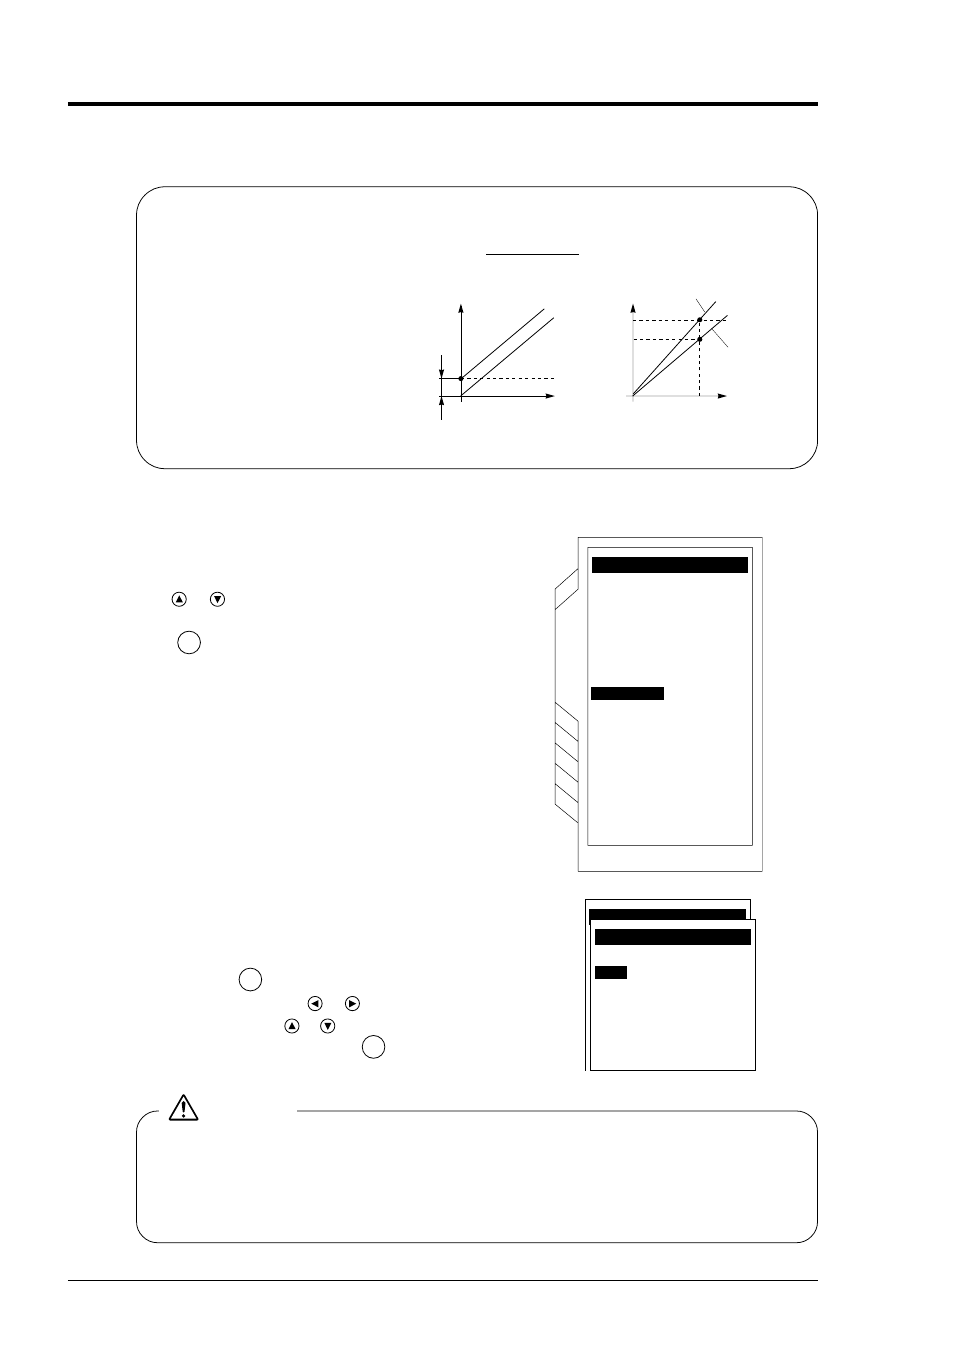
9.1.4 OUTPUT CORRECTION: when calibrating measured value (out-
put calibration function)
[Operation]
q
To open the “CALIBRATION” screen, press the
or
key on the SITE SETUP page and
select “CALIBRATION”. Then, press the
ENT
key.
w
Set zero-point and span-point.
Move the cursor to “ZERO” or “SPAN” and
press the
ENT
key. Zero and span points are
settable. Press the
or
key to move the
digit, and use the
or
key to enter a numeric
value. After entry, press the
ENT
key.
SITE SETUP
SITE SETUP
SITE SETUP
SITE SETUP
SITE SETUP
PIPE PARAMETER
ZERO ADJUST
RESPONSE SET
CUT OFF
TOTALIZE
MANUAL ZERO
50 s e c
0 . 0 0 0 m/s
--- SENSOR SPACING ---
0.0mm
PARAMETER MEMORY
CALIBRATION
CALIBRATION
SPAN 100.00 %
ZERO
ZERO
0.000 m / s
CALIBRATION
As output is corrected, measured value changes.
It is recommended to set as follows unless correction is required.
Zero point: 0.000 m/s
Span point: 100.00%
CAUTION
0
Correction
0
100
100
Calculation of output value
After correction
Before correction
Flow (%)
Flow
105
Zero point shift
Span shift
Measured
value
= Output value
Set span value
100
+ Set zero-point value
Output after correction
×
This function enables you to set
correction values.
[Settable range of zero point:
-1.000 m/s to 1.000 m/s]
[Settable range of span:
0 to 200%]
BULLETIN F-68
