How to define the audio channel input matrix, 4 how to replace a part of a timeline, Eplace a – EVS IPDirector Version 5.6 - May 2009 Part 7 User's Manual User Manual
Page 195: Art of a, Imeline
Issue 5.6.A
IPDirector V.5.6 – User Manual – Part 7: Editing - IPEdit
EVS Broadcast Equipment - 2009
186
How to Define the Audio Channel Input Matrix
1.
Right-click anywhere in the timeline and select Replace Settings.
The Replace Settings window opens.
2.
In the Audio Channel Input Matrix group box, map each channel that you
want to have in the replaced media (output channel) to the source channel
to be played on this output channel:
To map the source channel and the output channel, click at the intersection
of both channels in the grid that corresponds to the track where you want to
output the signal.
3.
Repeat the step 2 for each output channel you want to have in your replaced
media.
4.
Click Apply to save the Replace settings.
4.15.4 H
OW
T
O
R
EPLACE A
P
ART OF A
T
IMELINE
Before you can use the Replace function, ensure that the you have assigned a
recorder to IPEdit. See section 4.15.2 ‘Assigning a Recorder Channel to IPEdit’,
on page 177.
To replace a part of a timeline, proceed as follows:
1.
Right-click the timeline display and select Replace Settings.
2.
In the Replace Settings window, define the requested settings as explained
in section 4.15.3, on page 178 and click Apply to confirm the changes.
3.
In the Timeline Track Selection buttons, activate the buttons of the tracks
on which the Replace process will be performed.
4.
Set a mark IN point and, if requested, a mark OUT point to delimit the part
of the timeline to be replaced. You can also stop the Replace process
manually.
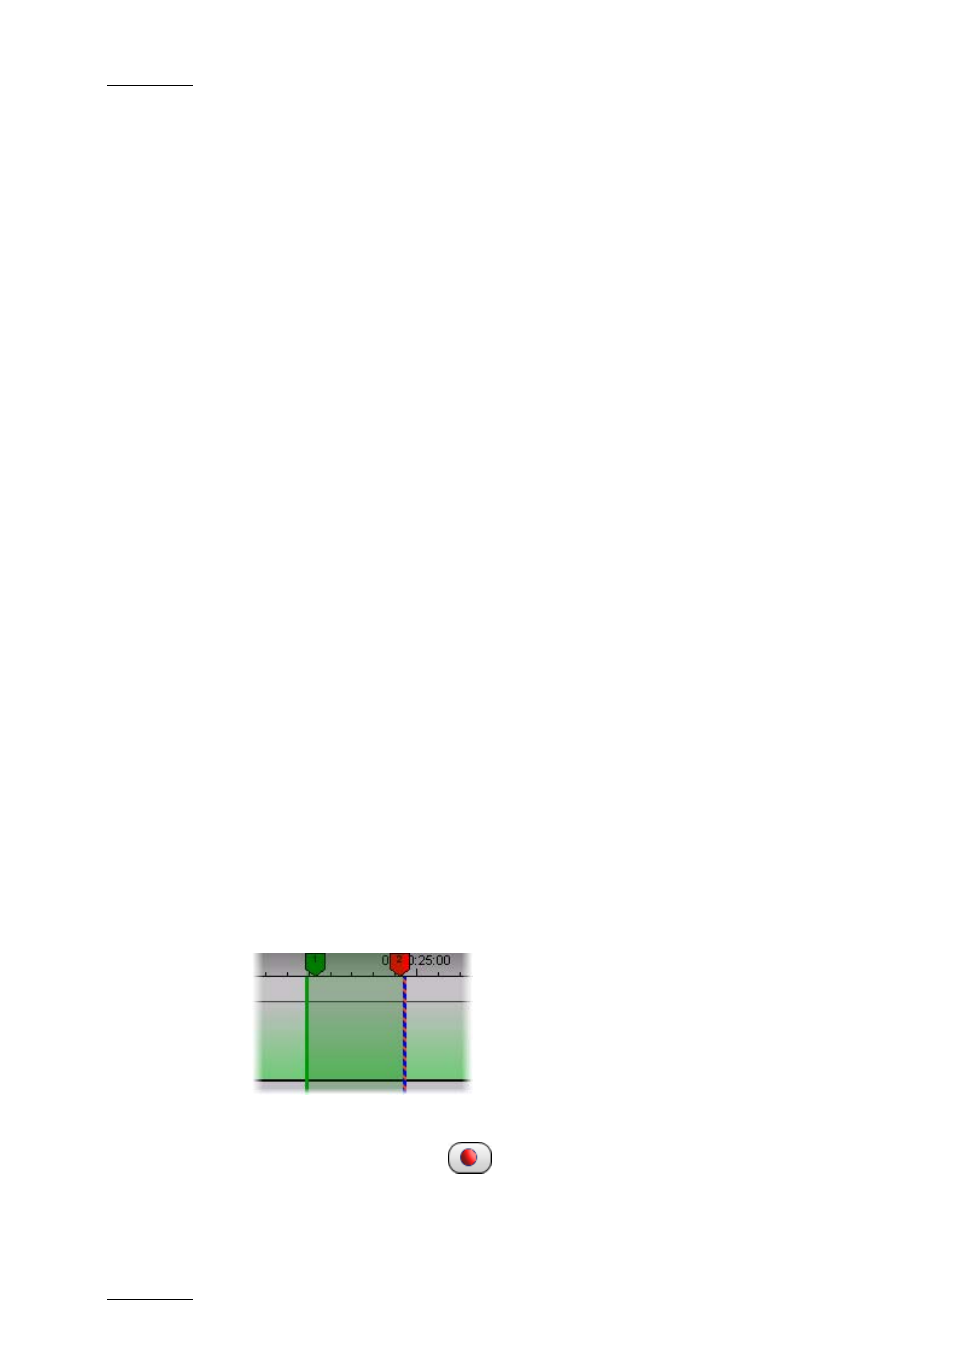
The GPIs OUT defined in the settings are displayed on the Timecode bar as
a green marker for the mark IN GPI and a red marker for the mark OUT GPI:
5.
To start the Replace process, do one of the following:
•
Click the Replace icon
to start the Replace process OR