Installing an mx480 as msc, Figure 113: removing an as msc – Juniper Networks MX480 User Manual
Page 242
•
Issue the following CLI command:
user@host>
request chassis pic fpc-slot fpc-slot pic-slot pic-slot offline
For more information about the command, see the Junos OS Operational Mode
Commands.
4.
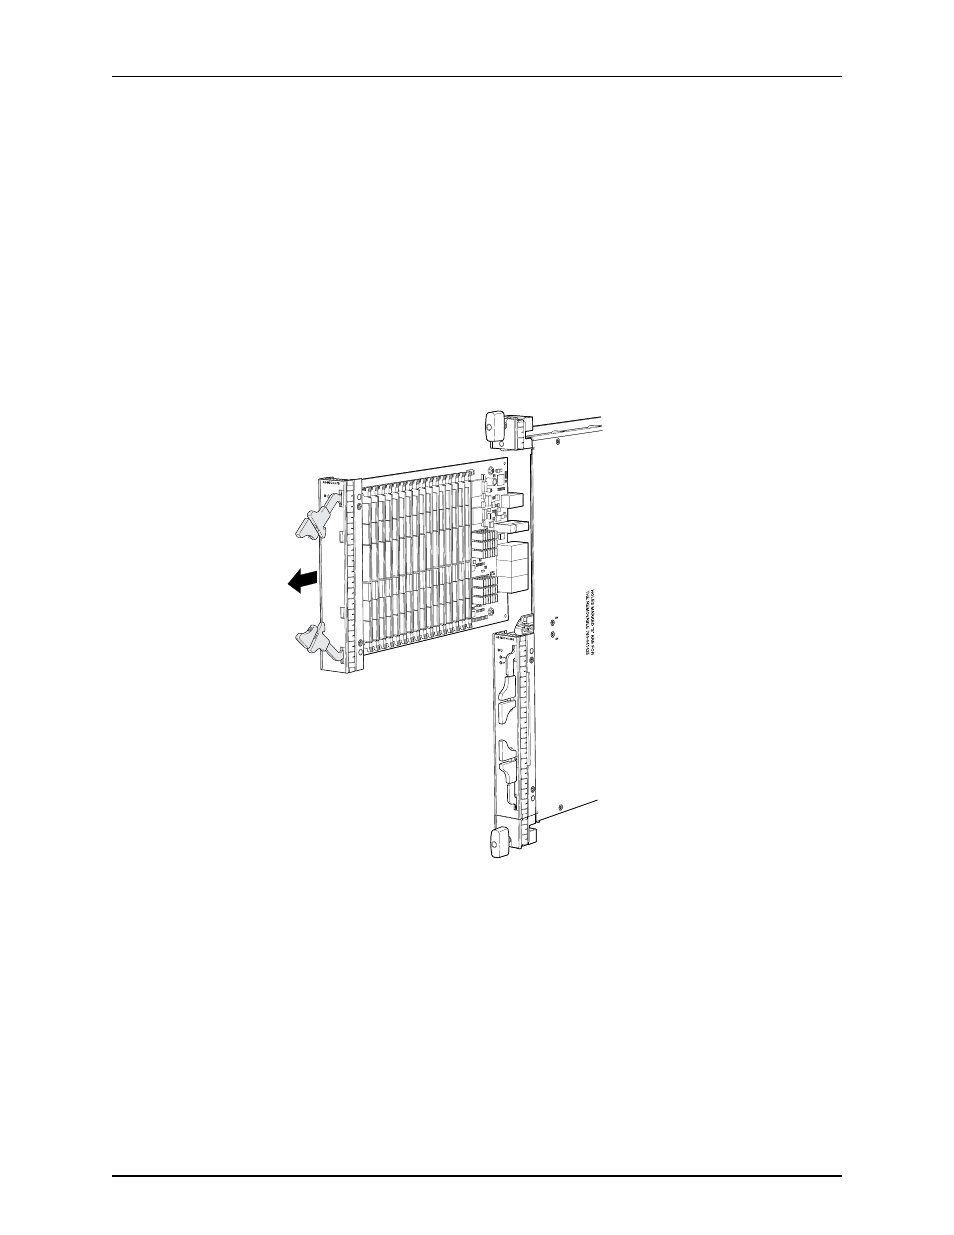
Slide the AS MSC out of the AS MLC card carrier by pulling the handles, and place it
in the electrostatic bag or on the antistatic mat.
5.
If you are not reinstalling an AS MSC into the emptied AS MSC slot within a short time,
install a blank AS MSC panel over the slot to maintain proper airflow in the AS MLC
card cage.
Figure 113: Removing an AS MSC
g006675
Installing an MX480 AS MSC
To install an AS MSC (see
):
1.
Attach an electrostatic discharge (ESD) grounding strap to your bare wrist, and connect
the strap to one of the ESD points on the chassis.
2.
Align the notches in the connector at the rear of the AS MSC with the notches in the
AS MSC slot (slot
0
—the top slot in the AS MLC ), and then slide the AS MSC in until
it lodges firmly in the AS MLC.
Copyright © 2013, Juniper Networks, Inc.
218
MX480 3D Universal Edge Router Hardware Guide