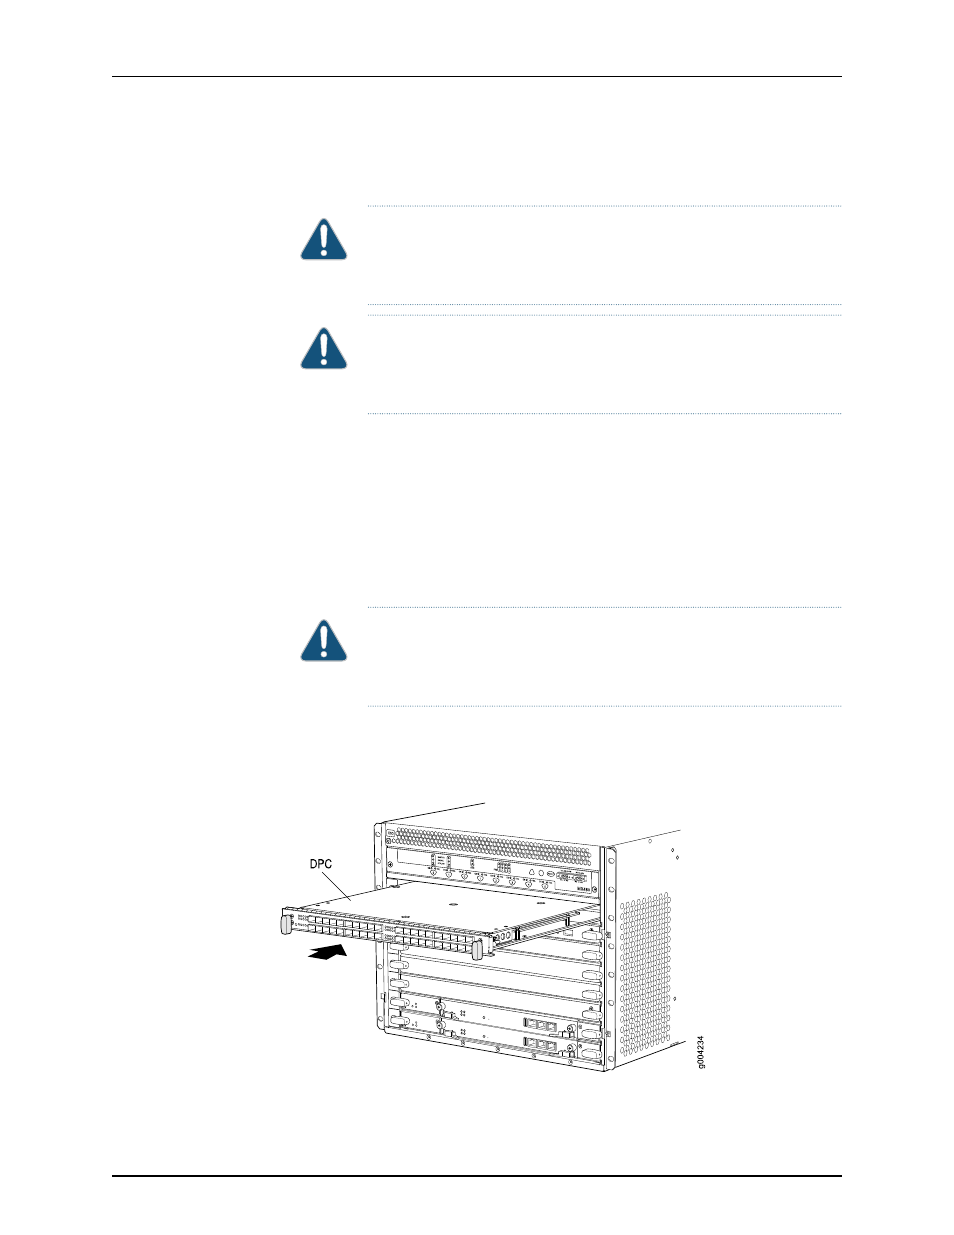
Figure 97: installing a dpc – Juniper Networks MX480 User Manual
Page 217
as it hangs to the floor. Place excess cable out of the way in a neatly coiled loop.
Placing fasteners on the loop helps to maintain its shape.
CAUTION:
Do not let fiber-optic cable hang free from the connector. Do
not allow fastened loops of cable to dangle, which stresses the cable at
the fastening point.
CAUTION:
Avoid bending fiber-optic cable beyond its minimum bend
radius. An arc smaller than a few inches in diameter can damage the cable
and cause problems that are difficult to diagnose.
12.
Use one of the following methods to bring the DPC online:
•
Press and hold the corresponding DPC online button on the craft interface until the
green
OK
LED next to the button lights steadily, in about 5 seconds.
•
Issue the following CLI command:
user@host>
request chassis fpc slot slot-number online
For more information about the command, see the Junos OS Operational Mode
Commands.
CAUTION:
After the
OK
LED turns green, wait at least 30 seconds before
removing the DPC again, removing a DPC from a different slot, or inserting
a DPC in a different slot.
You can also verify that the DPC is functioning correctly by issuing the
show chassis fpc
and
show chassis fpc pic-status
commands.
Figure 97: Installing a DPC
193
Copyright © 2013, Juniper Networks, Inc.
Chapter 14: Replacing MX480 Hardware Components