Powering on an ac-powered mx480 router, Figure 67: installing an ac power supply – Juniper Networks MX480 User Manual
Page 131
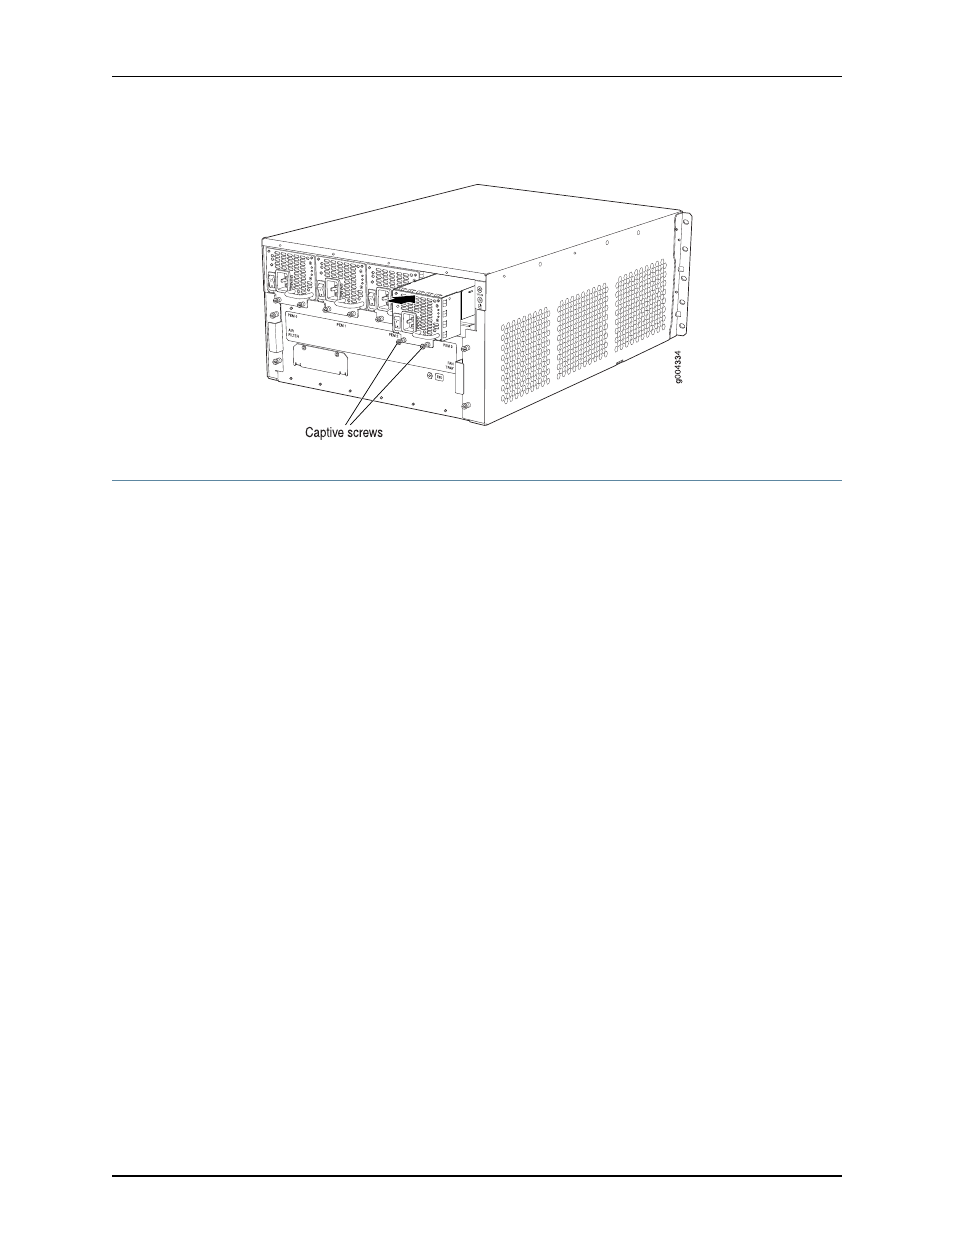
Figure 67: Installing an AC Power Supply
Powering On an AC-Powered MX480 Router
To power on an AC-powered router:
1.
Attach an electrostatic discharge (ESD) grounding strap to your bare wrist, and connect
the strap to one of the ESD points on the chassis.
2.
Verify that the power supplies are fully inserted in the chassis.
3.
Verify that each AC power cord is securely inserted into its appliance inlet.
4.
Verify that an external management device is connected to one of the Routing Engine
ports (
AUX
,
CONSOLE
, or
ETHERNET
).
5.
Turn on the power to the external management device.
6.
Switch on the dedicated customer site circuit breakers for the power supplies. Follow
the ESD and safety instructions for your site.
7.
Move the AC input switch on each power supply to the on (
|
) position and observe
the status LEDs on each power supply faceplate. If an AC power supply is correctly
installed and functioning normally, the
AC OK
and
DC OK
LEDs light steadily, and the
PS FAIL
LED is not lit.
If any of the status LEDs indicates that the power supply is not functioning normally,
repeat the installation and cabling procedures.
107
Copyright © 2013, Juniper Networks, Inc.
Chapter 10: Grounding and Providing Power to the MX480 Router