Figure 46: reinstalling an fpc, Insert the tabs into the slots, Tighten the captive screws completely – Juniper Networks MX480 User Manual
Page 105
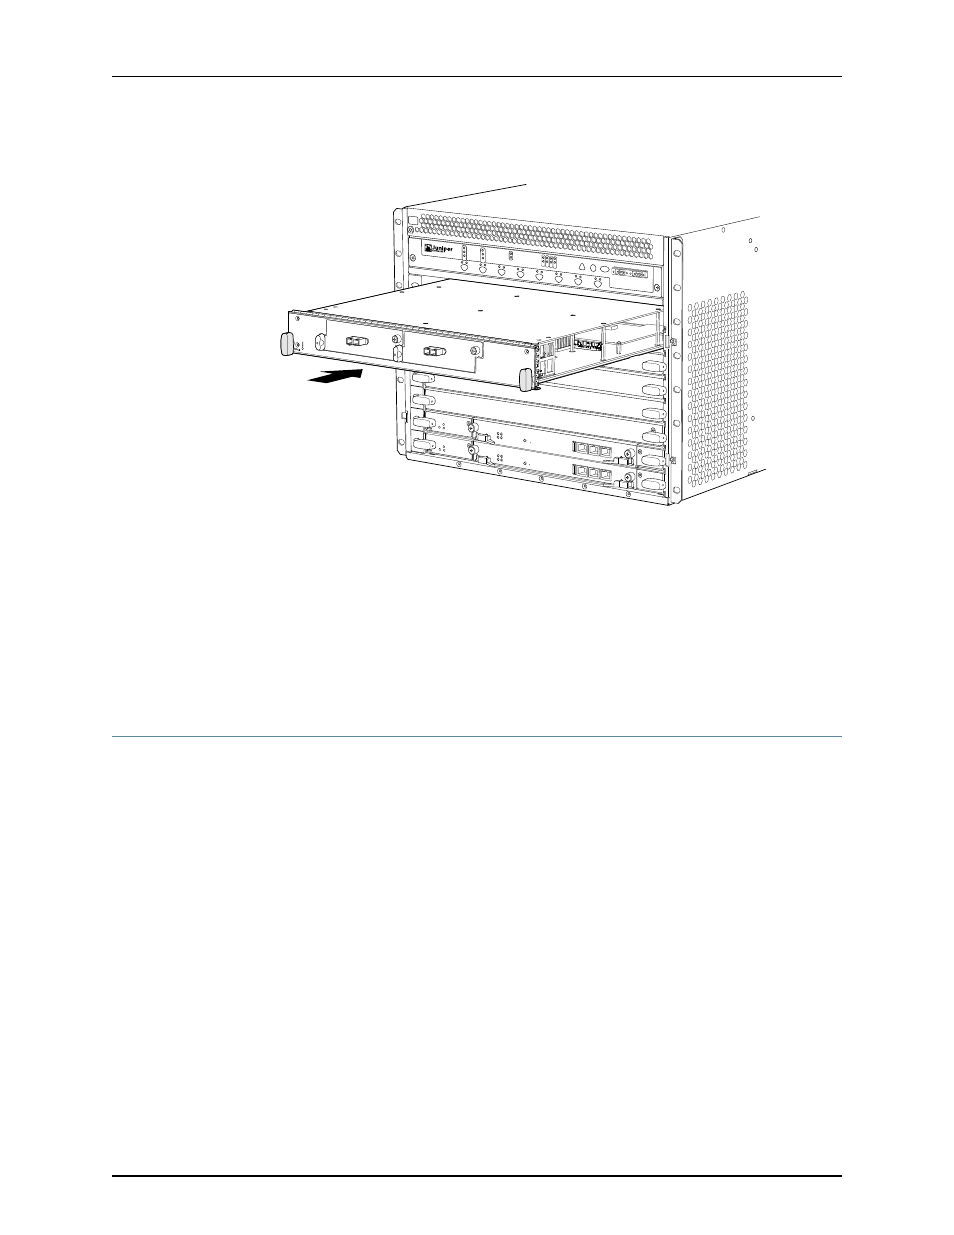
Figure 46: Reinstalling an FPC
OK
MASTER
FAN
ONLINE
OFFLINE
0
1
1
0
FAIL
FAIL
PEM
FAIL
FAIL
FAIL
FAIL
FAIL
FAIL
ESD
OK
OK
OK
OK
OK
OK
OK
2
3
4
5
ACO/LT
YELLOWALARM
REDALARM
NC
NO
C
NC
NO
C
MX480
REO
RE1
0 1 2 3
g004405
Related
Documentation
Preventing Electrostatic Discharge Damage to an MX480 Router on page 248
•
•
Tools Required to Install the MX480 Router with a Mechanical Lift on page 69
•
Removing Components from the MX480 Router Before Installing It with a Lift on
page 69
•
Installing the MX480 Router Using a Mechanical Lift on page 74
•
Installing the MX480 Router Cable Management Bracket on page 81
Installing the MX480 Router Cable Management Bracket
The cable management brackets attach to both sides of the router. To install the cable
management brackets (see
1.
Attach an electrostatic discharge (ESD) grounding strap to your bare wrist, and connect
the strap to one of the ESD points on the chassis.
2.
Position the cable management brackets on the front sides of the chassis.
3.
Insert the tabs into the slots.
4.
Tighten the captive screws completely.
81
Copyright © 2013, Juniper Networks, Inc.
Chapter 7: Installing the MX480 Router with a Mechanical Lift