Form overlay from custom boxes (form overlay), E 7-9), Document box 7-9 – TA Triumph-Adler DC 2435 User Manual
Page 265: Press the document box key, Press [print, Press [ok, Press [ok] again to return to the functions screen, Press the start key. printing begins

Document Box
7-9
7
Form Overlay from Custom Boxes (Form Overlay)
This function allows you to retrieve images (image files), overlay them into documents stored in custom boxes
and then print the results.
NOTE:
The optional Expansion Memory is required.
Use the procedure below.
1
Press the Document Box key.
2
Press [Custom Box], select the box containing the
document you want to overlay the image into and
print, and then press [Open].
NOTE:
If a custom box is protected by a password,
enter the correct password.
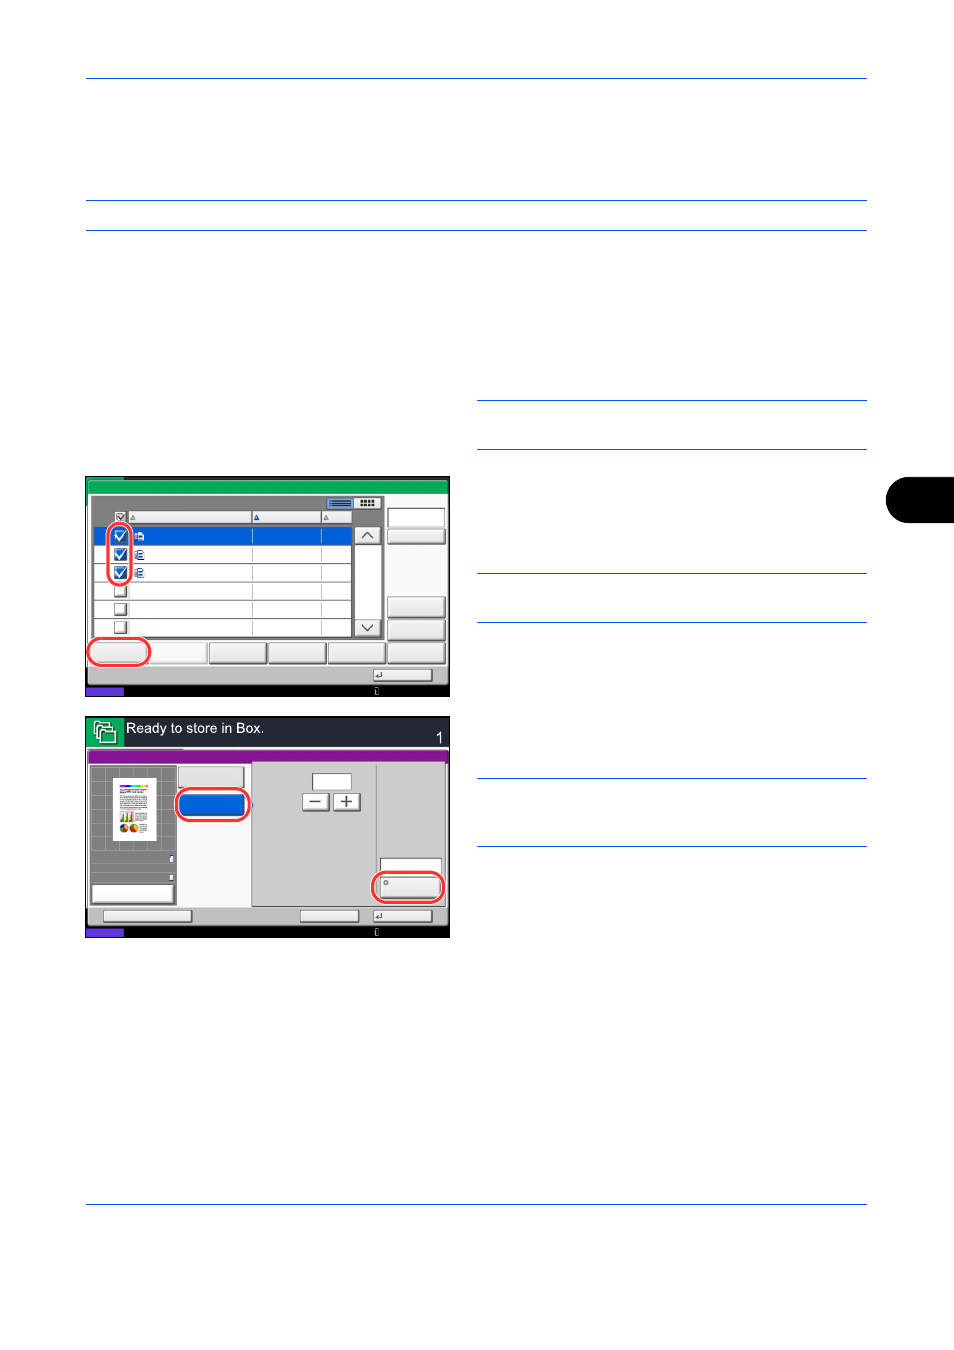
3
Select the document you wish to print by checking
the checkbox.
The document is marked with a checkmark.
NOTE:
To deselect, press the checkbox again and
remove the checkmark.
4
Press [Print].
5
Press [Functions], [Form Overlay], [Select Stored
Form], and then [Select Form].
NOTE:
You can select the form density setting through
4 levels from 10%, 20%, 30% or 100%. Press the [+] or
[-] buttons in Density.
6
In Form Overlay - Select Form, select the image file
to be overlaid onto the document from the
displayed document boxes.
You can only select one image file.
7
Press [OK].
8
Press [OK] again to return to the Functions screen.
9
Press the Start key. Printing begins.
1/1
0001
2008101010574501
2010/10/10 09:40
21
Box:
File Name
Date and Time
Size
MB
Status
2008101010574511
2008101010574521
2010/10/10 09:50
2010/10/10 10:00
MB
MB
21
21
Send
Join
Move/Copy
Delete
Store File
Detail
Preview
Close
0002
0003
Search(Name)
10/10/2010 10:10
Copies
Cancel
OK
Form Overlay
Add Shortcut
Density
Select
Stored Form
%
Off
(10 - 30, 100)
Form 1
Select
Form
Status
30
10/10/2010 10:10
100%
A4
A4
Preview
Original
Zoom
Paper
:
:
:
