HEIDENHAIN TNC 620 (34056x-04) Cycle programming User Manual
Page 408

Touch Probe Cycles: Special Functions
17.7
CALIBRATE TS RADIUS INSIDE (Cycle 462, DIN/ISO: G462, software
option 17)
17
408
TNC 620 | User's Manual Cycle Programming | 5/2013
17.7
CALIBRATE TS RADIUS INSIDE (Cycle
462, DIN/ISO: G462, software option
17)
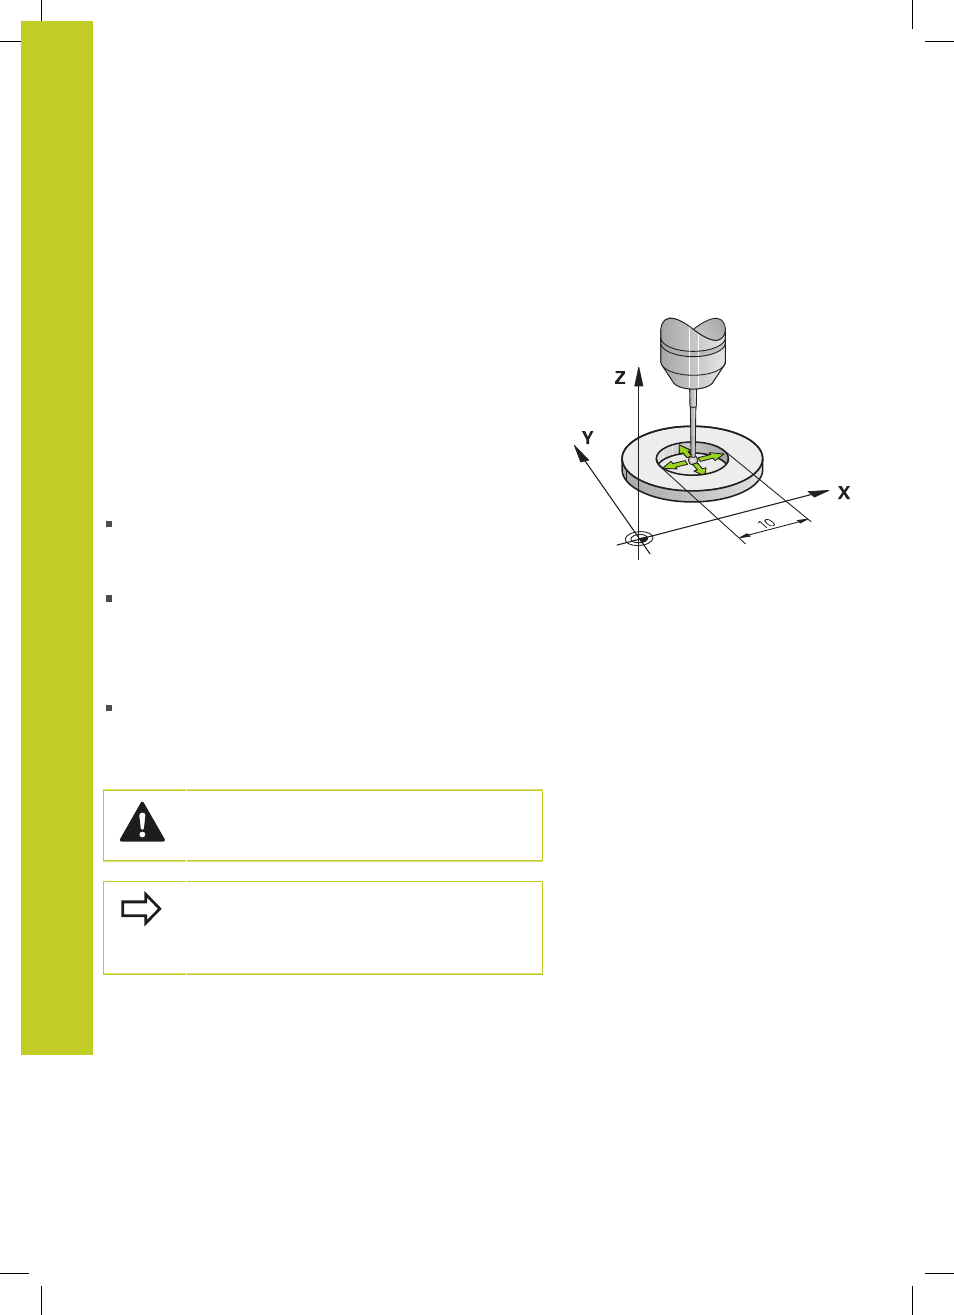
Cycle run
Before starting the calibration cycle, you need to preposition the
touch probe in the center of the calibration ring and at the required
measuring height.
When calibrating the ball tip radius, the TNC executes an automatic
probing routine. During the first probing cycle, the TNC determines
the center of the calibration ring or stud (coarse measurement)
and positions the touch probe in the center. Then the ball tip
radius is determined during the actual calibration process (fine
measurement). If the touch probe allows probing from opposite
orientations, the center offset is determined during another cycle.
The touch probe orientation determines the calibration routine:
No orientation possible or orientation possible in only one
direction: The TNC executes one approximate and one fine
measurement and determines the effective ball tip radius
(column R in tool.t)
Orientation possible in two directions (e.g. HEIDENHAIN touch
probes with cable): The TNC executes one approximate and
one fine measurement, rotates the touch probe by 180° and
then executes four more probing operations. The center offset
(CAL_OF in tchprobe.tp) is determined in addition to the radius
by probing from opposite orientations.
Any orientation possible (e.g. HEIDENHAIN infrared touch
probes): For probing routine, see "orientation possible in two
directions."
Please note while programming:
HEIDENHAIN only gives warranty for the function of
the probing cycles if HEIDENHAIN touch probes are
used.
Before a cycle definition you must have programmed
a tool call to define the touch probe axis.
The center offset can be determined only with a
suitable touch probe.
