Cycle run – HEIDENHAIN TNC 620 (34056x-04) Cycle programming User Manual
Page 392

Touch Probe Cycles: Automatic Workpiece Inspection
16.13 MEASURE PLANE (Cycle 431, DIN/ISO: G431, software option 17)
16
392
TNC 620 | User's Manual Cycle Programming | 5/2013
16.13
MEASURE PLANE (Cycle 431, DIN/ISO:
G431, software option 17)
Cycle run
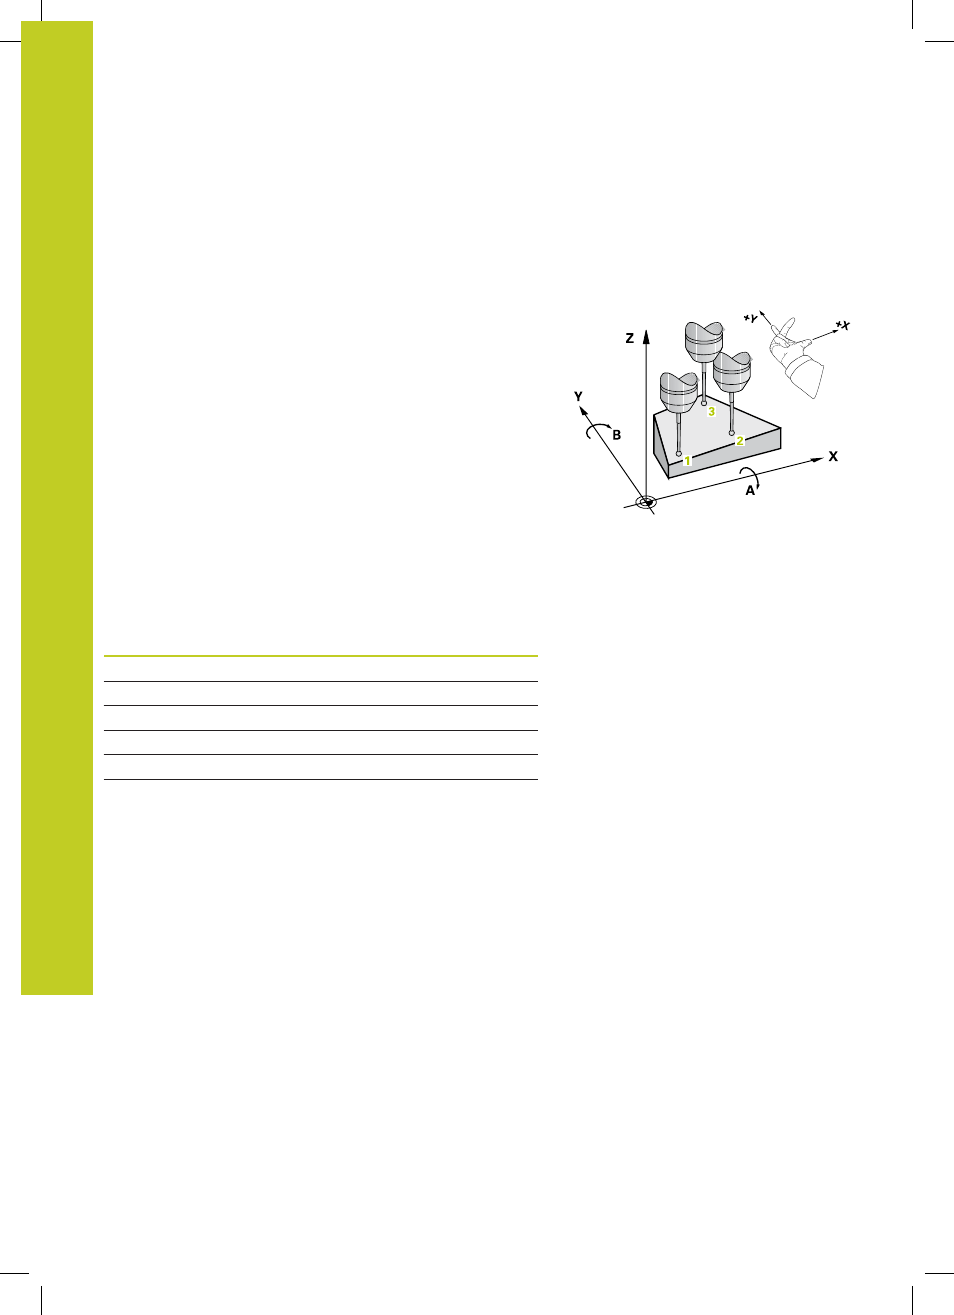
Touch Probe Cycle 431 finds the angle of a plane by measuring
three points. It saves the measured values in system parameters.
1 Following the positioning logic (See "Executing touch probe
cycles", page 280), the TNC positions the touch probe at rapid
traverse (value from
FMAX column) to the programmed starting
point
1
and measures the first touch point of the plane. The TNC
offsets the touch probe by the safety clearance in the direction
opposite to the direction of probing.
2 The touch probe returns to the clearance height and then moves
in the working plane to starting point
2
and measures the actual
value of the second touch point of the plane.
3 The touch probe returns to the clearance height and then moves
in the working plane to starting point
3
and measures the actual
value of the third touch point of the plane.
4 Finally the TNC returns the touch probe to the clearance
height and saves the measured angle values in the following Q
parameters:
Parameter number
Meaning
Q158
Projection angle of the A axis
Q159
Projection angle of the B axis
Q170
Spatial angle A
Q171
Spatial angle B
Q172
Spatial angle C
Q173 to Q175
Measured values in the touch probe
axis (first to third measurement)
