2 installing the upper ftm, 3 removing the lower ftm, Figure 4-4 – Artesyn Centellis 4410 (AXP-1410) Installation and Use (July 2014) User Manual
Page 104: Lower front ftm ejector handles and leds
FRU Installation
AXP 1410 Installation and Use (6806800H70L)
104
4.4.2
Installing the Upper FTM
Installation Procedure
Have the correct FTM available and follow these steps to install the upper fan tray module.
1. While supporting the FTM, align the FTM carefully into the fan slot in the shelf and
slowly slide the FTM until the ejector handles engage; fully close the handles.
The FTM is connected when the assembly is firmly seated in the upper backplane
connector and the hot swap handle moves to the closed position.
2. Tighten the chassis retention screw to secure the FTM. The recommended torque
settings is 5 inch-pounds.
When the blue LED turns off, the fan is operating.
4.4.3
Removing the Lower FTM
Removal Procedure
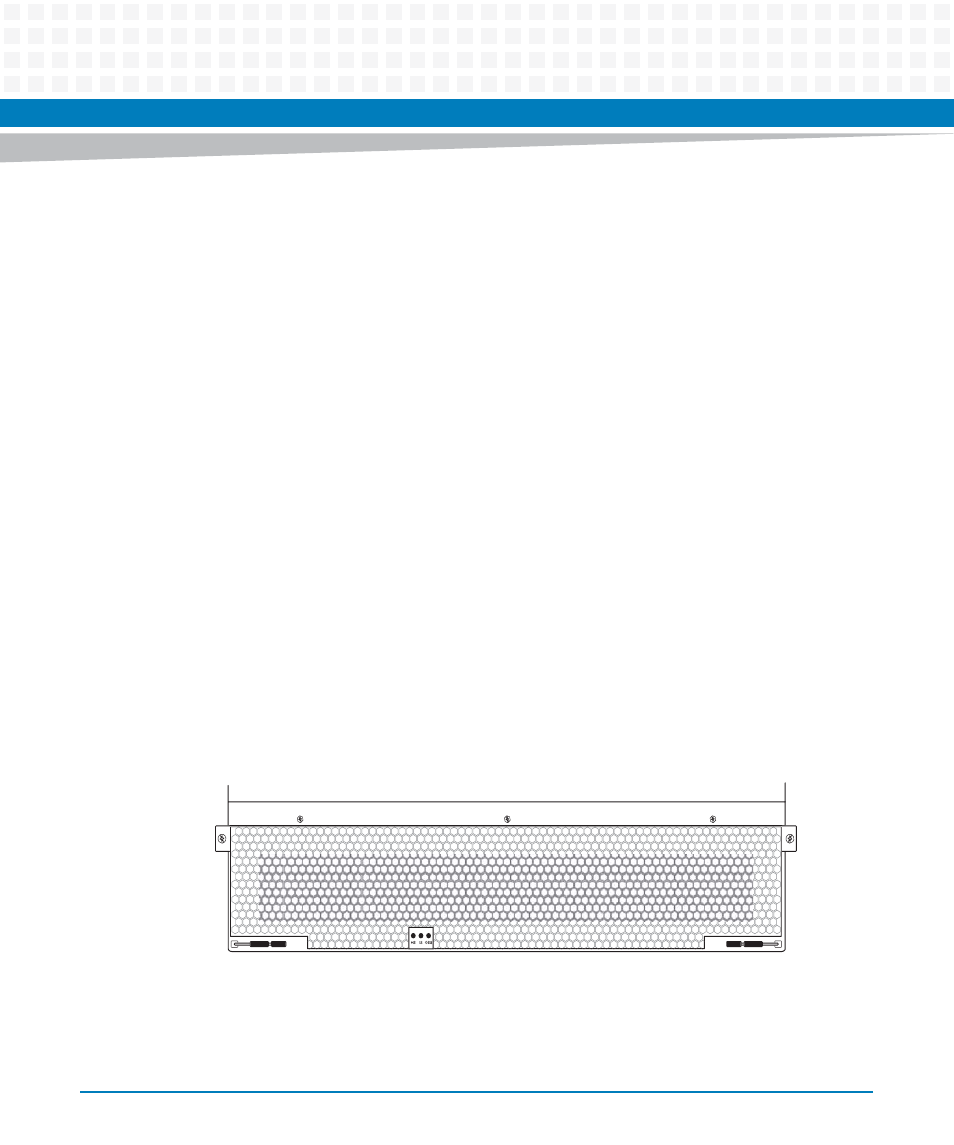
Follow these steps and refer to the figure to remove the lower front fan tray module from the
shelf.
1. Using a Phillips screwdriver, loosen the two chassis retention screws.
2. Open the ejector handle and wait for the blue LED to go solid and steady. This
indicates that the FTM is ready to be removed.
Figure 4-4
Lower Front FTM Ejector Handles and LEDs