Attenuator, P. 70 – Toa M-864D Ver.2.2.0 User Manual
Page 70
70
Step 6. Adjust the filter.
6-1. Adjust the filter strength.
The automatically created filter is set to a standard level of strength. To adjust it, use the Global Gain
Control button located on the global settings panel of the Detail Settings panel. (See
.)
Click the lower [Aggressive] button to make the filter relatively stronger, or the upper [Moderate] button
to modulate its strength.
To return the filter to standard strength, click the [Normal] button in the center. Filter strength can also
be finely adjusted with the slider.
6-2. Manually changing the filter.
Values can be changed by dragging the filter point in the filter control field or by using the Frequency
or Gain controls on the individual settings panel of the Detail Setting panel.
tip
To cancel the manually changed parameter and revert it to the automatically created parameter, click
the Default button on the Individual Settings panel appearing through the Point tab to cancel individual
points, and click the All Default button on the Global Settings panel appearing through the All Point tab
to cancel all points simultaneously.
[when canceling the set arC data]
The ARC box handles the following 3 types of data:
(1) Actual operation filter data
(2) Filter data created by measurement
(3) Measurement parameters (measurement start and stop frequencies, sweep time, and output level
compensation)
The above data can be cancelled by the following methods.
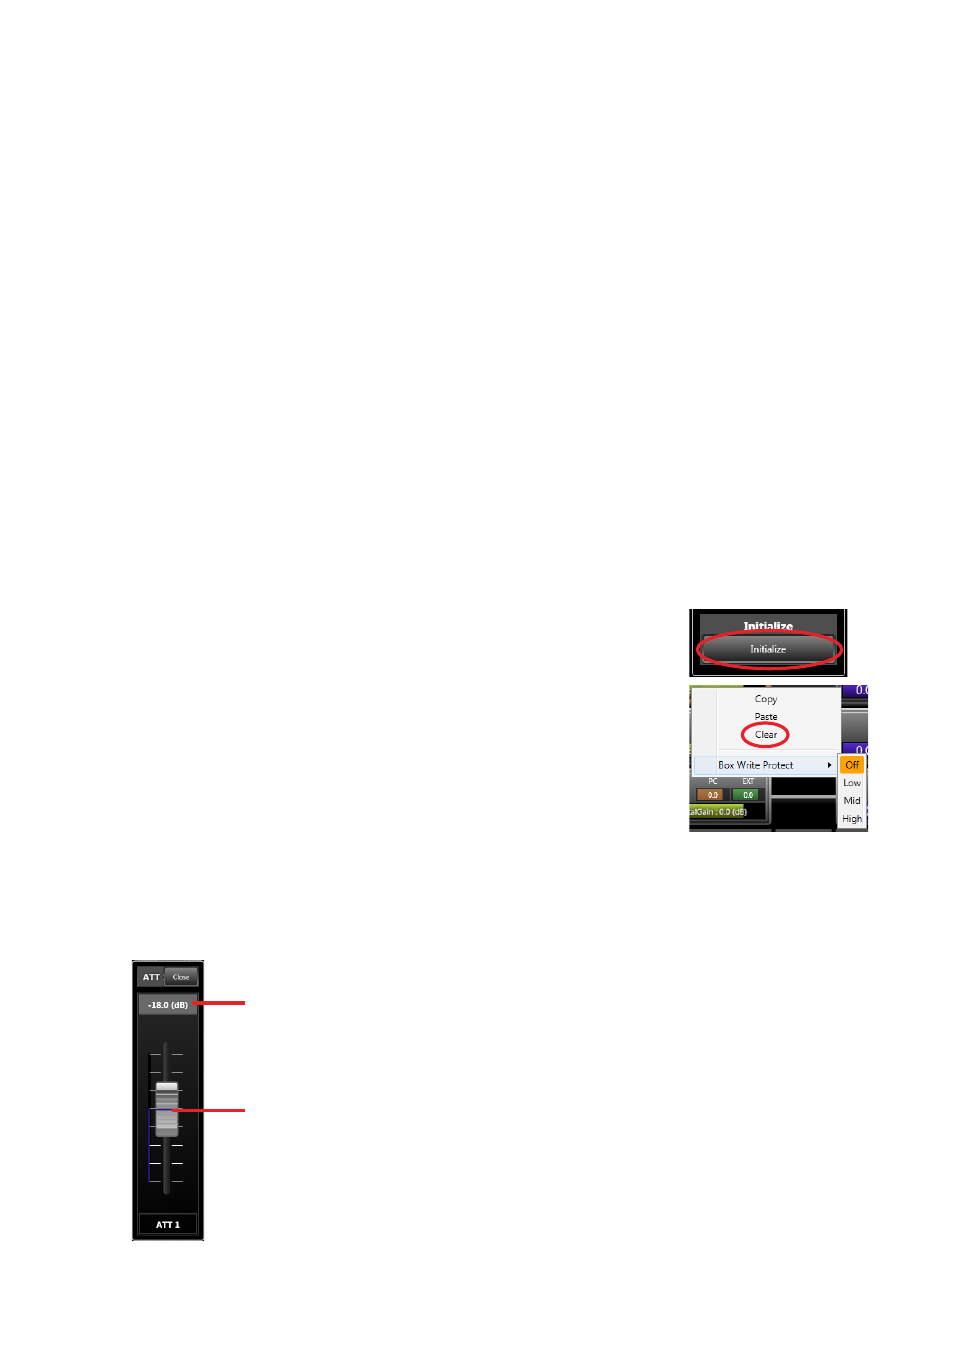
• To cancel the above data (2), click the [Initialize] button on the Detailed Settings
panel appearing through the Measure tab only while in online mode.
• To cancel the above data (1) and (3), select “Clear” from the menu appearing by
right-clicking on the ARC box. (For default settings, see
7.11. attenuator
This function box for monaural and recording outputs is used to set the attenuation of each output.
(1) Gain Display
(2) Fader
1. Gain Display
Indicates the attenuator gain.
2. fader
Sets the attenuator gain. A fader knob is displayed
in the position corresponding to the gain value.
Drag the fader knob to operate the fader. The
attenuation varies in 6 dB steps (fixed).