Replacing rp5470 memory dimms, Display board removal – HP 9000 rp5400 Servers User Manual
Page 125
Replacing rp5470 Memory DIMMs
To replace an rp5470 memory DIMM, perform the following steps:
1.
Seat the memory DIMM into its socket on the Memory Carrier.
2.
Press the extractor levers on each end of the memory DIMM slot inward until the levers
snap into place.
3.
Attach the Memory Clip to the Memory Carrier with the DIMM slot markings on the top of
the Memory Clip aligned with the DIMM slot markings on the Memory Carrier. Secure the
Memory Clip using the captive screws.
4.
Seat the Memory Carrier into the slot on the System Board.
5.
Push down on the extractor levers and snap them into place.
Display Board Removal
The Display Board contains the server's ON/OFF switch and five LEDs that indicate server status
when power is applied.
CAUTION:
The Display Board is not a HotSwap or HotPlug unit. Ensure that the server is
powered-down prior to removal.
To remove the Display Board, perform the following tasks:
1.
Remove the three T-10 screws that hold the Display Board in place near the top of the chassis
front.
2.
Remove the two T-15 screws that hold the front Chassis Fan in place and extract the fan
from the server.
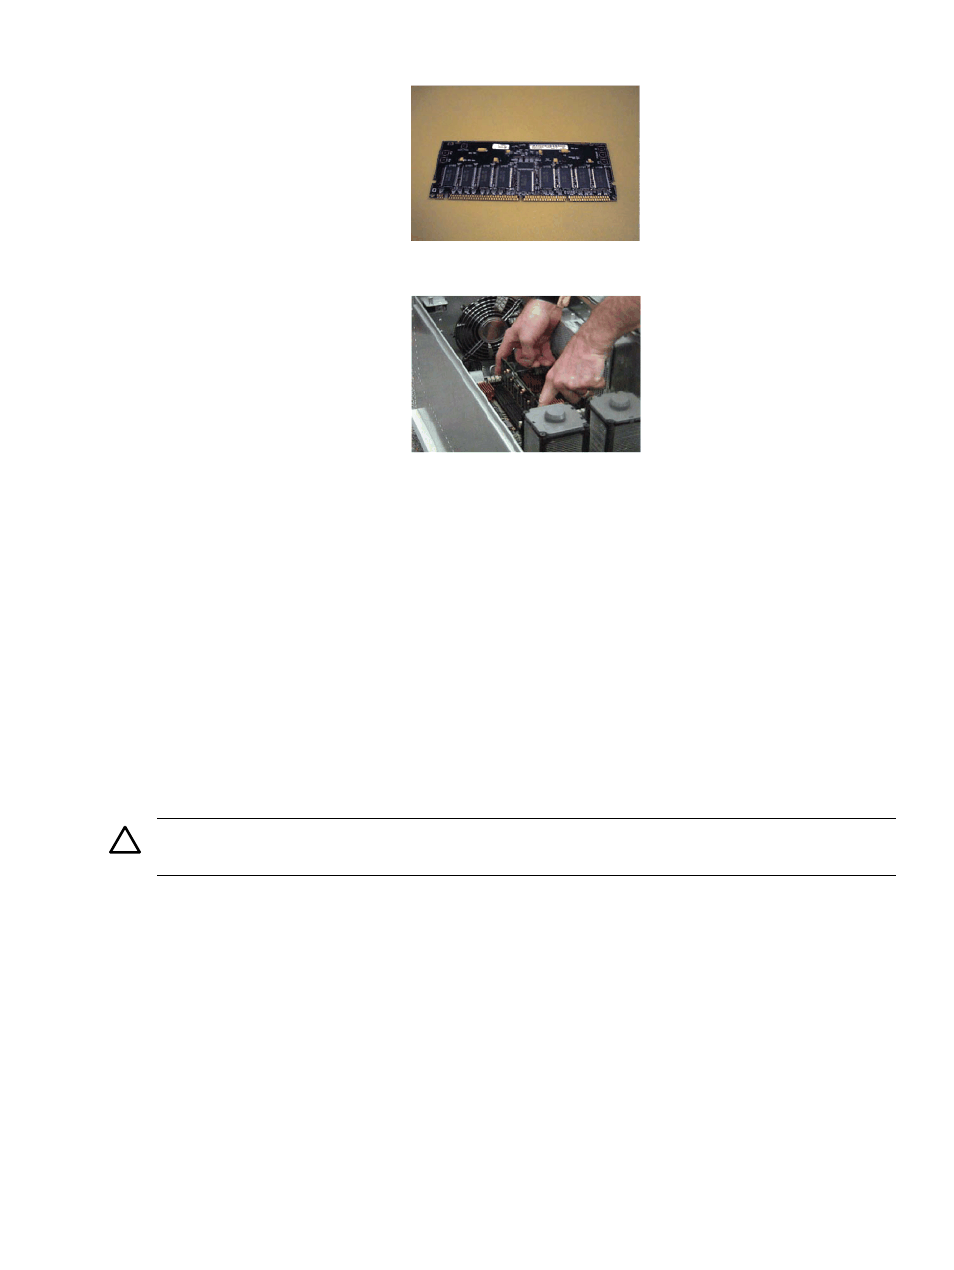
3.
Reach up through the top of the Chassis Fan cavity and carefully pull the Display Board
back to free the LEDs and the On/Off switch from their chassis openings. Pull the Display
Board down through the Chassis Fan cavity.
4.
Disconnect the ribbon cable from the Display Board, and place the display board on a suitable
work surface.
The following graphic shows the Display Board access location (item 1) (looking up from the
bottom of the front of the server).
Individual Component Remove/Replace Instructions
125