Hotswap chassis fan cover removal – HP 9000 rp5400 Servers User Manual
Page 117
NOTE:
HP often uses different manufacturers for disks, but assigns the same product number.
The hot swap manual procedure will not update disk driver internal information to that of the
replaced disk drive.
1.
Perform an ioscan on the replaced disk drive to ensure that it is accessible (claimed), to double
check that it is a proper replacement, and that the device files are present. Refer to the above
note.
For example: # ioscan -fnC disk
2.
Restore the LVM configuration/headers onto the replaced disk drive from your backup of
the LVM configuration with the following entry:
# vgcfgrestore -n
For example: # vgcfgrestore -n /dev/vg00 /dev/rdsk/cXtXdX
3.
Attach the new disk drive to the active volume group with the following vgchange command:
# vgchange -A y
For example: # vgchange -A y /dev/vg00
4.
Use the mkboot command to make the device bootable.
For example: # mkboot /dev/rdsk/cXtXdX
5.
Use the mkboot command again to add the HP-UX auto-file-string.For example: # mkboot
-a "hpux" /dev/rdsk/cXtXdX
6.
Run lvlnboot with the following command: # lvlnboot -R
7.
Resynchronize the mirrors of the replaced disk drive with the following command. It may
take several minutes to copy all the data from the original copy of the data to the mirrored
extents. The logical volume(s) are still accessible to users' applications during this command.
# vgsync
For example: # vgsync /dev/vg00
At this point the system will be fully functional.
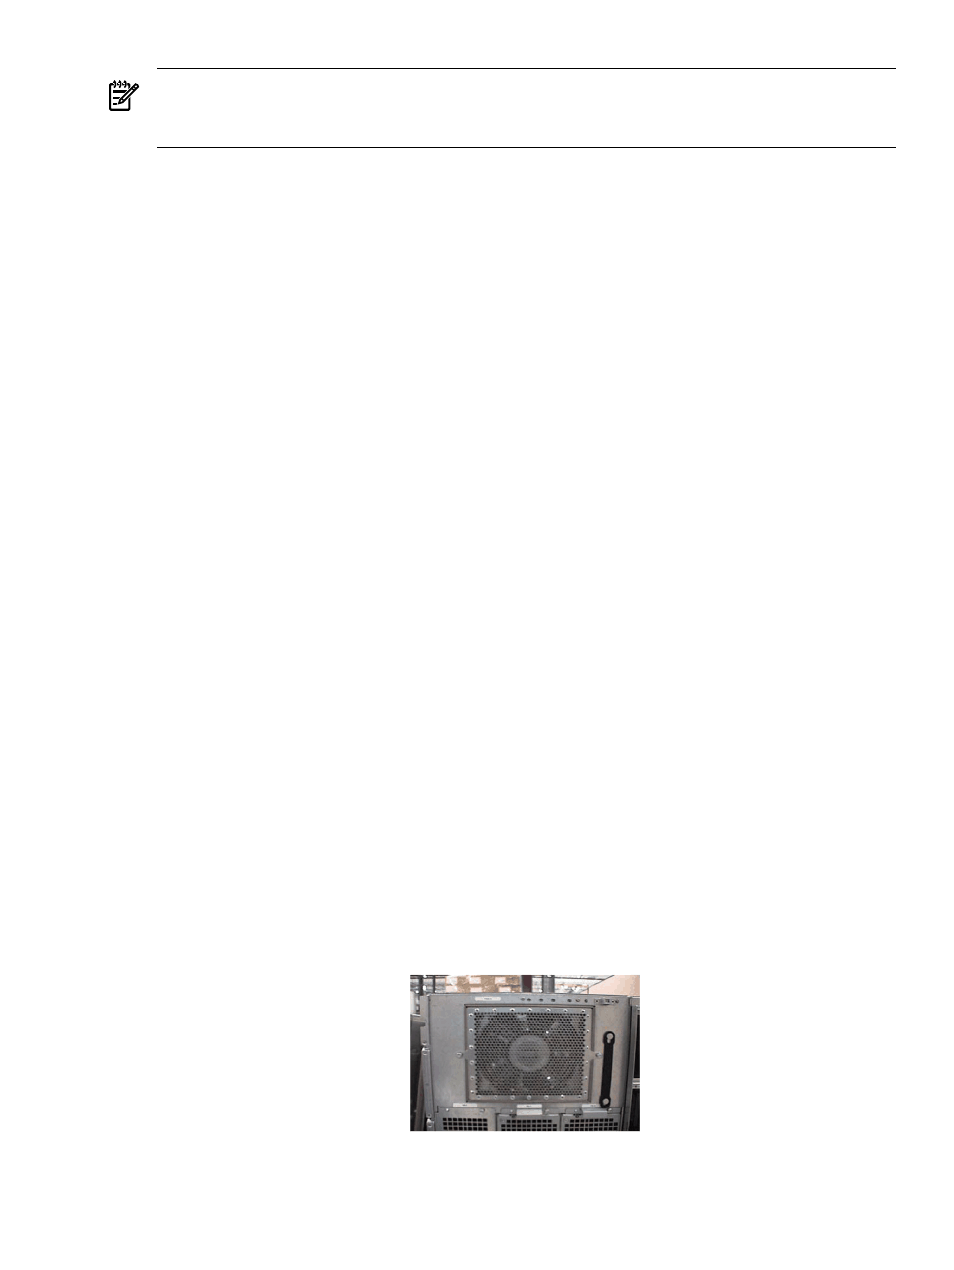
HotSwap Chassis Fan Cover Removal
Power to the server does not have to be off to remove or replace a HotSwap Chassis fan cover.
Fan number 0 is in the front of the server and fan number 1 is at the rear of the server.
To remove a fan cover from the server, perform the following steps:
1.
Loosen the captive T-15 screws from the sides of the cover.
2.
Gently pry the cover away from the server and set it aside.
The following graphic shows a Chassis Fan Cover in place.
Individual Component Remove/Replace Instructions
117