Front bezel removal (single piece), Front bezel replacement (single piece) – HP 9000 rp5400 Servers User Manual
Page 105
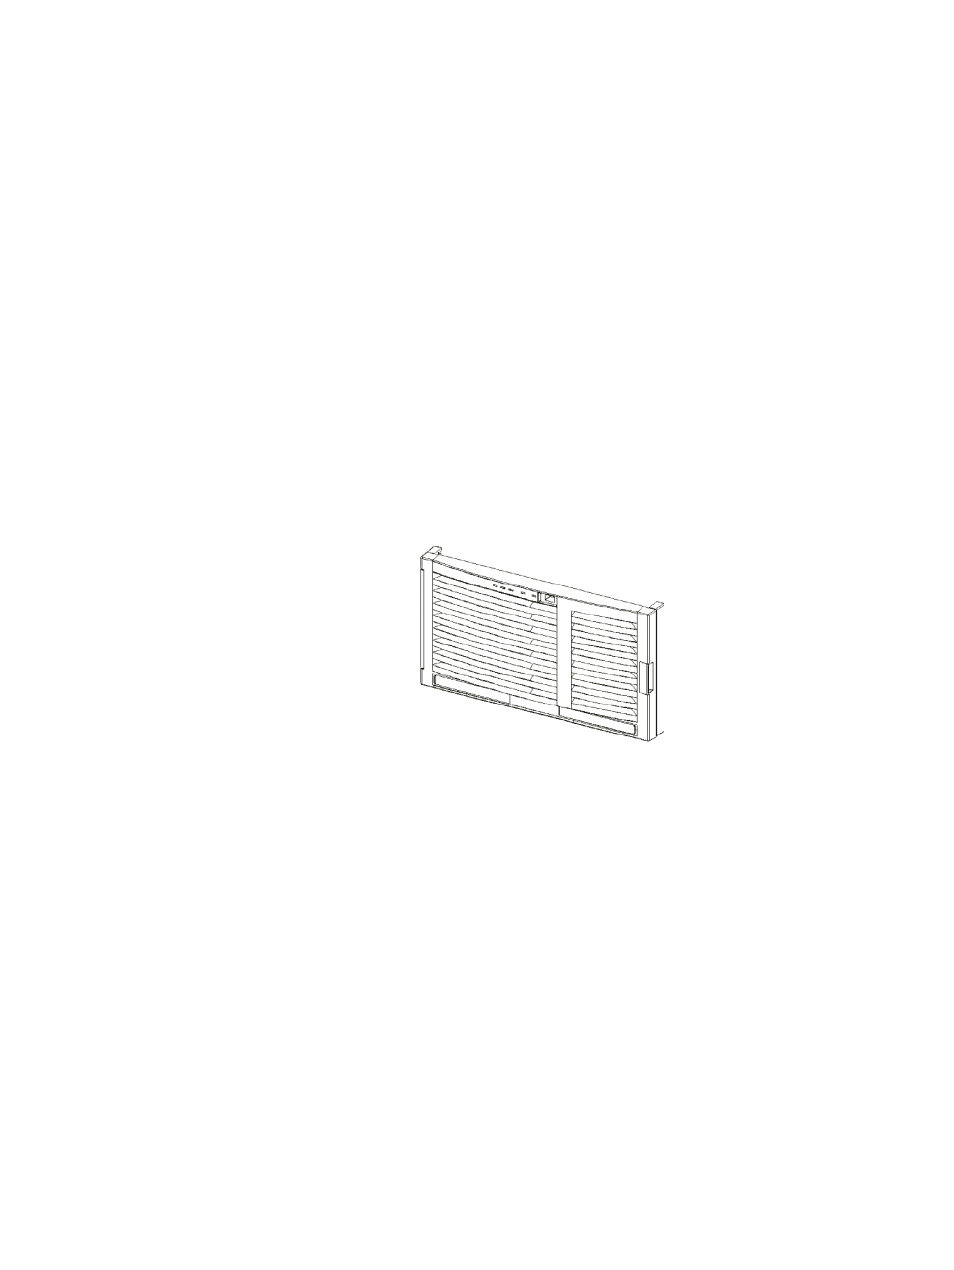
Front Bezel Removal (Single Piece)
The rp54xx server front bezel is hinged on the left (facing the front of the server). The server does
not have to be turned off to open or to completely remove the bezel.
Opening the door provides access to the following components:
•
HotPlug Disks (A0, A1, and B0, B1).
•
Removable Media (CD-ROM drive, etc.).
•
HotSwap Chassis Fan cover.
•
HotSwap Chassis Fan 0.
•
HotSwap Power Supplies (up to three).
To open the front bezel, grasp the right edge of the bezel and pull out. The bezel will swing away
from the chassis.
To remove the entire bezel, perform the following steps:
1.
Open the front bezel and swing it to the left as far as possible.
2.
Pry the hinge cover, located on the left side of the server, off the chassis.
3.
While supporting the bezel, remove the screws that secure the bezel hinge to the left side
of the server.
4.
Grasp the left side of the bezel and pull it loose.
The following graphic shows the front bezel.
Front Bezel Replacement (Single Piece)
The rp54xx server front bezel is hinged on the left (facing the front of the server). The server does
not have to be turned off to open or to completely remove the bezel.
The bezel encloses the following components:
•
HotPlug Disks (A0, A1, and B0, B1).
•
Removable Media (CD-ROM drive, etc.).
•
HotSwap Chassis Fan cover.
•
HotSwap Chassis Fan 0.
•
HotSwap Power Supplies (up to three).
To attach the bezel, perform the following steps:
1.
Screw the bezel hinge to the threaded inserts on the left side of the server.
2.
Install the hinge cover by aligning the notch in the top of the cover with the top of the
assembly cover and press firmly into place.
The following graphic shows the front bezel.
Individual Component Remove/Replace Instructions
105