Hotswap chassis fan cover replacement, Hotswap chassis fan removal, Hotswap chassis fan replacement – HP 9000 rp5400 Servers User Manual
Page 118
HotSwap Chassis Fan Cover Replacement
The power to the server does not have to be off to remove or replace a HotSwap Chassis Fan
cover. Fan number 0 is located in the front of the server and fan number 1 is located at the rear
of the server.
To replace a chassis fan cover, perform the following tasks:
1.
Insert the cover into position in front of the fan.
2.
Tighten the captive T-15 screws on each side of the cover.
The following graphic shows a HotSwap Chassis Fan Cover.
HotSwap Chassis Fan Removal
The power to the server does not have to be off to remove or replace a HotSwap Chassis fan. Fan
number 0 is in the front of the server and fan number 1 is at the rear of the server.
To remove a fan from the server, perform the following steps:
1.
Check the fan LED located on the fan. If the LED is illuminated, the fan has failed.
NOTE:
When one fan has failed (or is removed from the server), the system automatically
puts the remaining fan into high speed mode. The noise level of the server will increase.
2.
Grasp the fan grill and gently pull toward you. The fan assembly will unplug from the
electrical outlet and slide out of the server.
CAUTION:
Running the server for extended periods of time with a cooling fan removed may
create hot spots inside the server and possibly shorten component life.
If the other fan fails when one fan is removed, the system will halt.
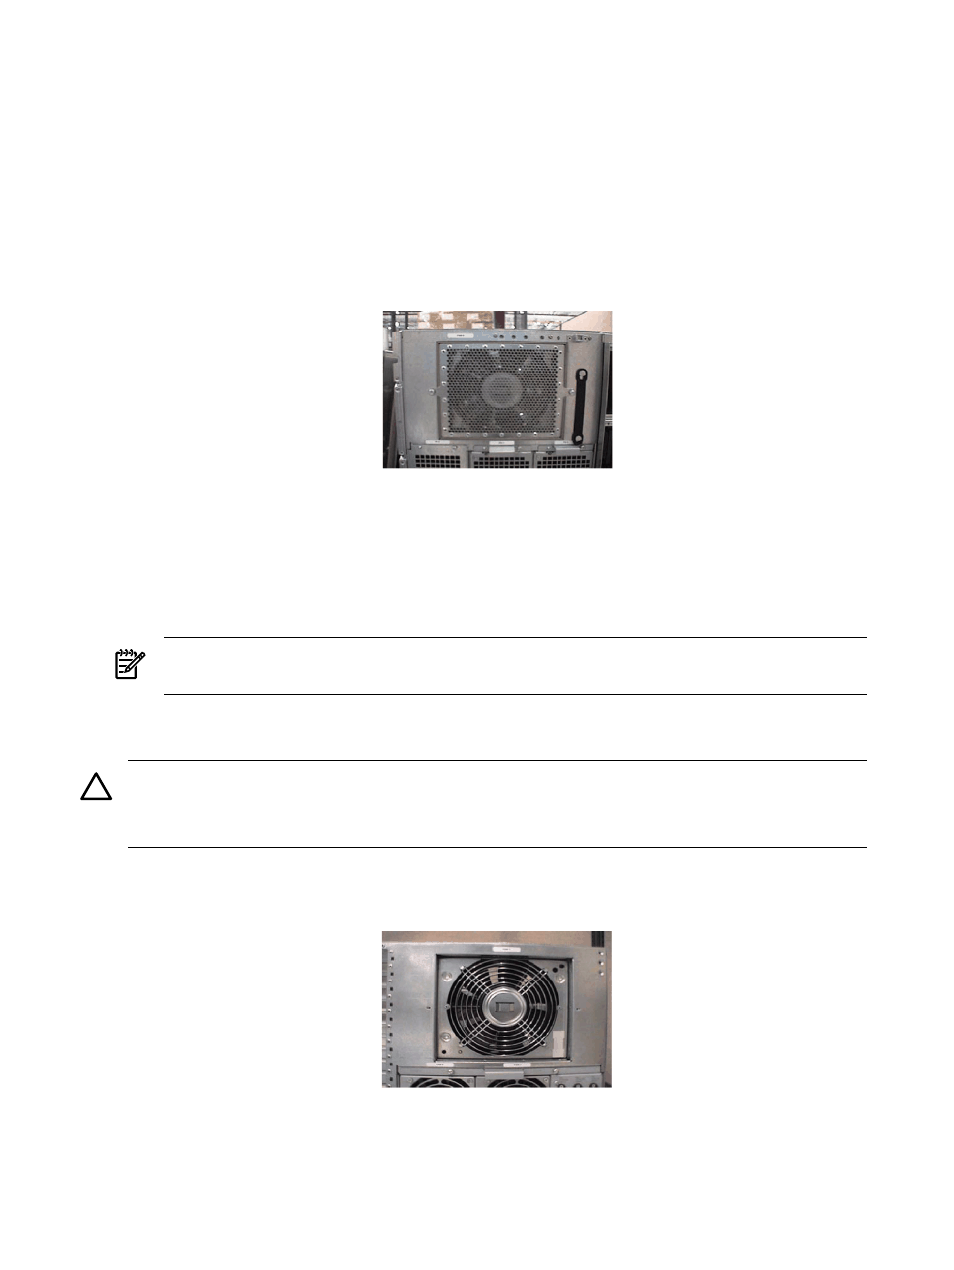
The following graphic shows a HotSwap Chassis Fan.
HotSwap Chassis Fan Replacement
The power to the server does not have to be off to remove or replace a HotSwap Chassis fan. Fan
number 0 is located in the front of the server and fan number 1 is located at the rear of the server.
118
Removing and Replacing Components