Core i/o removal, Core i/o replacement, Core i/o removal core i/o replacement – HP 9000 rp5400 Servers User Manual
Page 108
4.
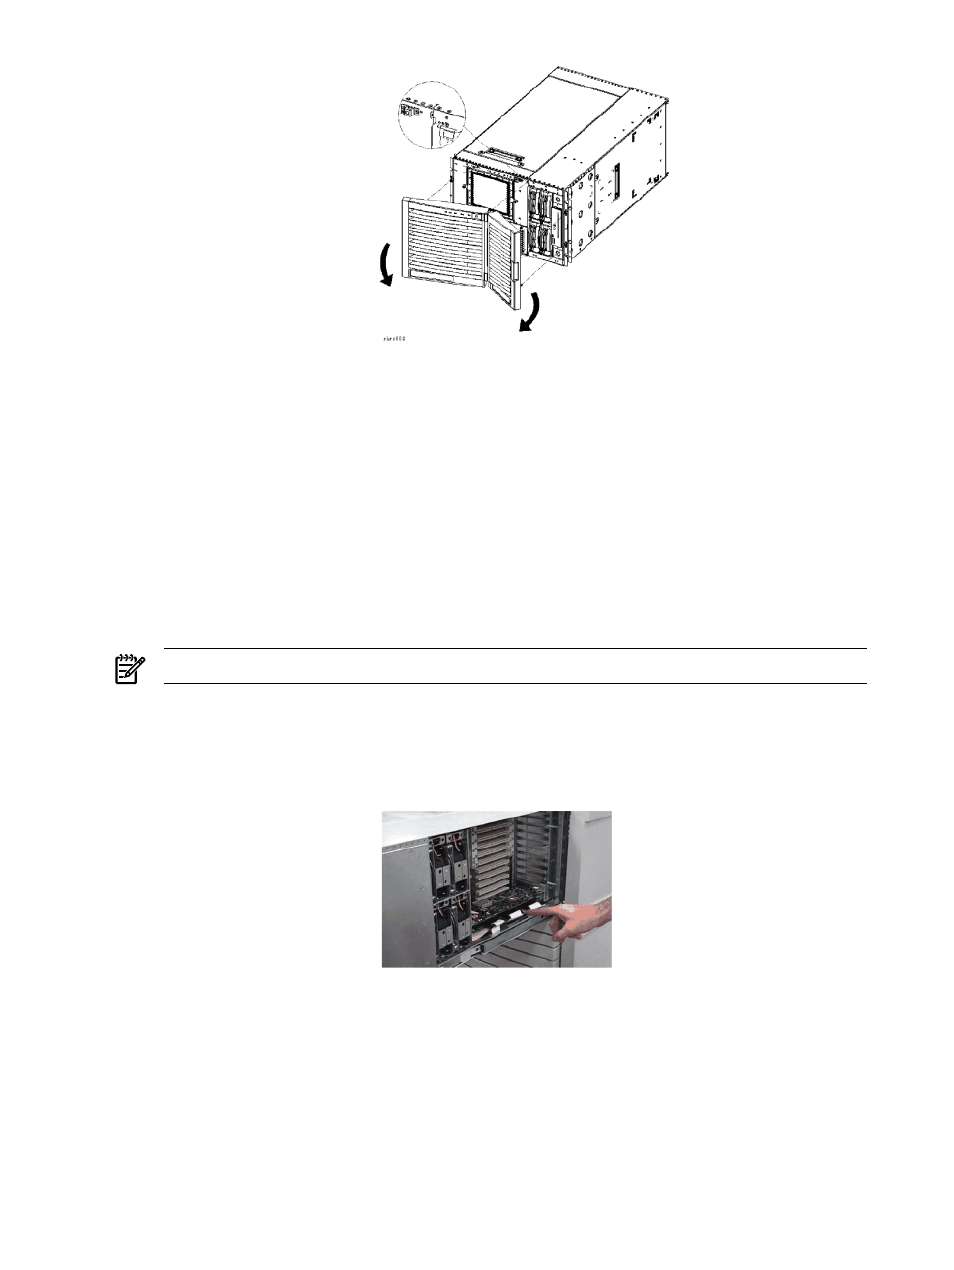
Swing the Disk Media access door closed and attach it to the right side of the server chassis.
Core I/O Removal
rp54xx Core I/O functions are contained on the GSP revision A/B and LAN/SCSI cards. Both
cards are located on the PCI Backplane in the side service bay. The LAN/SCSI card is in I/O slot
1 and the GSP revision A/B card is in I/O slot 2.
Before removing either of the Core I/O cards from the server, perform the following tasks:
•
Power down the server.
•
Detach all power cords from the server.
To remove a Core I/O card from the server, perform the following steps:
1.
Remove all cables attached to the Core I/O card at the rear bulkhead.
NOTE:
Be sure to label the cables before removing them.
2.
Disconnect any ribbon cable connectors attached to the Core I/O card in the side service bay.
3.
Grasp the edge of the Core I/O card and pull it out of the server.
The following graphic shows both Core I/O cards in the side service bay.
Core I/O Replacement
rp54xx Core I/O functions are contained on the GSP and LAN/SCSI cards. Both cards are located
on the PCI Backplane in the side service bay. The LAN/SCSI card is in I/O slot 1 and the GSP
card is in slot 2.
Before replacing either of the Core I/O cards, perform the following tasks:
•
Power down the server.
•
Detach all power cords from the server.
108
Removing and Replacing Components