Xerox DocuPrint NC60 User Manual
Page 101
Print Menu
Chapter 1: Configuring the Printer
❖
1-95
Disk Directory
Print a list of fonts and macros
downloaded to the hard disk.
This procedure does not list any
secure or proof jobs.
1. Press Menu Up or Menu
Down until you see:
Menus
Print Menu
2. Press Item Up or Item Down
until you see:
Print Menu
Disk Directory
3. Press Enter. You will see:
Printing
Disk Directory
4. When completed, you will see:
Ready
Print Quantity
Set the number of times each page is
printed.
The available values are:
1* - 999
The quantity changes incrementally
by 1 each time either Value Up or
Value Down is pressed. Holding
down Value Up or Value Down
causes continuous scrolling through
the values.
1. Press Menu Up or Menu
Down until you see:
Menus
Print Menu
2. Press Item Up or Item Down
until you see:
Print Menu
Print Quantity
3. Press Value Up or Value Down
until you see:
Print Quantity =
New Value
4. Press Enter. You will see:
Print Menu
Print Quantity
5. Press Online. You will see:
Ready
Select Tray
Select the source tray from which the
job is to be printed.
The available values are:
Tray 1*
Tray 2
Manual Feeder
Appears and is a choice only when the
optional Tray 2 is installed. The Tray
Sequence setting is ignored. Media
size or type mismatches will be
handled via the current Page Policy
settings.
1. Press Menu Up or Menu
Down until you see:
Menus
Print Menu
2. Press Item Up or Item Down
until you see:
Print Menu
Select Tray
3. Press Value Up or Value Down
until you see:
Select Tray
=
New Value
4. Press Enter. You will see:
Print Menu
Select Tray
5. Press Online. You will see:
Ready
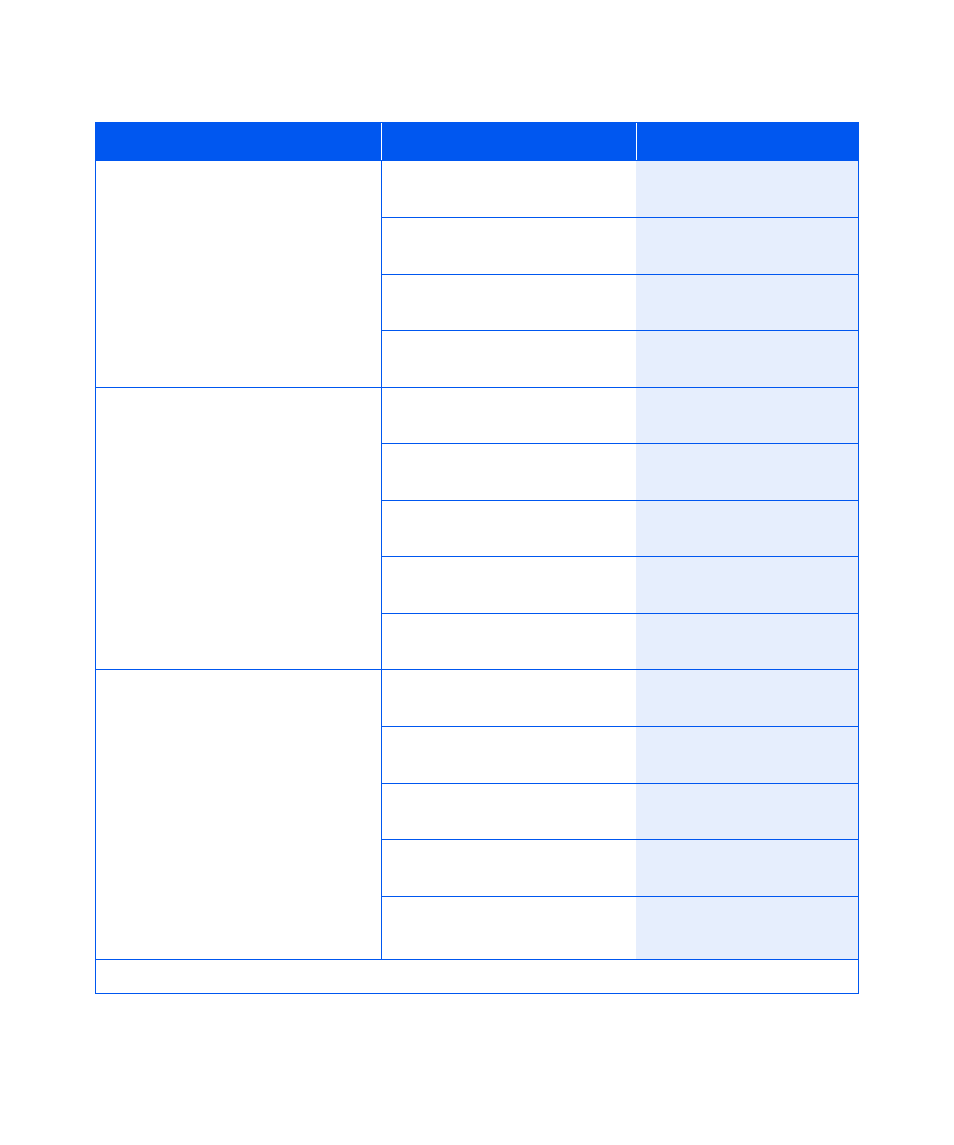
Table 1.18 Print Menu functions (continued)
Menu Item and Function
Keystrokes
Display
Table 1.18 Page 4 of 4