Checkline TI-CMXDLP User Manual
Page 22
– 22 –
3.10 DATA – Menu
NEW: Allows the user the ability to create a new alpha
numeric grid, or sequential log ile with auto identiiers.
It is equipped with custom parameters, rows, and
columns depending on the user’s application reporting
requirements. Refer to section 11.2.
EDIT: Gives the user the ability to change parameters of
grid or sequential ile previously saved. Note: Pre-deined
coordinates cannot be changed once they have been created. Refer to section 11.6.
OPEN: This function provides the user with the ability to recall grids or sequential log
iles that currently exist in memory, from a list of grids. Refer to section 11.7.
CLOSE: Provides the user the ability to close a currently opened grid or sequential log
ile. Refer to section 11.8
for further info.
DELETE ONE FILE: This function provides the user with the ability to delete one
individual grid or sequential log ile from a list of multiple grids/iles previously saved
in memory. Refer to section 11.5 for further info.
DELETE ALL DATA: This function provides the user with the ability to delete all iles
currently stored in memory. Refer to section 11.5 .
3.11 UTIL (Utilities) – Menu
AUTO FIND: Automatically locates the detection point
if the measurement is out of the viewable display area.
Refer to section 10.1 for further info.
SCAN MODE: This function enables a hi speed scan
mode that increases the overall sample rate from 65 to
200 measurements per second, depending on the current
measurement mode used. Refer to section 10.2.
ALARM: Toggles alarm mode on, off, or audible . Refer to section 10.3.
ALARM HIGH: Gives the user the ability to set the HI limit parameter. If the
measurement exceeds this value, a red light will illuminate and sound the internal
beeper. Refer to section 10.3 for further info.
ALARM LOW: Gives the user the ability to set the LO limit parameter. If the
measurement falls below this value, a red light will illuminate and sound the internal
beeper. Refer to section 10.3 for further info.
DIFFERENTIAL:
Gives the user the ability to set a nominal value and the
TI-CMXDLP will display +/- the the nominal value entered. Refer to section 10.4.
– 83 –
3. Use the LEFT and RIGHT arrow keys to scroll the Pulser Voltage options.
4. Once the desired Pulser Voltage is displayed, press the MEAS key to return to the
measurement screen.
10.14 Attenuator
The TI-CMXDLP is equipped with a 20dB signal attenuator and ampliier. This feature
offers a cut/boost to the overall signal strength. by either cutting or boosting signal
strength. In instances where the 60 dB range is not enough, or too much, this feature
allows you to increase/decrease the ampliier strength by a power of 10 or(20dB).
The standard setting is zero, which is an arbitrary value at a constant attenuation. The
attenuation value is added to the gain value. Therefore, if the attenuator is increased to
20dB, this value is added to the value of the gain setting. The procedure to change the
attenuator is outlined below:
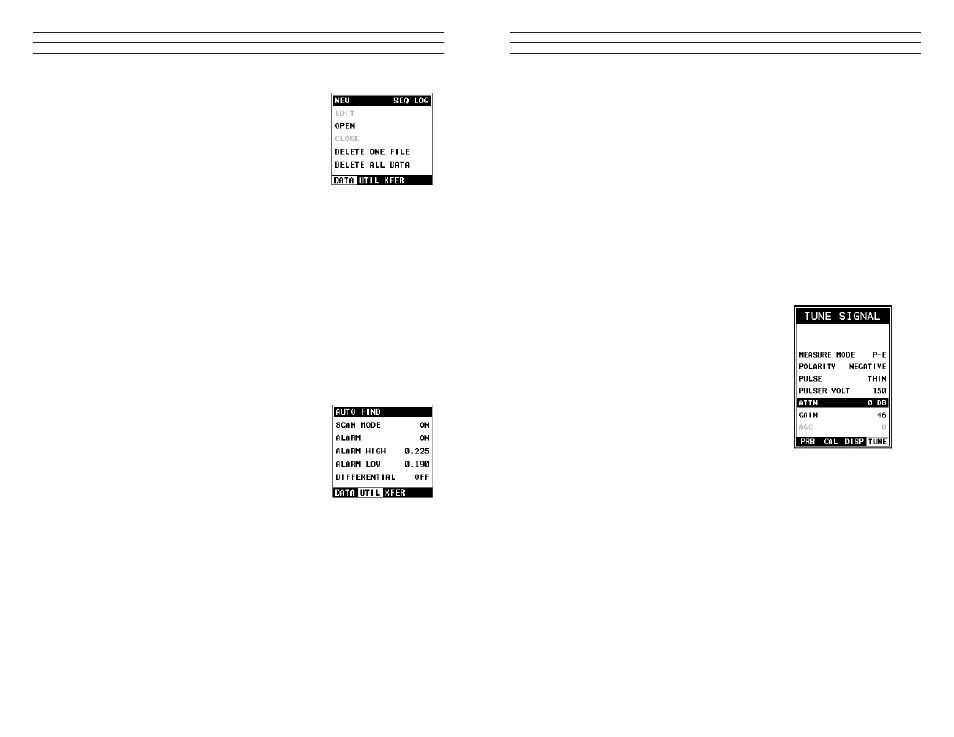
Changing the Attenuator Setting
1. Press the MENU key once to activate the
menu items tab. Press the MENU key multiple
times to tab right and the ESC key multiple
times to tab left until the TUNE menu is
highlighted and displaying the submenu items.
2. Use the UP and DOWN arrow keys to scroll
through the sub menu items until ATTN is
highlighted
3. Use the LEFT and RIGHT arrow keys to
scroll the Attenuator options.
4. Once the desired Attenuation is displayed,
press the MEAS key to return to the measurement screen.