Checkline TI-CMXDLP User Manual
Page 10
– 10 –
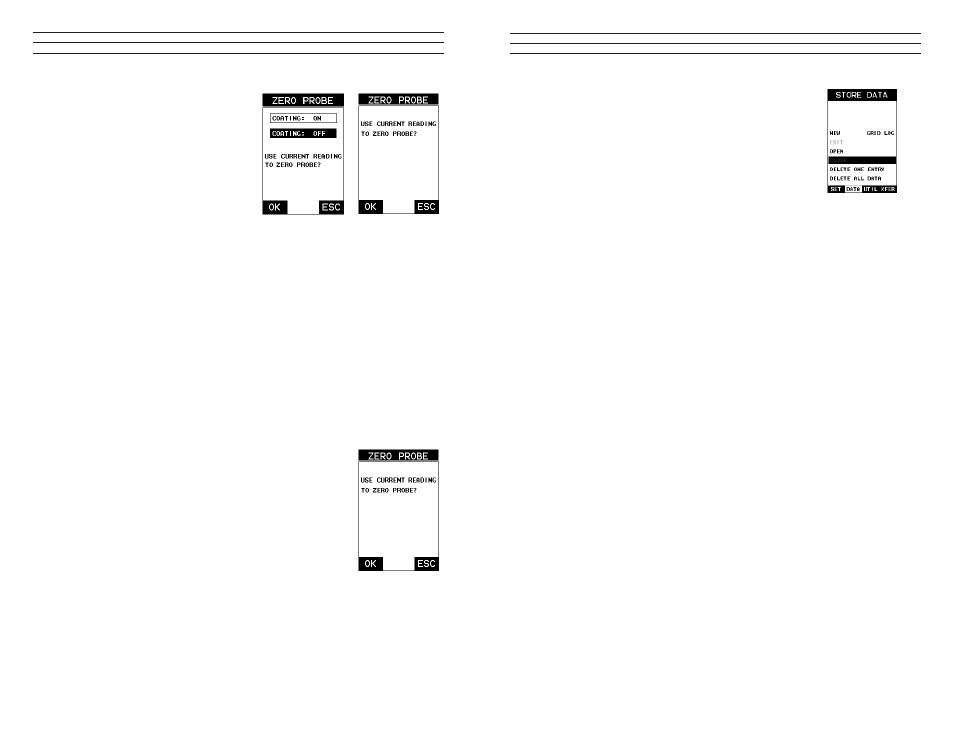
5. Press the ENTER key to display the
conirmation screen.
6. If a coating transducer was identiied
use the UP and DOWN arrow keys to
toggle coating on/off.
7. Press the OK key to complete the
probe zero function, or ESC key to
cancel the Probe Zero function.
8. Remove the transducer from the Probe
Zero Disk, and proceed to the calibration section.
NOTE: The value that is displayed will change depending on the current velocity setting
in the TI-CMXDLP. Disregard the number that is displayed. It is not important. What is
important is accurately performing the steps outlined above to insure reliability of the
probe zero calculation.
One Point Material Calibration
For the purposes of this quick start section, we’ll only be covering the most common
one point calibration option to determine the sound velocity of the test material. It
would be very handy to carry a set of mechanical calipers to use in conjunction with the
TI-CMXDLP for calibration in the ield.
Using a Known Thickness
NOTE: Be sure that the probe zero procedure has been performed prior to performing
this calibration procedure.
1. Physically measure an exact sample of the material or a
location directly on the material to be measured using a set
of calipers or a digital micrometer.
2. Apply a drop of couplant on the transducer and place the
transducer in steady contact with the sample or actual
test material. Be sure that the reading is stable and the
repeatability indicator, in the top left corner of the display, is
fully lit and stable. Press the MENU key once to activate the
menu items tab. Press the MENU key multiple times to tab
right and the ESC key multiple times to tab left until the CAL menu is highlighted
and displaying the submenu items.
3. Use the UP and DOWN arrow keys to scroll through the sub menu items until
MATL 1PT is highlighted.
– 95 –
2. Use the UP and DOWN arrow keys to scroll through
the sub menu items until CLOSE is highlighted.
3. Press the ENTER key to close the active ile.
NOTE: Following the keypress, the CLOSE text will
be grayed out indicating the ile has been close and is no
longer active.