Checkline MG User Manual
Checkline Sensors

Controls
The Series MG force gauges have three keys for
controlling all functions of the instrument.
POWER
Turns the instrument on and off.
It is also used to select an option
in the setup mode.
PEAK
Used to select Tension Peak,
Compression Peak or normal
(real time) display mode. The
actual peak readings are always
captured and can be displayed
at any time.
ZERO
Zeros any tare value (up to the
full capacity of the gauge) and
clears the peak readings stored
in memory.
Display
The display consists of a 4 1/2-digit section and
several indicators. Their functions are listed below.
LO BAT
Low battery voltage indicator
C
Compressive force indicator
T
Tensile force indicator
C PEAK
Peak compressive force indicator
T PEAK
Peak tensile force indicator
LB, KG, N, G
Units of measurement (model
dependent)
- - - - (dashes) Overload (>110% of range)
Operation
The default mode of operation of the Series MG is
the normal (real time) mode. If the peak readings
are to be observed as they occur, then the mode
of operation can be changed by pressing PEAK
until the desired mode (C PEAK or T PEAK) ap-
pears on the display. Please note that this action
affects only the display. The actual tensile and
compressive peak readings are captured automati-
cally and can be cleared from the memory by ei-
ther pressing ZERO or shutting off the gauge.
The gauge is equipped with an automatic shutdown
feature which will shut it off after a selected period
of inactivity (readings do not change by more than
±10 counts and no keys are pressed). The entire
display will flash for 5-7 seconds as a warning of
the imminent shutdown. If during this time any con-
dition indicating activity occurs, the internal timer
will be reset and the instrument will continue its
operation. To change the default setting of 30 min-
utes, hold PEAK while turning on the gauge. Press
PEAK repeatedly until 'AOFF' appears. Press
POWER to select this function. The current setting
will flash on the display. Use the PEAK key to scroll
through the displayed choices and POWER to se-
lect. Press POWER again at the 'donE' prompt in
order to save the setting.
The displayed units of measurement and the de-
fault mode of operation (peak or normal) can be
changed by entering the setup mode as described
above, pressing POWER at the 'init' prompt and
selecting the desired settings using the PEAK and
the POWER keys.
Power
The gauge may be powered by the internal 9V bat-
tery, or by the included AC adapter. The need for
the battery replacement is indicated by a 3-step
sequence: 1 - a steady LO BAT appears on the
display indicating the last 10% of the battery life, 2
- LO BAT begins to flash indicating the need for an
immediate battery replacement, 3 - the entire dis-
play except LO BAT flashes for several seconds
and then the instrument shuts off.
Calibration
To properly calibrate this instrument, application of
an exact load appropriate for your model will be re-
quired. It must be in pounds as indicated by the
model number. For example, the MG50 requires a
50 lb calibration weight regardless of displayed units.
While holding PEAK, turn the gauge on. Press PEAK
repeatedly until ‘CAL’ appears on the display and
press POWER three times to select the calibration
mode. At the ‘null’ prompt press ZERO. At the ‘SPAn’
prompt apply your test weight and press POWER.
The display will show “uuuu” or “nnnn” if the test
weight is insufficient or excessive accordingly. If this
happens, the only way to terminate the calibration
mode is by momentarily disconnecting the battery or
connecting the AC adapter without plugging it into a
wall outlet. This will stop the calibration procedure
without making any changes to the previous calibra-
tion data.
A successful calibration is indicated by ‘donE’ on
the display. Press POWER to save the changes and
resume normal operation.
Model
Capacity x graduation
MG025
0.25 x 0.0002 lb, 100 x 0.1gF, 1 x 0.001N
MG05
0.5 x 0.0005 lb, 250 x 0.2 gF, 2.5 x 0.002 N
MG2
2 x 0.002 lb, 1 x 0.001 kgF, 10 x 0.01 N
MG10
10 x 0.01 lb, 5 x 0.005 kgF, 50 x 0.05 N
MG20
20 x 0.02 lb, 10 x 0.01 kgF, 100 x 0.1 N
MG50
50 x 0.05 lb, 25 x 0.02 kgF, 250 x 0.2 N
MG100
100 x 0.1 lb, 50 x 0.05 kgF, 500 x 0.5 N
MG200
200 x 0.2 lb, 100 x 0.1 kgF, 1000 x 1 N
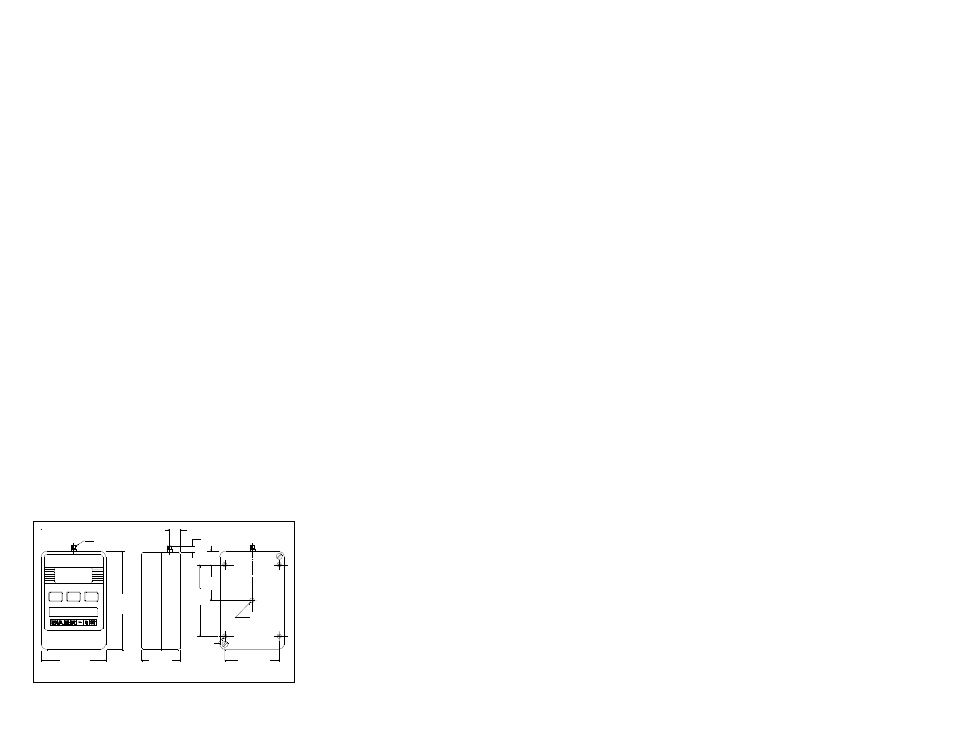
Mounting
The instrument housing is reversible and may be
rotated 180° for test stand mounting by unscrew-
ing two screws on the back, rotating the housing
and reassembling. In addition to the #6-32 screws,
a 0.188" [4.77 mm] dia. load-carrying pin should
be utilized so as not to stress the threads.
FORCE GAUGE SERIES
PEAK
POWER
ZERO
MG
#10-32
0.19 [4.8] LG
1.5 [38.1]
3.84
[97.5]
2.800
[71.12]
2.125 [53.98]
1.400
[35.56]
#6-32
4 PLCS
0.42 [10.7]
0.35 [8.9]
0.189
[4.8]
DIA
IN [MM]
2.53 [64.3]
0.52
[13.2]
