Adjusting opacity – Apple Keynote 3 User Manual
Page 88
88
Chapter 4
Changing Object Properties
Adjusting Opacity
You can create interesting effects by making objects more opaque or less opaque.
When you put a low-opacity object on top of another object, for example, the bottom
object shows through the top object. Depending on how high or low you set the
opacity, the objects beneath can be highly visible, partly obscured, or completely
blocked from view (at 100-percent opacity). You can change opacity settings for any
visual object on the slide canvas, including drawn shapes, pictures and other image
files, and movies. Set object opacity using the Graphic Inspector.
To change an object’s opacity:
1
Select the object.
2
In the Graphic Inspector, drag the Opacity slider.
Note: For drawn shapes, you can set fill-color opacity separately from object opacity. If
you move the Opacity slider in the Colors window to modify a fill color, the opacity
value becomes equivalent to 100-percent object opacity. Then, when you change the
object opacity in the Graphic Inspector, you are changing it relative to the opacity you
set in the Colors window.
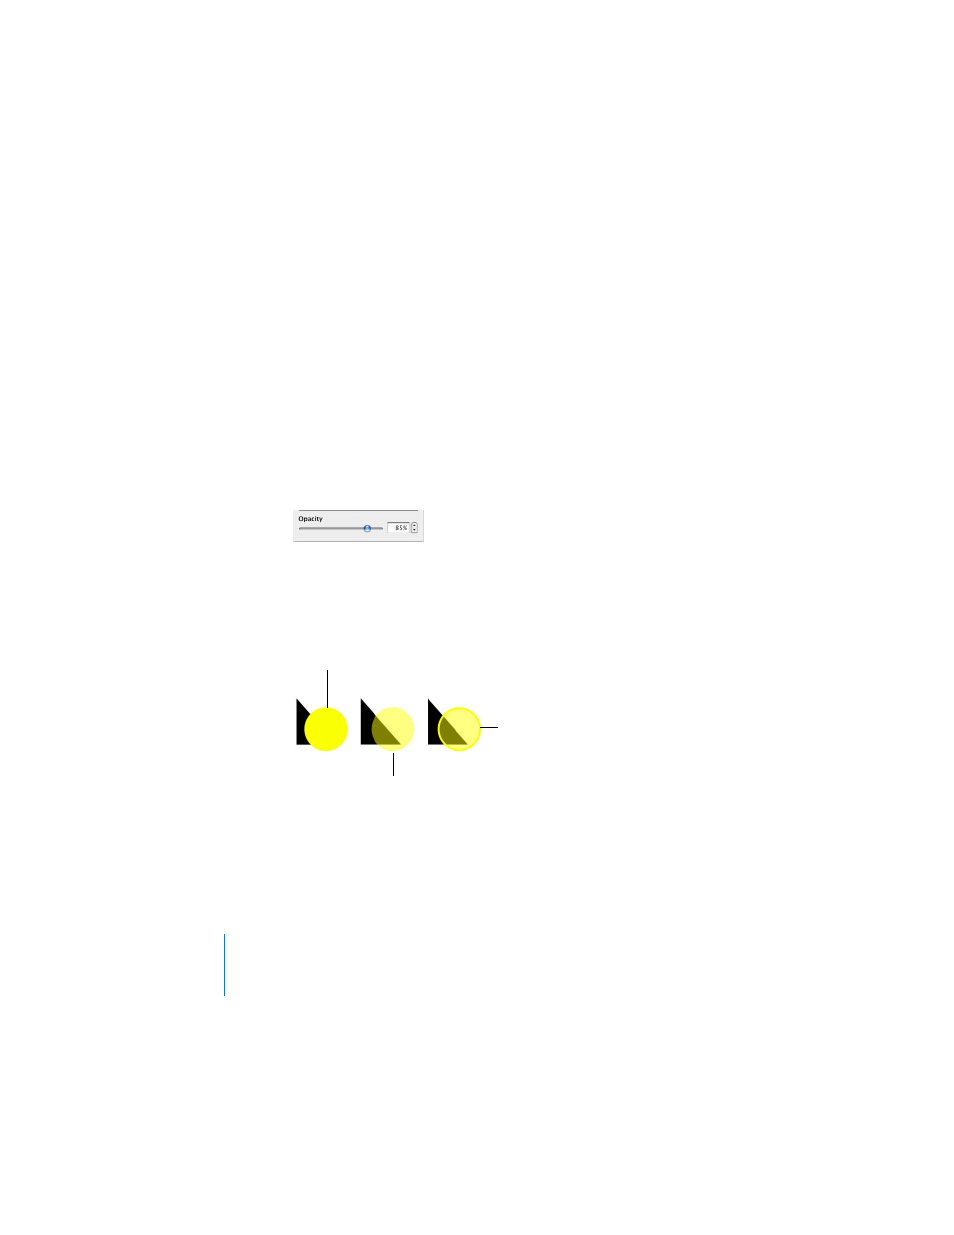
The fill color was set to 50%
opacity in the Colors window.
The circle’s outline was set to
100% opacity in the Colors
window.
This circle is set to 100%
opacity.
This circle is set to
50% opacity.