Changing border style and color – Apple Keynote 3 User Manual
Page 85
Chapter 4
Changing Object Properties
85
Changing Border Style and Color
For drawn objects (shapes), chart elements, and table cells, you can choose a style and
color for the object’s border, or you can specify no border. You can also put a border
around imported images. You set border line style and color using the Graphic
Inspector and the Colors window.
To set the line style and color of an object’s border:
1
Select the object that you want to modify.
2
In the Graphic Inspector, choose a line style (or None) from the Stroke pop-up menu.
3
To change the line thickness, type a value in the Stroke size field (or click the arrows).
4
To change the line color, click the color well and select a color.
5
To give a line endpoints, such as arrowheads or circles, choose left and right
endpoints from the pop-up menus.
Note: Keynote also provides shapes in the form of arrows and double-headed arrows.
You can add one using the Insert menu or the Shapes button in the toolbar.
Tile (small image)
Tile (large image)
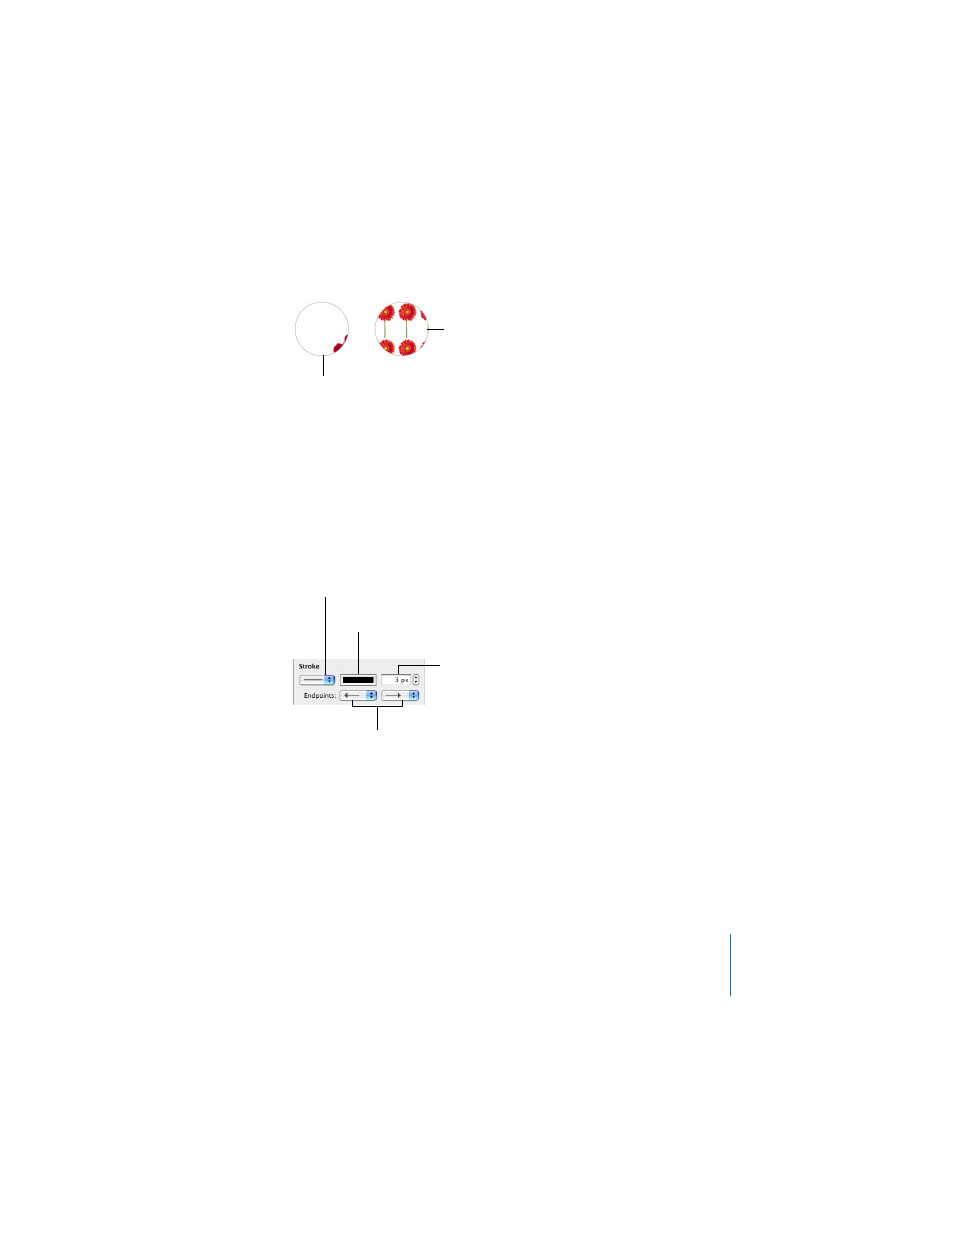
Choose line
endpoints from these
pop-up menus.
Click the color well to
choose a line color.
Enter the line thickness
in this field. (Note: “px”
means pixels.)
Choose a solid line, dotted
line, dashed line, or no line.