Masking (cropping) images – Apple Keynote 3 User Manual
Page 63
Chapter 3
Working With Text, Graphics, and Other Media
63
To rotate an object:
1
Select the object.
2
Hold down the Command key and move the pointer toward a selection handle until it
changes to a curved, double-headed arrow.
3
Drag the selection handle to rotate the object. Or, use the Rotate wheel or Angle field
in the Metrics Inspector.
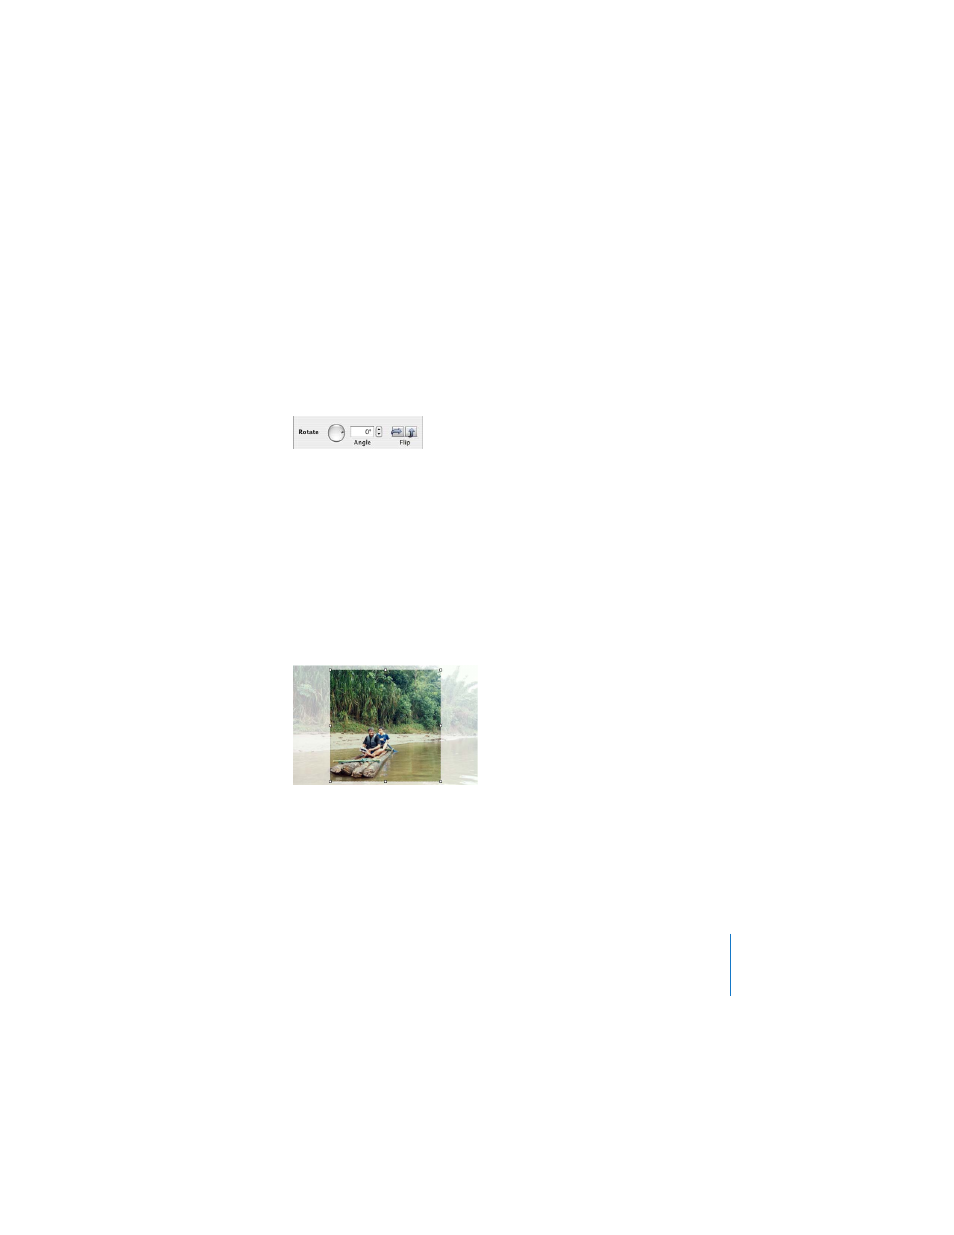
Masking (Cropping) Images
You can crop images without actually changing the image files by masking parts of
them. The mask contains a window that defines the boundaries of the cropped image.
This allows you to import full images but display only part of them within the
document. You can still reposition and resize images that have been masked.
The default mask is a rectangle, which you can resize as required. You can crop an
image using the default mask or use a shape as a mask.
To mask an image using the default (rectangular) mask:
1
Insert the graphic you want to mask.
2
Select the object and choose Format > Mask. A mask appears over the image.
3
Drag the window to center it over the part of the image you want to feature. Drag the
selection handles to resize the mask.
 To constrain the window’s proportions, hold down the Shift key as you drag the
selection handles.