Manual calibration – Yokogawa Integral Oxygen Analyzer ZR202 User Manual
Page 105
<7. Startup>
7-17
IM 11M12A01-02E
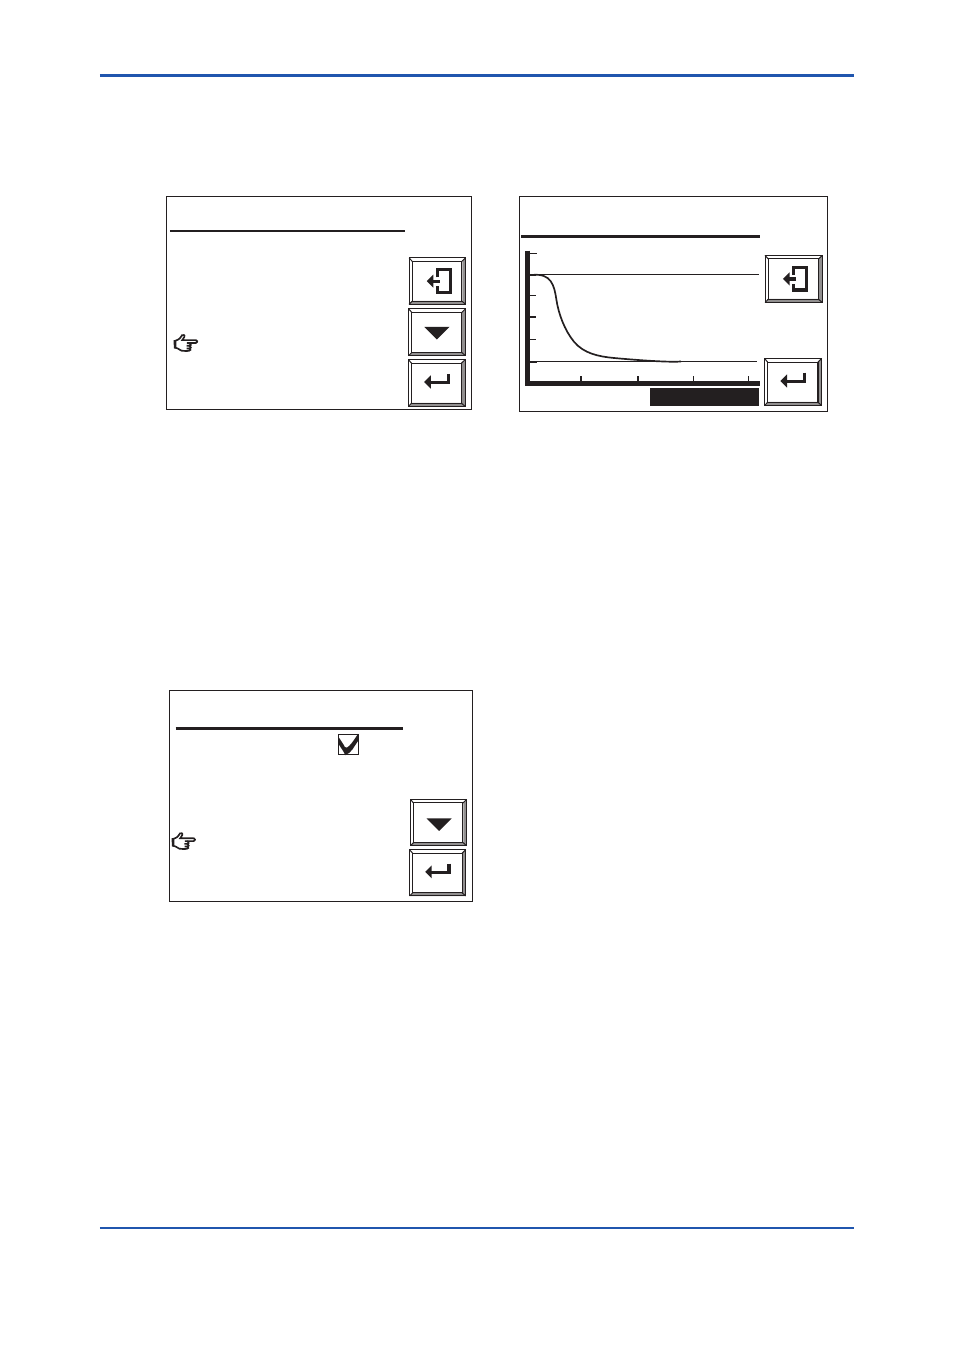
(7) Follow the instructions in the display as in Figure 7.23 to turn on the zero gas flow. To do
this, open the zero gas flow valve for the Flow Setting Unit and adjust that valve to obtain a
flow of 600 ± 60 ml/min. The valve should be adjusted by loosening its lock nut and slowly
turning the valve shaft counterclockwise. Use the calibration gas flowmeter to check the
flow.
Enter
Open zero gas valve.
Set flow zero gas to
600ml/min.
Valve opened
Cancel calibration
Manual calibration
F7.23E.ai
Enter
21.00%
0.5min./div
1.00%
21.0%O
2
CAL. TIME
Manual calibration
F7.25E.ai
Figure 7.23 Zero Gas Flow Display
Figure 7.24 Zero Gas, Trend Graph
(for Manual calibration)
(8) If “Valve opened” is selected as in Figure 7.23 , an oxygen concentration trend graph (with
the oxygen concentration being measured) appears (see Figure 7.24). The CAL.TIME in
the bottom area of the panel flashes. Observe the trend graph and wait until the measured
value stabilizes in the vicinity of the zero gas concentration on the graph. At this point, no
calibration has been executed yet, so even if the measured value is above or below the zero
gas concentration value, no problem occurs.
(9) After the measured value has stabilized, press the [Enter] key to display the “Zero
calibration complete” display shown in Figure 7.25. At this point, the measured value is
corrected to equal the zero gas concentration setting. Close the zero gas flow valve. The
valve lock nut should be tightened completely so that the zero gas does not leak.
Enter
Zero calibration
Close the zero gas valve.
Span calibration
End
Manual calibration
F7.26E.ai
Figure 7.25 Zero Calibration Complete Display
(10) Select “End” in the display as shown in Figure 7.25. An oxygen concentration trend graph
(with the oxygen concentration being measured) appears and HOLD TIME then flashes.
This time is referred to as the output-stabilization time. If the HOLD TIME has been set
with the output hold setting, the analog output remains held (refer to Section 8.2, Output
Hold Setting, later in this manual). Manual calibration is completed when the preset hold
(output stabilization) time elapses. This hold (output stabilization) time is set to 10 minutes
at the factory before shipment. If you press the [Enter] or [Reject] key within the hold (output
stabilization) time, manual calibration is then completed.
8th Edition : Jan.13,2012-00