1 rear-panel connections, 2 power-up initialization, Rear-panel connections – Barco PDS-4K HDMI Presentation Switcher User Manual
Page 30: Power-up initialization
R5912621 /01 PDS–4K
30
5.1 Rear-panel connections
Rear panel
1.
Connect inputs
—Connect all input sources to the PDS–4K.
2.
Connect outputs
—Connect the output(s) on the PDS–4K to your projector(s) or other target devices.
Plug primary displays in to PGM 1A and PGM 2A outputs.
3.
(Optional) Connect Ethernet cable
—Connect an Ethernet cable from the PDS–4K to a computer running
the EMTS.
4.
Connect power
—Ensure that power is properly connected to the PDS–4K presentation switcher.
5.
Turn on power
—Turn on power to the PDS–4K, your connected display devices, and to all peripheral
equipment.
6. Perform a
Factory
reset.
5.2 Power-up initialization
How to power up the PDS–4K
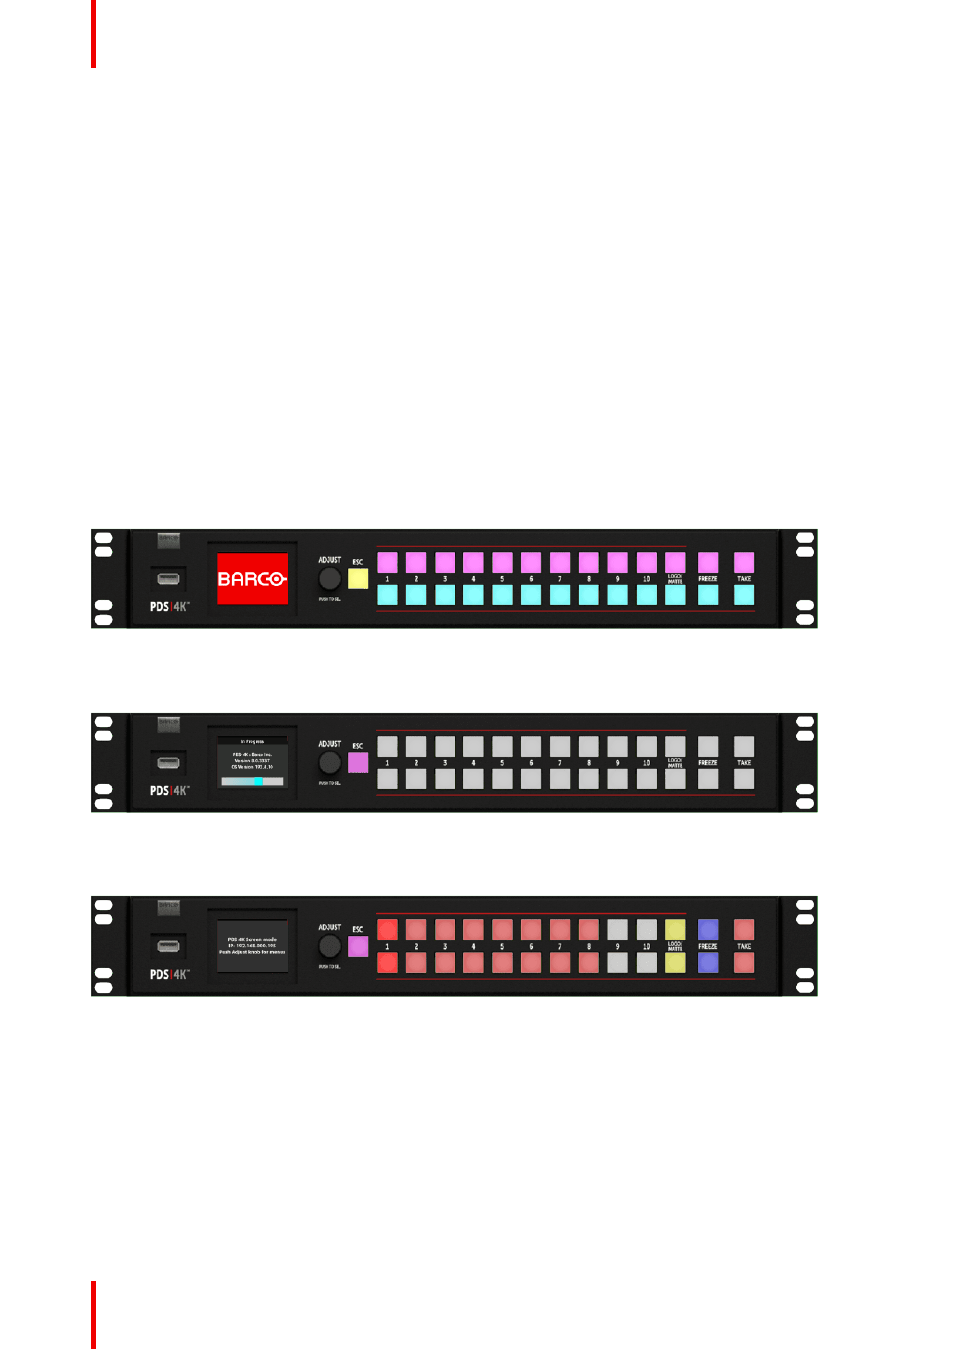
Connect power to the PDS–4K, then locate the power switch on the rear panel and turn power On. While the
system is initializing, the front-panel buttons light up, and the Barco logo is displayed.
Image 5–1 Barco logo and front-panel buttons
While the unit is initializing, the display shows an “In Progress” screen with the software version, the OS
version, and a progress bar, and the top and bottom row buttons are not lit.
Image 5–2 “In Progress” screen and front-panel buttons
When initialization is complete the PDS– 4K displays the status of the system. Different buttons may be lit,
depending on the configuration of the system.
Image 5–3 Status screen and front-panel buttons
The status screen displays the IP address and PGM output formats plus a message telling the user to push
the Adjust knob to access the menus.