Replacing the desiccant – ADS Environmental Services ADS TRITON+ QR 775027 A3 User Manual
Page 341
10-20 ADS TRITON+ Manual
6. Remove the black end-cap from the dryer tube before re-
installing the monitor in the manhole.
Caution: If the cap is not removed, air will not be able to
enter the dryer tube, adversely affecting the pressure depth
sensor.
7. Use the View or Read All function in the Qstart software to
fire the sensor and verify that the sensor is working correctly.
Replacing the Desiccant
When replacing the desiccant inside the pressure depth sensor dryer
tube, use indicating beads that are approximately 0.16 inches (4.1
mm) in diameter. Smaller beads may be able to escape the dryer
tube, entering the clear plastic tubing leading to the sensor
connector. The desiccant beads of the appropriate size for this
dryer tube are available through ADS (p/n 901-11055-00).
Replace the desiccant in the following way:
1. Clip the cable ties securing the dryer tube to the monitor, when
applicable.
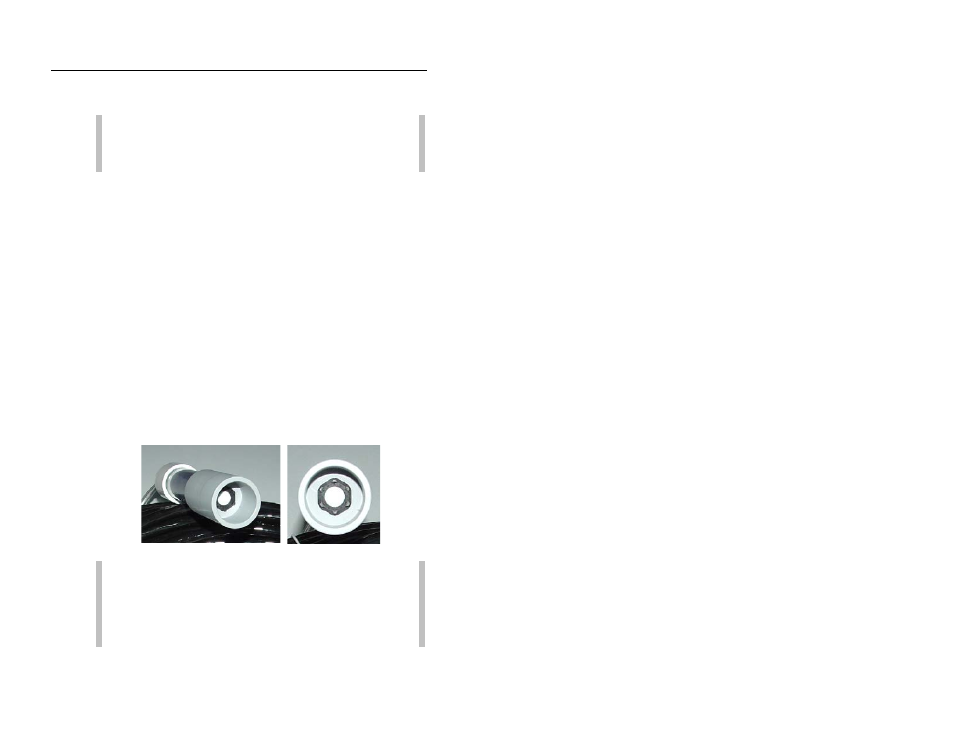
2. Use a 5/8-inch nut driver to remove the inset nut at the free end
of the dryer tube (end of the tube opposite the brass barbed
fitting). Do not use pliers to remove this nut from the tube!
Free end of dryer tube with inset nut
Warning: Do not attempt to access the desiccant in the
dryer tube through the end of the tube with the brass
fitting! This fitting is not designed for removal.
Removing the fitting will damage the dryer tube and break
the moisture seal on that end of the tube.