General procedure, Add files, Provide required information – Konica Minolta Digital StoreFront User Manual
Page 27
27
General procedure
In the Visual Product Builder, these are the steps you complete after you click Begin for products that
require you to provide content files. (Superwide format products are slightly different; see page 37.)
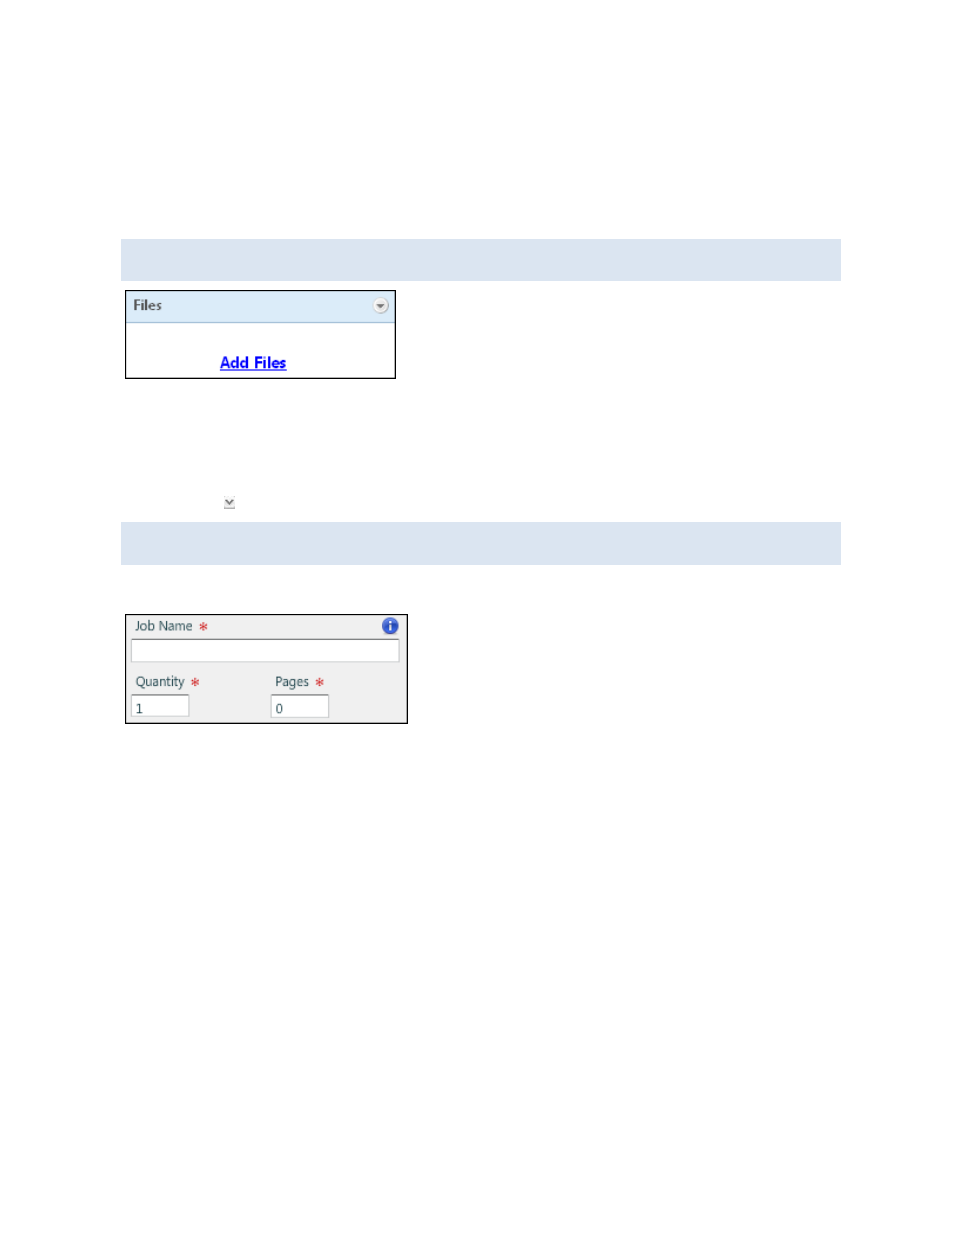
Add files
You can either add your files first or select print options first; the order in which you do this does
not matter.
1. Click Add Files to supply the content for the job. After you do so, the files are listed under Files,
and a preview is automatically displayed on the right side of the page. (For more information
about adding files, see page 43.)
2. If you uploaded or selected more than one PDF file, the files are combined into one file in the
order they are listed. This is also the order in which they will be printed. To change the order of the
files, click next to a file and select Move file up in print order or Move file down in print order.
If you have added many files, you can expand the Files pane by dragging between the Files pane
and the Job Name pane.
Provide required information
1. In the Job Name field, enter a descriptive name for your customized product so you can identify it
easily. (A job is just your customized product. When an order includes several jobs, each is an item
in the order.)
2. In the Quantity field, specify the number you are ordering. This number affects the price. (If the
product is ordered in multiples, you are warned if the number you enter is not a valid multiple.)
3. In the Pages field, enter the number of pages you are providing. (When you add a file, the system
calculates the number of pages for you automatically.) This number affects the price.