1 using the image quality – color matching, 2 adjusting for the resin dither – HID FARGO HDP5000 User Guide User Manual
Page 44
HDP5000 & HDPii Plus Card Printer Encoder User Guide_L000950, 3.0
Page 44 of 100
July 2013
© 2012, 2013 HID Global Corporation. All rights reserved
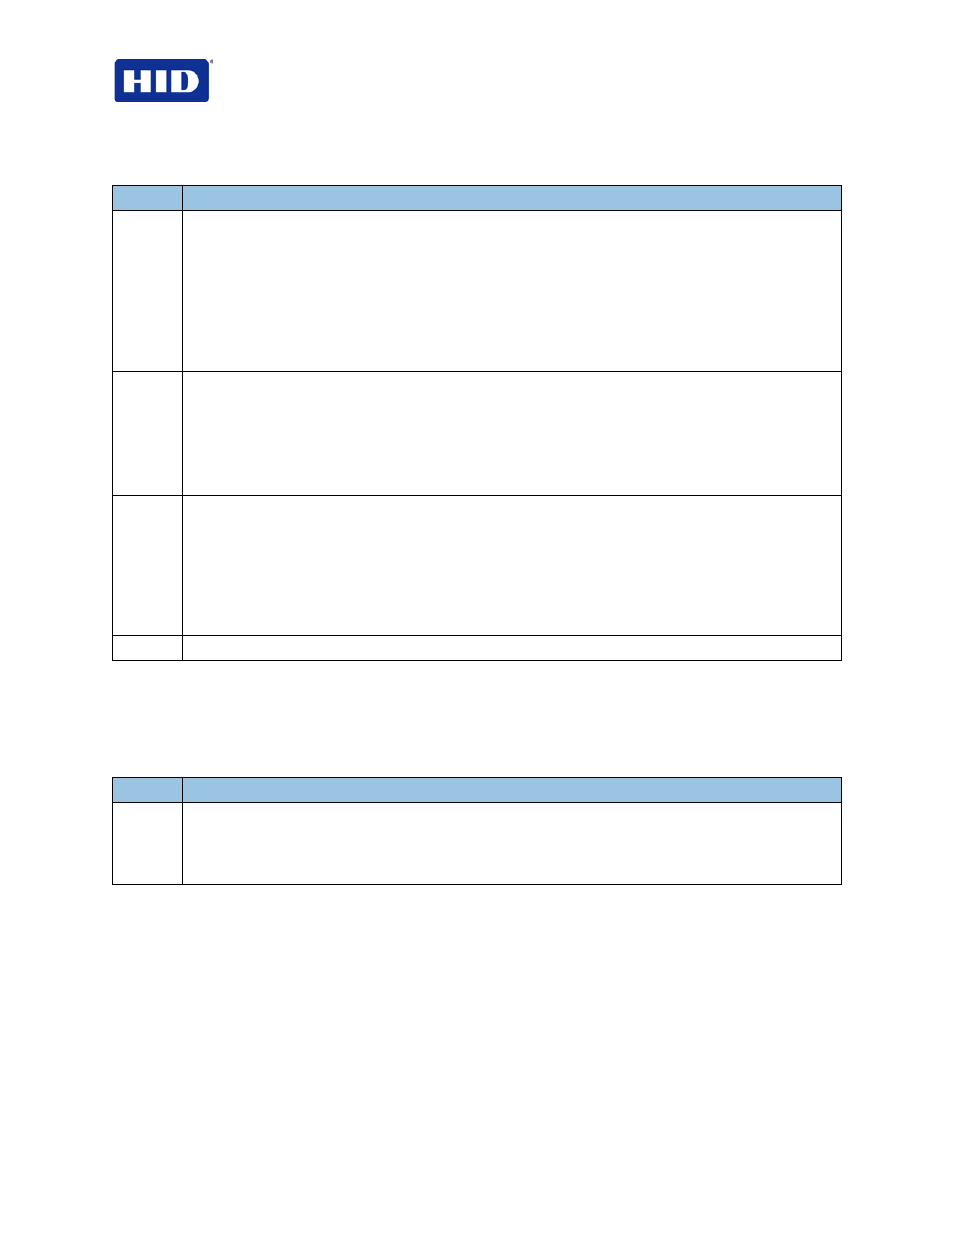
4.10.1 Using the Image Quality – Color Matching
Step
Procedure
1
Select
None
(a) if interested in print speed rather than print color,
(b) if color correcting the image for printing has already been done or
(c) if using third party color matching software.
OR
Select
System Color Management to allow the Printer Driver to make color corrections similar to the
Algebraic option but through a more complex color matching algorithm.
Note: This option shifts colors
so the image more closely matches how they appear on screen.
2
Control the overall darkness and lightness of the dye-sub printed image by adjusting the
Dye-Sub
Intensity slide.
Move the slide to the left to use less heat in the printing process, thus generating a lighter print.
OR
Move the slide to the right to use more heat, thus generating a darker print.
Note: This slide only affects those images printed with dye-sublimation Ribbon Panels (YMC).
3
Control the amount of heat the Printer uses when printing with the resin black Panel by adjusting the
Resin Heat slide.
Move the slide to the left for using less heat in the printing process, causing resin images to be lighter
or less saturated.
OR
Move the slide to the right for using more heat, causing resin images to be darker or more saturated.
Note: This control can be helpful for fine-tuning the sharpness of resin text and bar codes.
4
As needed, return all options to their factory settings by clicking on the
Default button.
4.10.2 Adjusting for the Resin Dither
Select the appropriate dither method according to the type of image to be printed.
Note: This option only affects those objects printed on the backside of a card with the resin
black Panel of an YMCK YMCKK and YMCKI Print Ribbon. This is enabled when using at
least one K panel and dual sided enabled, splitting one set of panels.
Step
Procedure
1
Select
Optimized for Graphics when printing lower quality images (for example, clipart, logos…etc.)
with resin.
OR
Select
Optimized for Photo when printing photo quality images with resin.