Auxiliary comm port setup, Weather module setup, Configuring viper pro for lightbar guidance – Seed Hawk Raven 2010 User Manual
Page 114
Chapter 4
104
Seed Hawk™ Viper Pro™ Installation & Operation Manual
Note:
If no data appears on the View Data screen, press Cancel and re-check the serial control console
and connections. Verify that the console is set up properly to communicate with the Viper Pro and
then repeat step 2.
3.
Press Next to go to the next Comm Port Setup Screen.
Auxiliary Comm Port Setup
Use the Auxiliary Comm Port Setup screen to configure auxiliary communication ports if necessary. Touch
Next
to advance to the next Comm Port Setup screen.
Weather Module Setup
If the optional Weather Module activation key has been entered on the Viper Pro, the Weather Module Setup
screen will be displayed.
Refer to Appendix H, Weather Station, for more information.
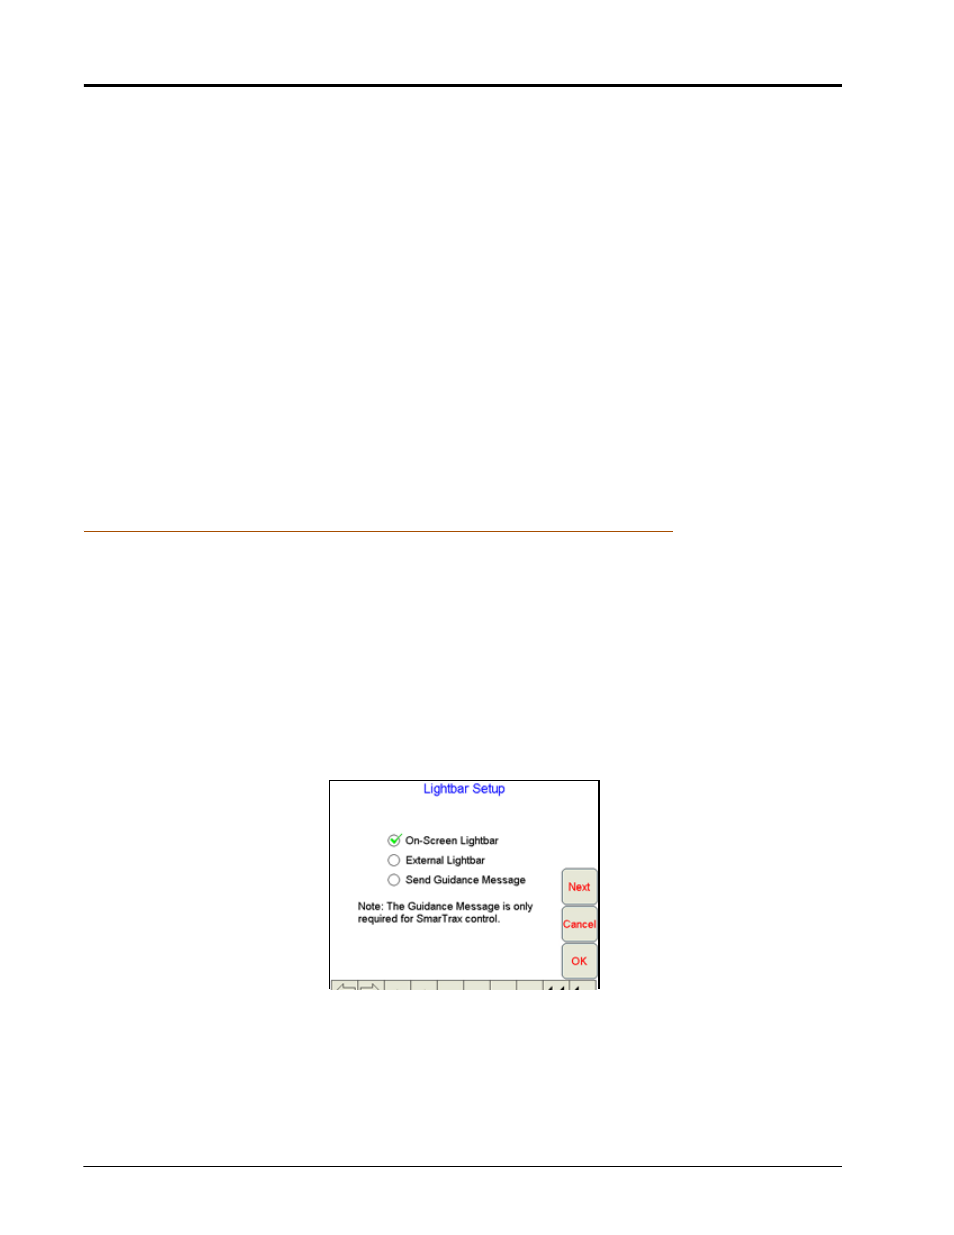
Configuring Viper Pro for Lightbar Guidance
Viper Pro allows you to use two Guidance systems, either separately or together.
•
On-screen lightbar
•
External lightbar
On-Screen Lightbar
Viper Pro displays a lightbar at the top of the screen with the Guide tab selected. To use the on-screen lightbar,
a DGPS receiver capable of sending output messages at a minimum of 5 Hz must be connected to the Viper
Pro.