Teledyne LeCroy Summit T3-8 PCIe Multi-lane Protocol Analyzer User Manual User Manual
Page 21
Summit T3‐8 PCI Express Multi‐Lane Protocol Analyzer User Manual
9
Setting Up the Summit T3‐8 Analyzer using an Ethernet Connection
Teledyne LeCroy
4. Follow the Microsoft
®
Windows
®
on‐screen Plug‐and‐Play instructions for the
automatic installation of the Analyzer as a USB device on your analyzing host
machine. (The required USB drivers are installed on your system by the PETracer
software installation.)
Click Finish when you see the message that says “Windows has finished installing
the software that your new hardware requires” and the file has been installed in
your host machine.
3.3
Setting Up the Summit T3-8 Analyzer using an Ethernet
Connection
1. Connect the Analyzer to a 100‐volt to 240‐volt, 50 Hz to 60 Hz, 120 W power outlet
using the provided power cord.
2. Connect the Summit T3 Analyzer to the network. The Ethernet port is on the front of
the Analyzer.
Note:
:To connect using USB,
see
“Setting Up the Summit T3‐8 Analyzer using a USB Connection” on
.
3. Turn on the front power switch.
Note:
At power‐on, the Analyzer initializes and performs a self‐diagnosis. The results are reflected by
messages on the Summit T3‐8 LCD display. If the LCD display indicates failure, call Teledyne
LeCroy Customer Support for assistance.
4. After you have installed the PETracer application software, perform the following
procedure to connect to a Summit T3‐8 analyzer in the local network.
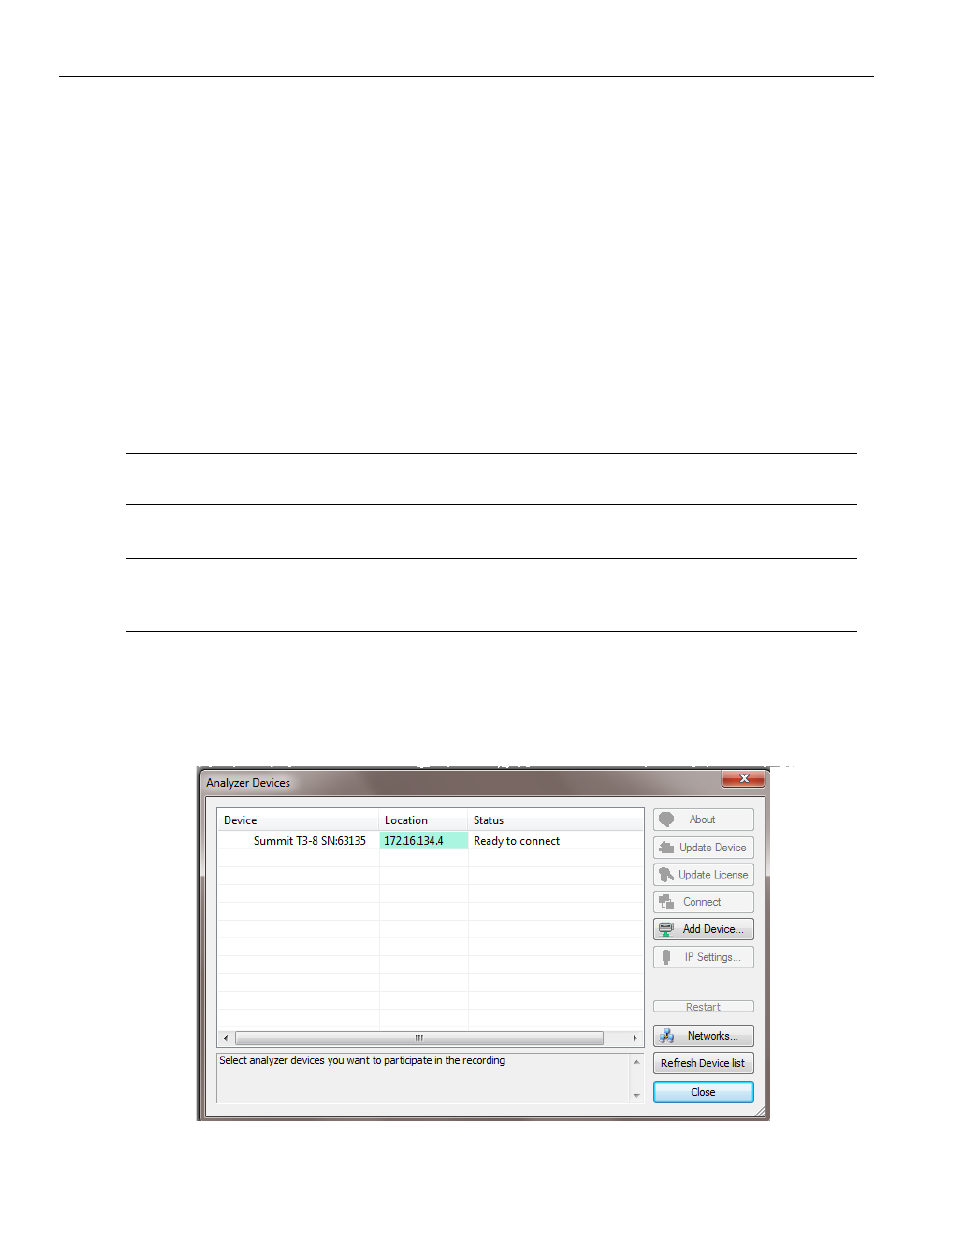
Select the Setup > All Connected Devices… menu in the PETracer application to
display the Analyzer Devices dialog.
Figure 3.3: Analyzer Devices Dialog
8