Pitney Bowes MapXtreme User Manual
Page 466
Appendix A: How to Create and Deploy a MapXtreme Application
Building a Web Application
MapXtreme v7.1
473
Developer Guide
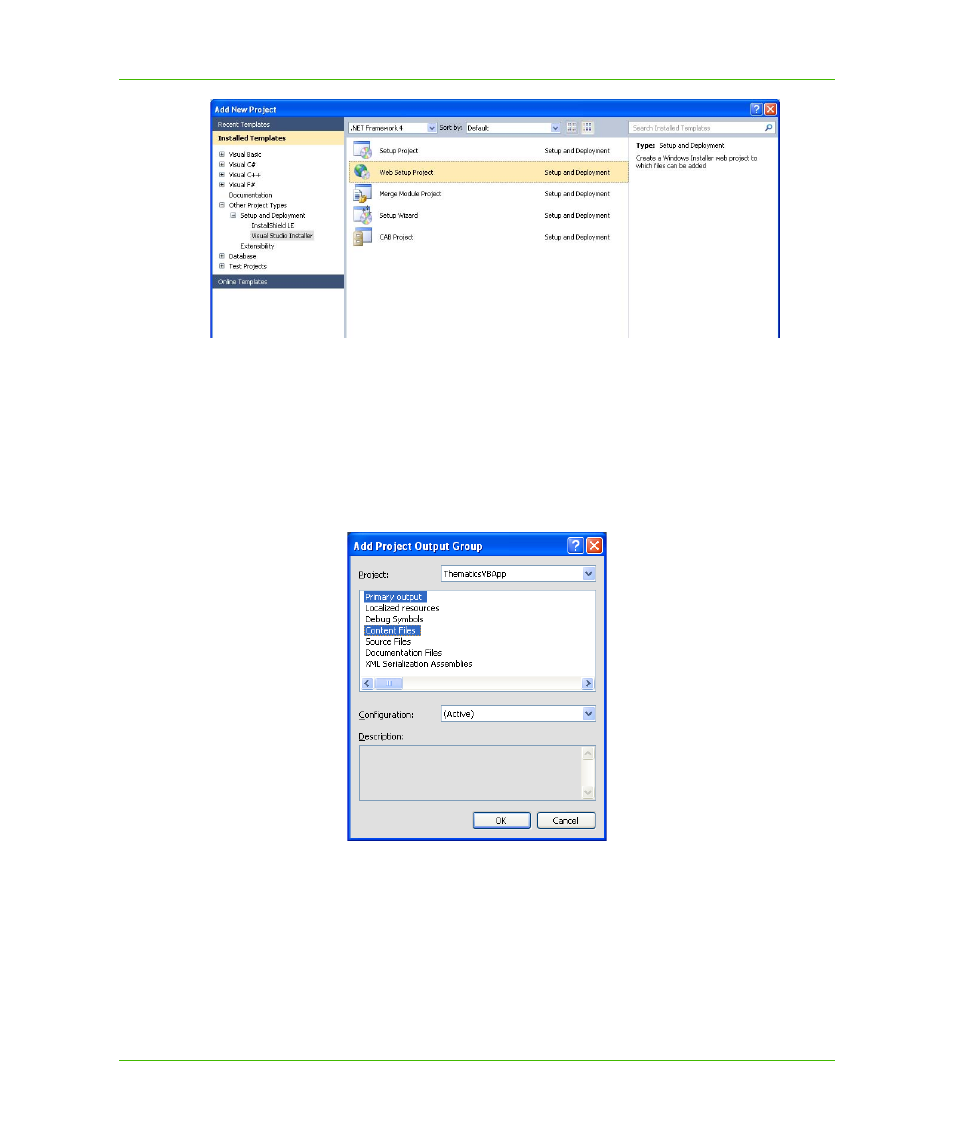
The next step is to indicate which parts of the solution to include.
4. In Solution Explorer, right-click on the newly-created Web Setup project and choose Add >
Project Output. The Add Project Output Group dialog box displays on the screen.
5. Click on Contents Files and click OK.
You must include the content files because the web pages in the application are generated
as HTML files rather than executables as in the desktop application.
6. If you create your own deployment for a Web Application, you will need to add the MSMs
manually. For more information, see
7. Next, you must include your data on the production server. You have the option of copying the
data to the production server manually, or installing it in a separate installer.
8. In the File System window in Visual Studio for the Web Setup project, right-click the Web
application folder and open the Properties window. Change the Virtual Directory name to
ThematicsWeb_7_0, which defines the virtual directory on the target machine.