Adding an item to a location – IntelliTrack Check In/Out User Manual
Page 209
Chapter 8
Managing Inventory
179
Note: To remove a check out item ID from inventory, use the retire func-
tion. For more information, see
“Retiring an Item or Kit from the Check In
Adding an
Item to a
Location
To add an existing item to a location from the Item#/Location form, com-
plete the following steps:
1.
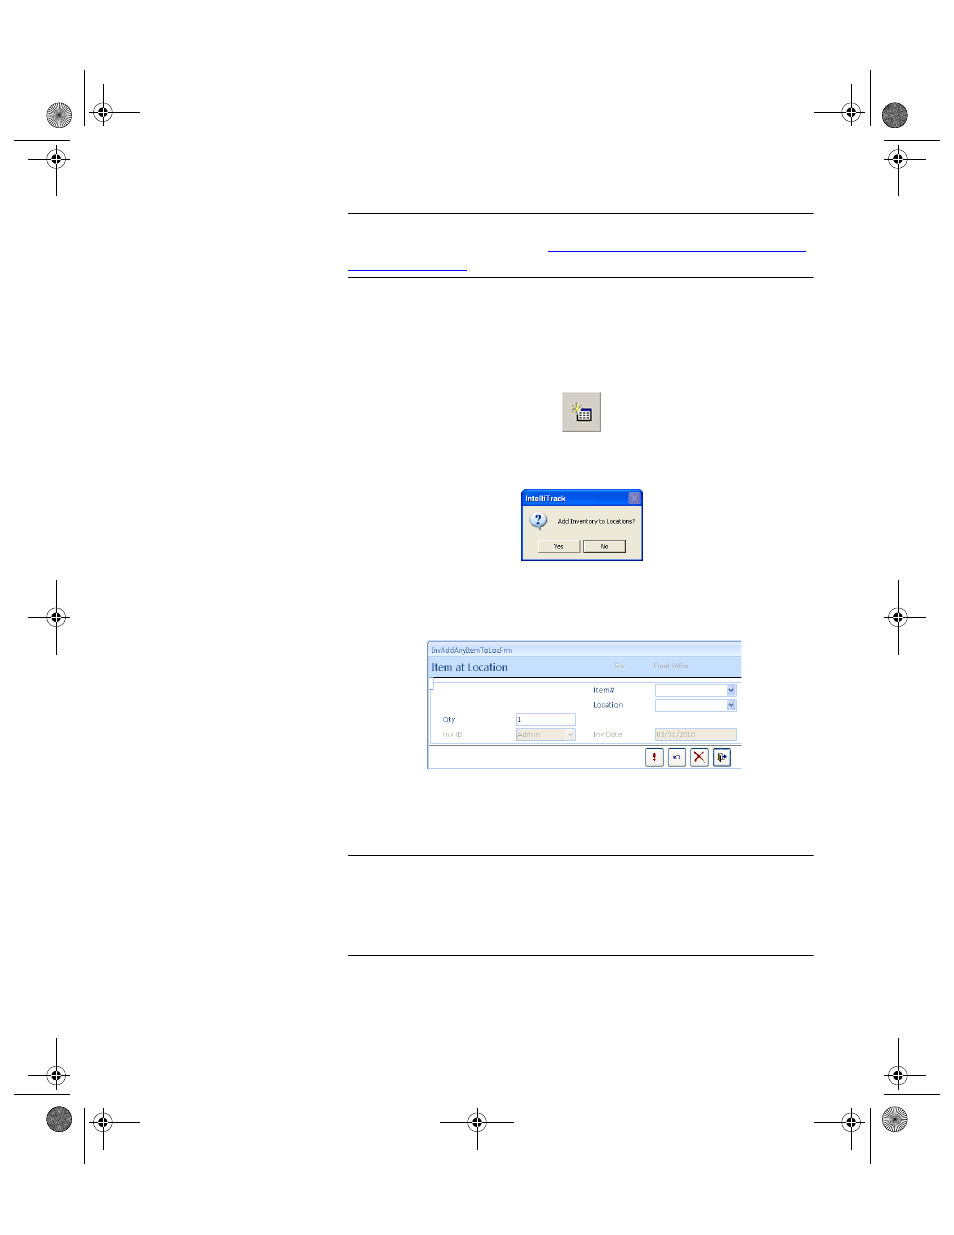
Click the Add button in the Item#/Location form.
A dialog box appears, asking you if you want to add inventory to loca-
tions:
2.
Click Yes to close the dialog box and continue adding inventory.
(Clicking No cancels adding the inventory.)
3.
The Item at Location form appears.
4.
Click the drop-down arrow in the Item# field and select the item to add
to the location from the list that appears. Press the TAB key to advance
to the Location field.
Important:You can only add items to locations that are located at the cur-
rently selected site (displayed in the Site field). To add an item to a loca-
tion at another site, click Cancel, select another site in the Site pull-down
list on the Item#/Location form and select the Add button again to con-
tinue adding items to a location.
5.
Click the drop-down arrow in the Location field and select the loca-
tion from the list that appears; press the TAB key to advance to the next
field.
2283.book Page 179 Thursday, July 7, 2011 2:29 PM