Epiphan Pearl Mini Live Video Production System with 512GB SSD (NA/JP) User Manual
Page 237
Pearl Mini User Guide
Connect an NDI|HX source
3. Do one of the following:
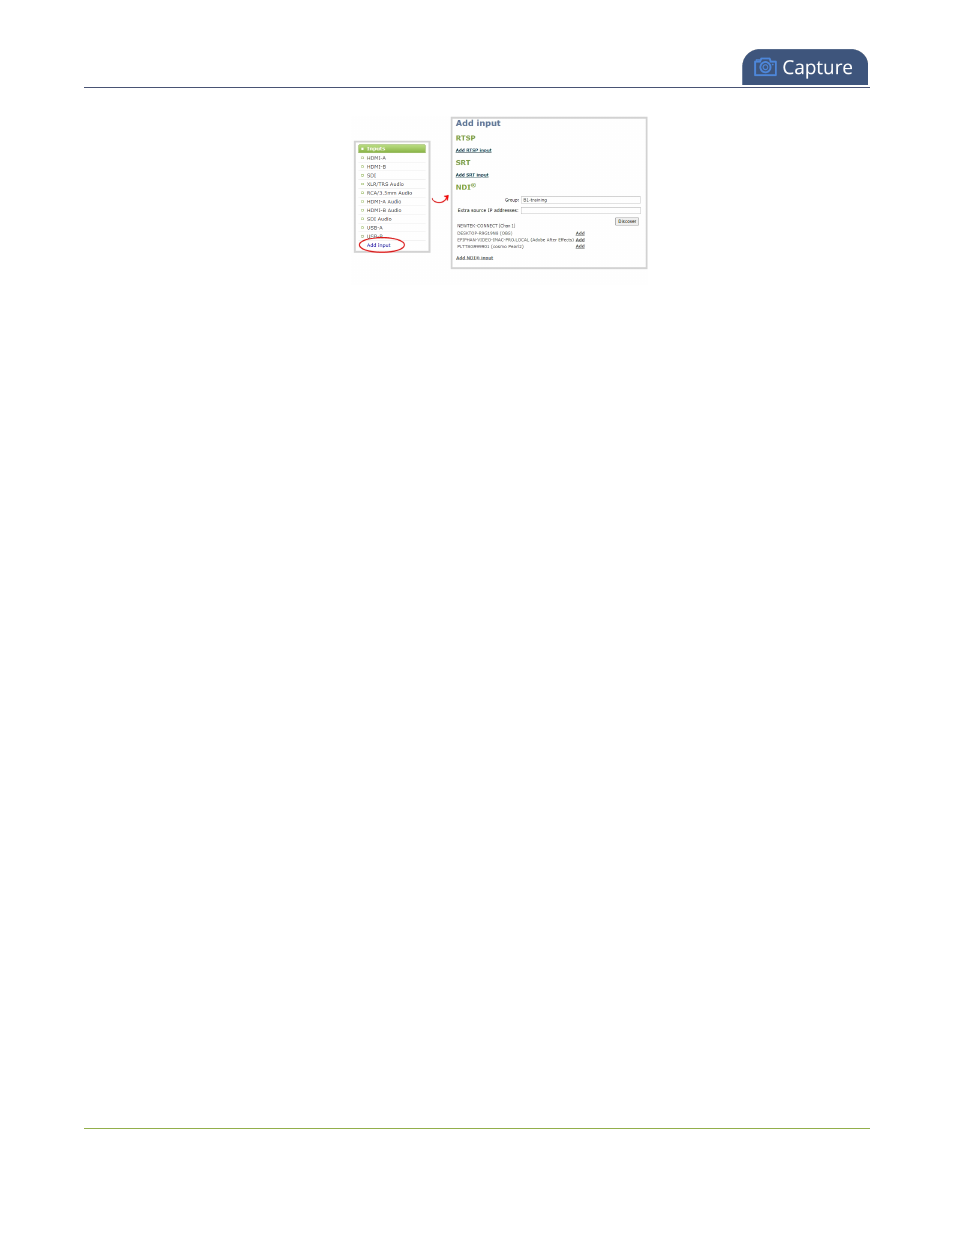
a. If the NDI|HX resource is listed, select Add beside an NDI|HX resource to select it. The new
NDI|HX input details page opens.
b. If the NDI|HX resource is assigned to an NDI|HX group, enter the group name and then click
Discover to see a list of available NDI|HX resources in that group. Select Add beside an NDI|HX
resource to select it.
c. If a remote NDI|HX resource is on a different network or subnet than Pearl Mini, or the network has
mDNS disabled, enter the IP address of the remote NDI|HX resource in the Extra source IP
addresses field, then click Discover. Use a comma to separate multiple IP addresses. Select Add
beside an NDI|HX resource to select it.
l
Alternatively, if Pearl Mini is configured with the IP address of an available NDI|HX
Discovery server (check
Enable an NDI discovery server
), Pearl Mini will query the
discovery server for available NDI|HX sources registered with the NDI|HX Discovery Server.
d. If you want to add an NDI|HX input to Pearl Mini without selecting an NDI|HX resource, click Add
NDI input. The new NDI|HX input is added and a blank NDI|HX input details page opens. You can
search for and assign an NDI|HX resource to it later.
4. (Optional) On the NDI|HX input details page, check Ignore timecode to configure Pearl Mini to ignore any
timecode information in the NDI|HX signal. This is useful if the NDI|HX source doesn't send a timecode or
if the source's timecode is unstable.
226