Epiphan Pearl Mini Live Video Production System with 512GB SSD (NA/JP) User Manual
Page 172
Pearl Mini User Guide
Apply a configuration preset using the touch screen
Configuration presets that only contain the network configuration group can also be applied using an alternative
method, which is also described in this procedure.
If you apply a preset that has the EDID configuration group, the system may appear unresponsive for a short time
while it applies these EDIDs to the video grabbers.
Prepare USB drive and use it to apply a configuration preset
1. Make sure that USB drive is formatted with either FAT, exFAT, ext2 or ext4
2. Connect the USB drive to a computer.
3. Change the USB drive label to ‘EPIPHAN’. In majority of operating systems, this is usually performed by
right clicking on the USB drive and select the rename option.
4. Create a folder called ‘EPIPHAN’ as a top level level folder.
5. Copy one or more Pearl Configuration Presets to the EPIPHAN folder created in the previous step.
6. Safely eject the USB drive from your computer.
7. Connect the Maintenance USB drive to one of the USB ports on your Pearl.
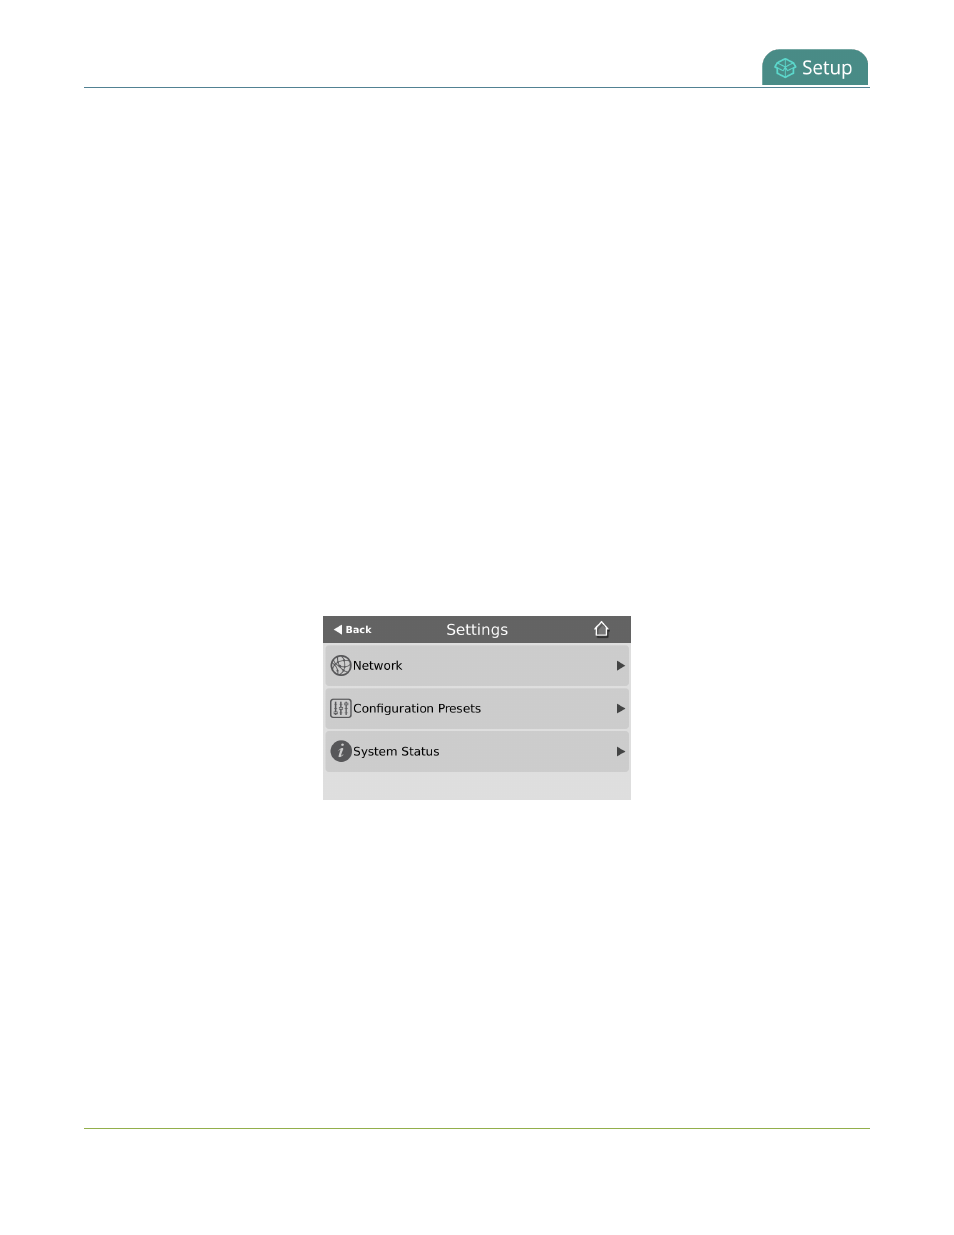
Apply a configuration preset using the touch screen
1. Tap the gear icon to open the System settings screen. If the control icons aren't showing, tap anywhere on
the touch screen.
2. Tap Configuration Presets.A list of all the presets that are saved on the internal drive or on an attached
USB drive presets appears. Compatible Configuration preset stored on an attached USB drive have USB
icon before their name and these are always listed first before internally stored presets.
3. Use the arrows at the bottom of the page to navigate through the list and tap the name of the preset you
want to apply.
4. Click OK when prompted to apply the configuration preset. If the configuration preset includes the network
or system configuration groups, a reboot is required.
161