Configure a static ip address – Epiphan Pearl Mini Live Video Production System with 512GB SSD (NA/JP) User Manual
Page 102
Pearl Mini User Guide
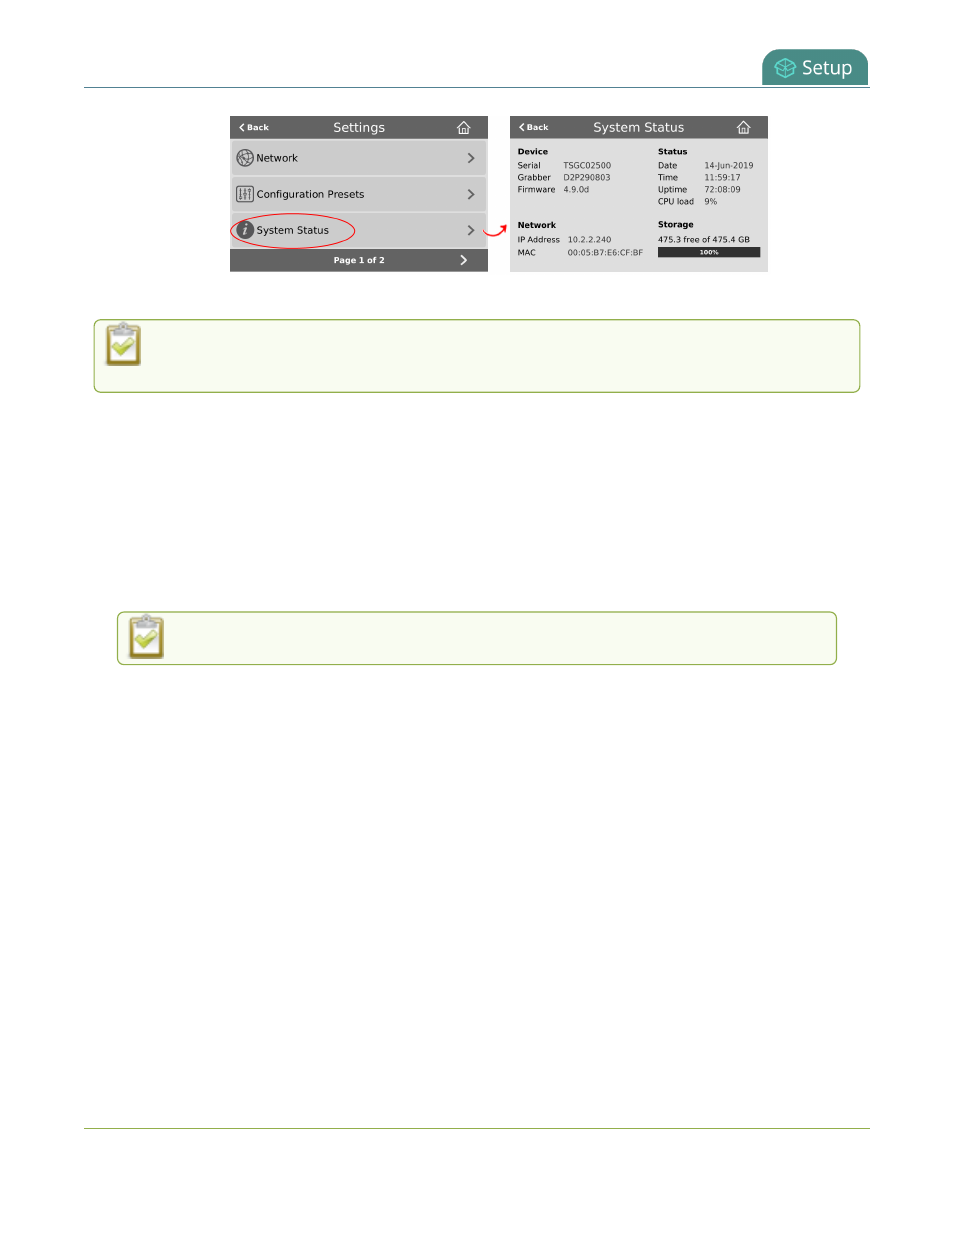
Configure a static IP address
3. Tap Back to return to the System Settings screen, or the Home icon to return to the channel view.
If the system settings control icon won't appear when you tap the touch screen, it may be disabled.
See
Configure the touch screen
to enable system information.
Configure a static IP address
There are two ways you can set up a Pearl device to use a static IP address:
l
From the Network configuration page using the Admin panel.
l
Pearl-2 or Pearl Mini: From the Settings menu using the touch screen.
TIP: Using the device screen, you can choose to apply a configuration preset that contains a static network IP.
See
Configuration presets
.
Only IPv4 addresses are supported. Pearl devices do not support IPv6.
Configure a static IP address using the Admin panel
1. Log in to the Admin panel as admin, see
Connect to the Admin panel
.
2. From the Configuration menu, select Network . The Network configuration page opens.
3. Choose No from the Use DHCP drop-down and enter your networking information in to the required
fields. Click Apply when you're done.
91