Using custom metadata fields, Printing metadata, Using custom metadata fields printing metadata – Grass Valley Aurora Edit v.7.0 User Manual
Page 76
1. Select the Source Tool by pressing
2
on the keyboard or clicking the
Source
Tool
button.
2. Click the
View Metadata
button.
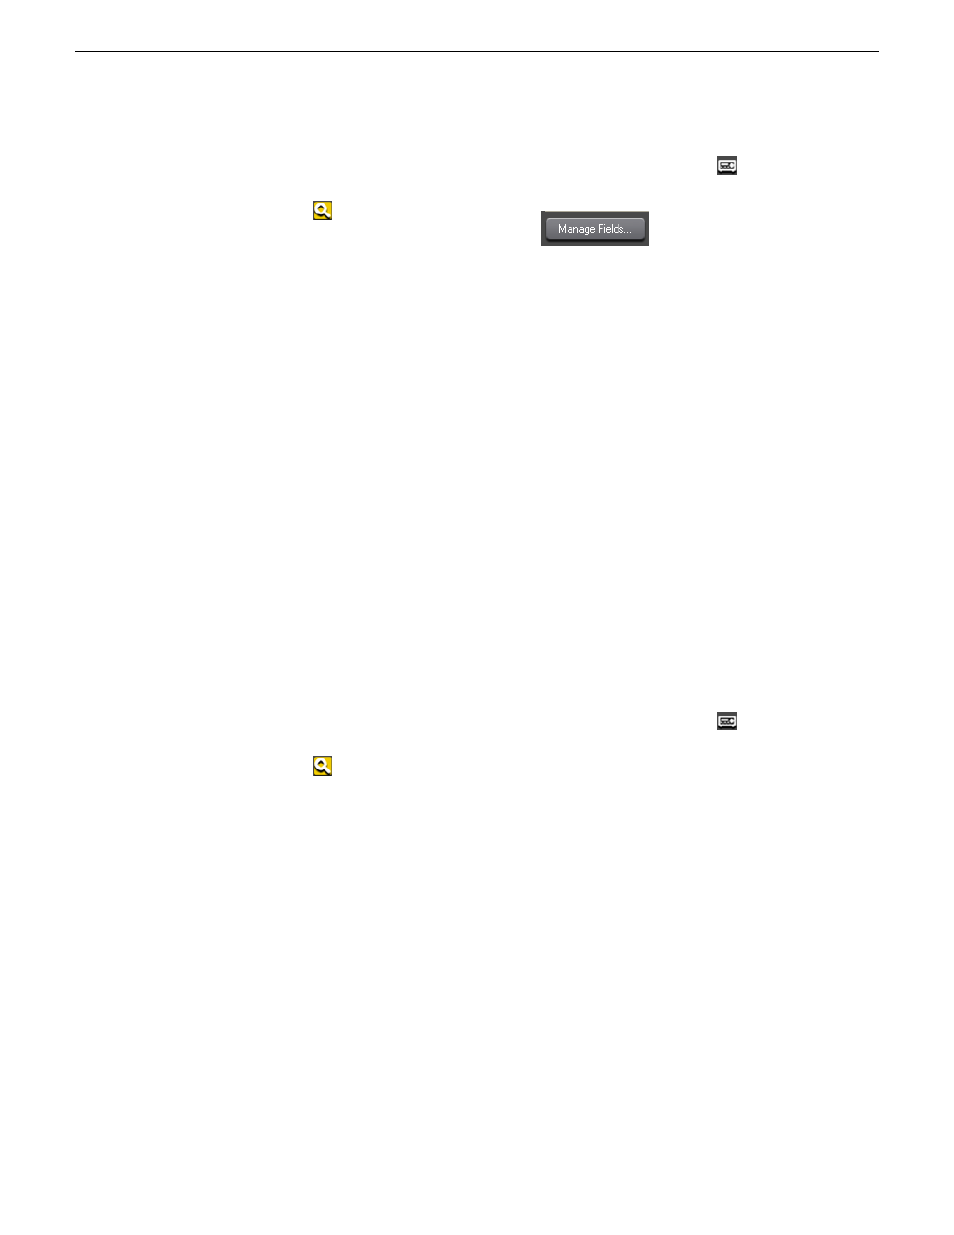
3. In the Custom tab, click the
Manage Fields
icon.
The Edit Custom Metadata Fields dialog box displays.
4. Click
Add
in the Fields list.
The Add Custom Metadata field displays.
5. Enter the Name of the new field.
The name displays in the Custom tab of the metadata section of the Source Tool.
6. Select the Type of field you want to add.
Field types can be text that a user fills in or a list of options.
7. Click
OK
.
The new field is added to the Field list.
8. Click
Close
to exit out of the window.
Using custom metadata fields
Custom fields allow you to enter additional asset metadata such as names, air dates,
or source locations.
An administrator can create custom metadata fields.
1. Select the Source Tool by pressing
2
on the keyboard or clicking the
Source
Tool
button.
2. Click the
View Metadata
button.
3. Click the
Custom
tab.
4. Add values to the custom fields by one of the following methods:
•
Select a choice from a drop-down list
•
Type the data into the field
•
If the custom field is a date field, click in the date area and then pick the correct
date on the calendar
The field data is associated with the asset.
Printing metadata
You can print the metadata for a clip from all three metadata tabs: General, Keywords,
or Custom.
76
Aurora Edit User Guide
08 April 2010
Using MediaFrame to manage media