Modifying a template for your sequence – Grass Valley Aurora Edit v.7.0 User Manual
Page 220
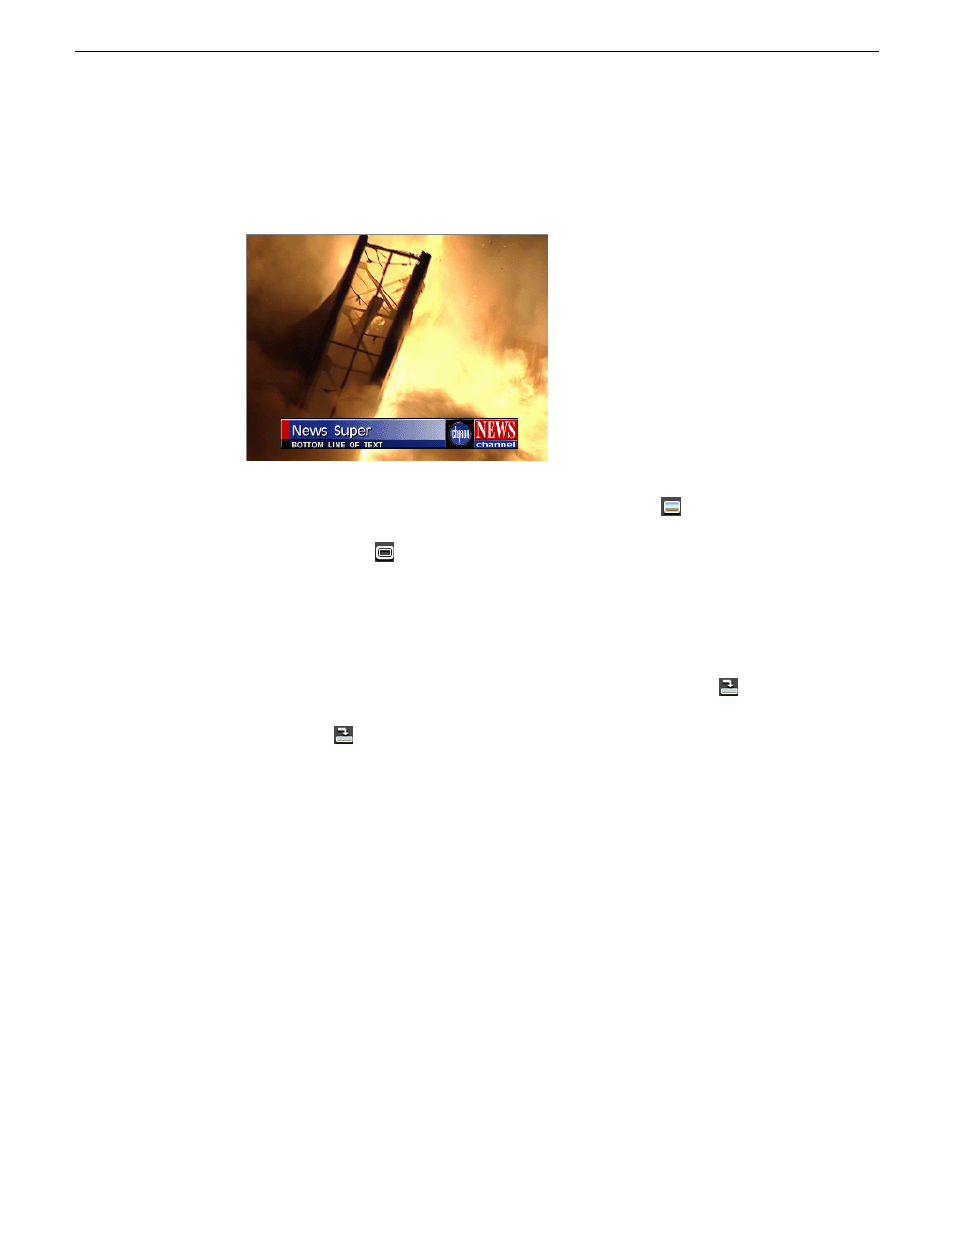
3. Select a template from the Template drop-down list.
The title template appears in the Viewing Window.
4. To remove the background video from the window, toggle the
Show Background
Video
button to show or delete (black background) the background video.
5. You can select the
Show Safe Area
button to make sure the title is within the
proper area for broadcasting.
When selected, the safe title area will appear as a box indicating the safe area.
6. Make any changes to the title graphic.
7. Add a title to your sequence using one of the following methods:
•
Add a Mark In and Mark Out Point on the Timeline and click the
Copy to
Timeline
button—the title appears between the mark points; or
•
Press the
Copy to Timeline
button with no mark points. The title starts at the
cursor position and uses the duration set in the Options menu.
If you need to extend the duration of a title, highlight the title on the Timeline,
move the cursor to the new duration point, and press
V
(Extend Edit) on the
keyboard.
8. Play your sequence to view the title.
The new title appears on the Graphics track on the Timeline and is saved as a graphic
file in the Bin.
To use a saved title in other sequences, drag it onto the Timeline of the new sequence.
Aurora Edit copies the title into the new Bin so you can edit it independently from the
original.
Modifying a template for your sequence
The default templates contain placeholder text and graphics that you'll need to change
for your sequence. You can make changes to any existing text field.
220
Aurora Edit User Guide
08 April 2010
Titling and Graphics