Controlling a deck from aurora edit – Grass Valley Aurora Edit v.7.0 User Manual
Page 114

2. Press
I
on the keyboard to mark an In point for the video track.
3. Click the
Show Audio Marks
button.
Blue icons indicate audio mark in and out points.
4. Select a Mark In Point for the audio track.
The duration of the split appears in the Duration field.
5. Record your clip.
Related Links
on page 131
Controlling a deck from Aurora Edit
If you are using a tape deck, you can control it from the Aurora Edit window or
keyboard. Aurora Edit provides transport control buttons like those on a tape deck,
which control the Timeline, clip source, and Deck.
Use these controls to locate the material you want to record as a clip. Then use the
marking controls to mark the clip or use the transport control buttons on your deck to
locate your Mark In and Mark Out points.
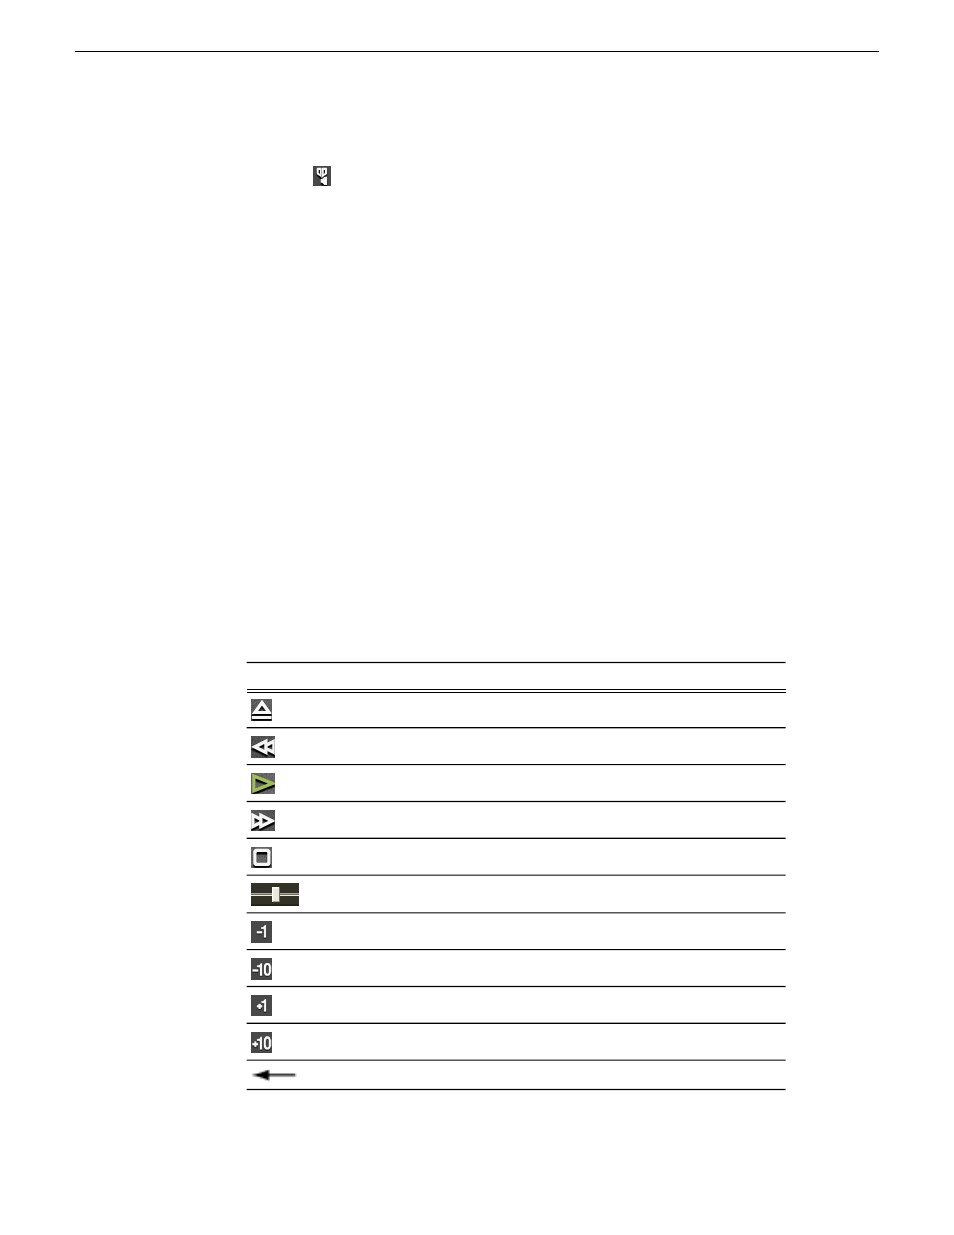
1. Use any of these controls to locate the material you want to record as a clip:
Function
Button
Ejects the tape.
Rewinds the tape.
Plays the tape.
Fast forwards the tape.
Stops the tape.
Moves through the tape (drag the shuttle forward or backward).
Jogs one frame back.
Jogs 10 frames back.
Jogs one frame forward.
Jogs 10 frames forward.
Shuttles left in increments of -50%, -75%, -1x, -2x, -3x.
114
Aurora Edit User Guide
08 April 2010
Working in the Timeline
